13 Patio Extension Ideas to Create More Usable Room
Most patios end up as a slab of concrete that gets used a few weekends a year. The problem isn't the space itself—it's that the layout doesn't match how you actually want to live outside.
Whether you need more shade, a place to cook, or just a reason to step out the door, these 13 extension ideas solve that gap.
Each one adds real square footage to your outdoor living area, so you get more room to relax, host, and enjoy your yard.
1. Add a Multi-Level Deck to Define Zones
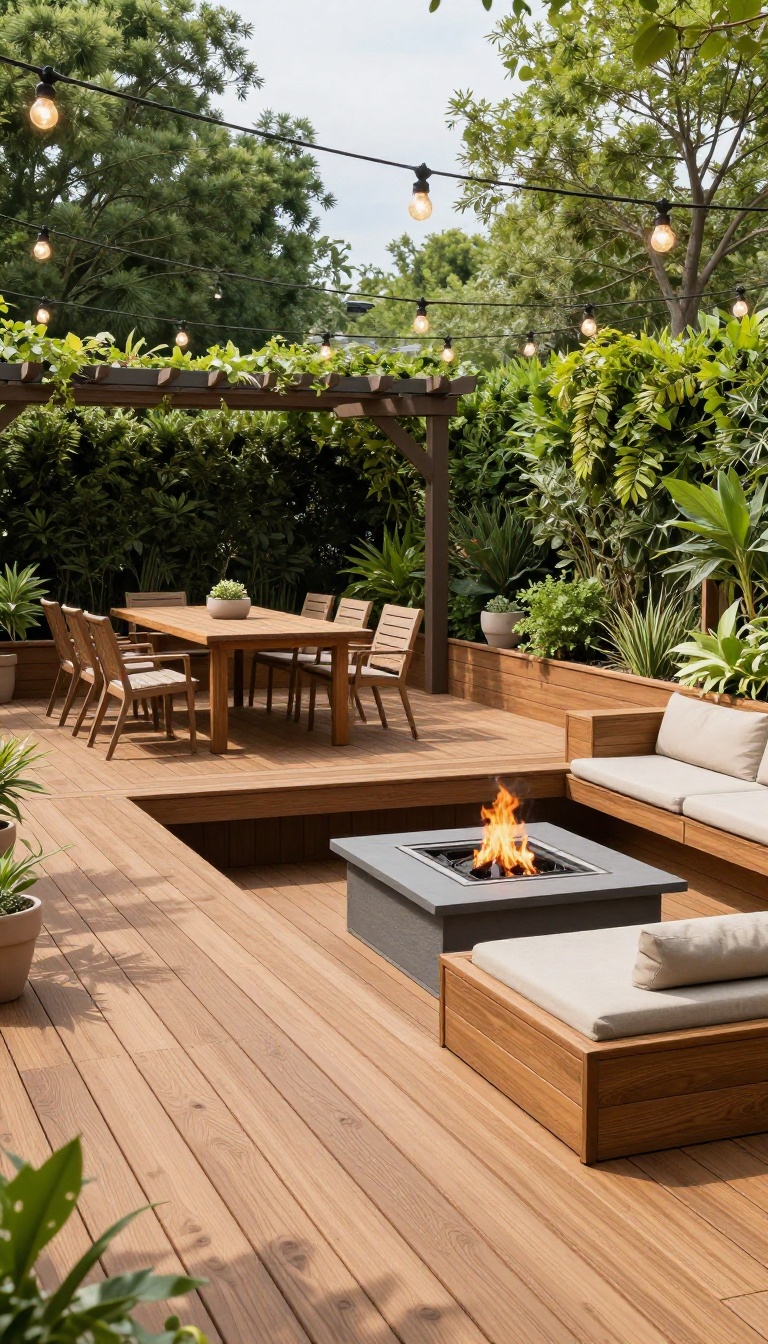
A flat, single-level patio often forces everything into one big open area, which can feel chaotic and underused. Adding a second level, even just a step up, instantly creates separate zones for dining, lounging, or cooking without adding a lot of square footage. It also adds visual interest and makes the space feel larger.
Raising part of your patio doesn't require a full remodel—a simple platform or step can do the trick. This approach works especially well on sloped yards, where a multi-level design naturally follows the terrain. You'll gain distinct areas that each serve a purpose, making your outdoor space more functional and inviting.
Why Levels Work
Levels break up the monotony of a flat surface and guide people naturally to different activities. A sunken lounge area feels cozy and intimate, while a raised dining spot offers a better view. The change in elevation also adds depth, making your yard look bigger than it actually is.
Material And Safety Considerations
Choose materials that complement your existing patio and home exterior—composite decking, pressure-treated wood, or concrete pavers all work well. Ensure each level has proper drainage and that steps are clearly marked with contrasting edges or lighting. Non-slip surfaces are a must, especially if the area gets wet.
Design Ideas For Different Zones
For a dining zone, raise it a few steps and add a pergola overhead for shade. For a lounging area, lower it slightly and surround it with built-in seating and a fire pit. You can even create a cooking zone on a raised platform with a built-in grill and counter space, keeping it separate from the main traffic flow.
2. Install a Pergola for Shade and Structure
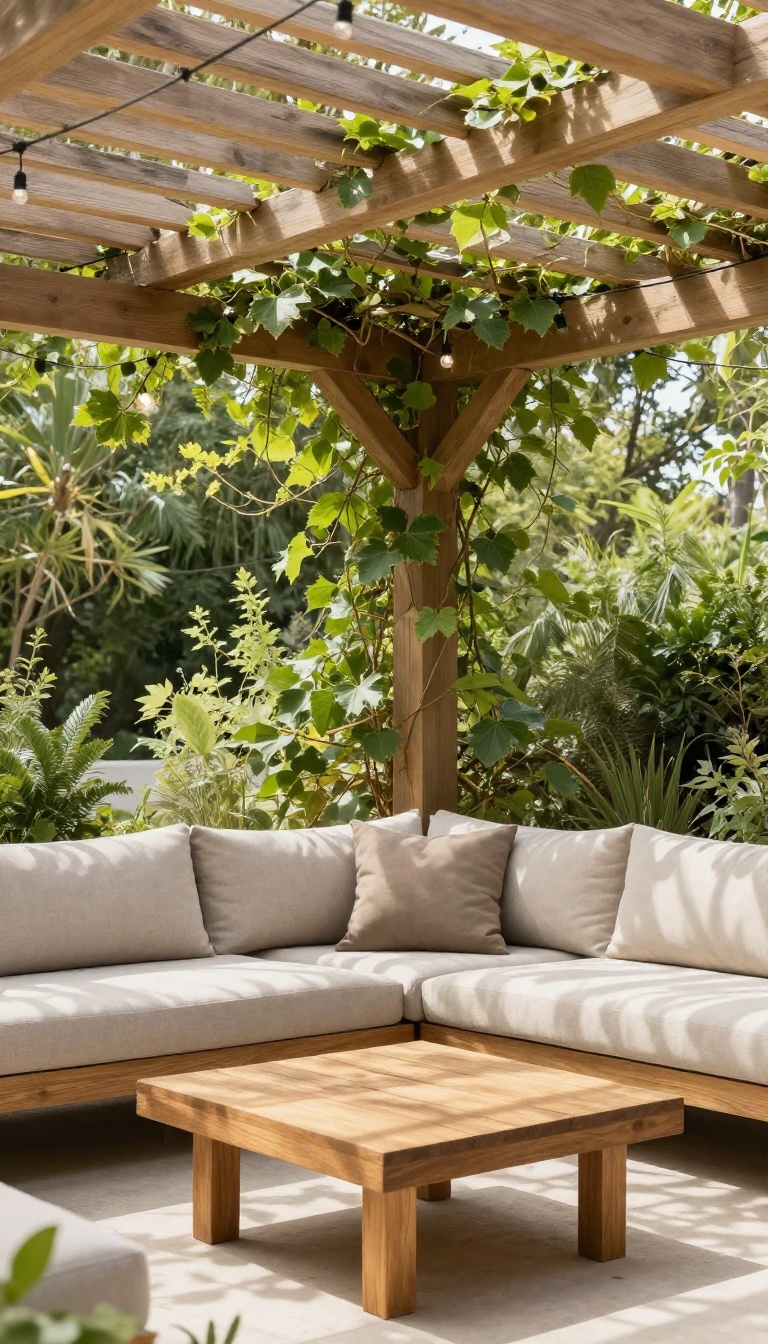
When the afternoon sun turns your patio into a no-go zone, a pergola changes the game. It filters harsh rays while keeping the space open and airy, so you can actually use the area during peak hours. Plus, it adds a clear focal point that makes the whole patio feel more intentional.
A pergola does more than just block the sun—it creates a defined outdoor room. You can hang string lights, mount a ceiling fan, or let climbing vines weave through the slats for a natural canopy. It works over a dining set, a lounge area, or even a hot tub, giving you a reason to stay outside longer.
Pick The Right Material
Wood offers a classic look but needs regular staining or sealing. Aluminum and vinyl are low-maintenance and resist rot and insects. If you want a modern vibe, go with powder-coated steel.
Think about your climate and how much upkeep you're willing to do before choosing.
Add Curtains Or Shades
Curtains are an easy way to block low-angle sun and add privacy. Outdoor-rated fabric holds up well, and you can tie them back when you want more light. For extra versatility, consider retractable shades that roll down when the sun gets intense.
Incorporate Climbing Plants
Vines like wisteria, clematis, or grapevines can turn a simple pergola into a lush retreat. They provide extra shade and a soft, organic feel. Just make sure your structure is sturdy enough to support the weight, and choose plants suited to your zone.
3. Build a Covered Patio Extension
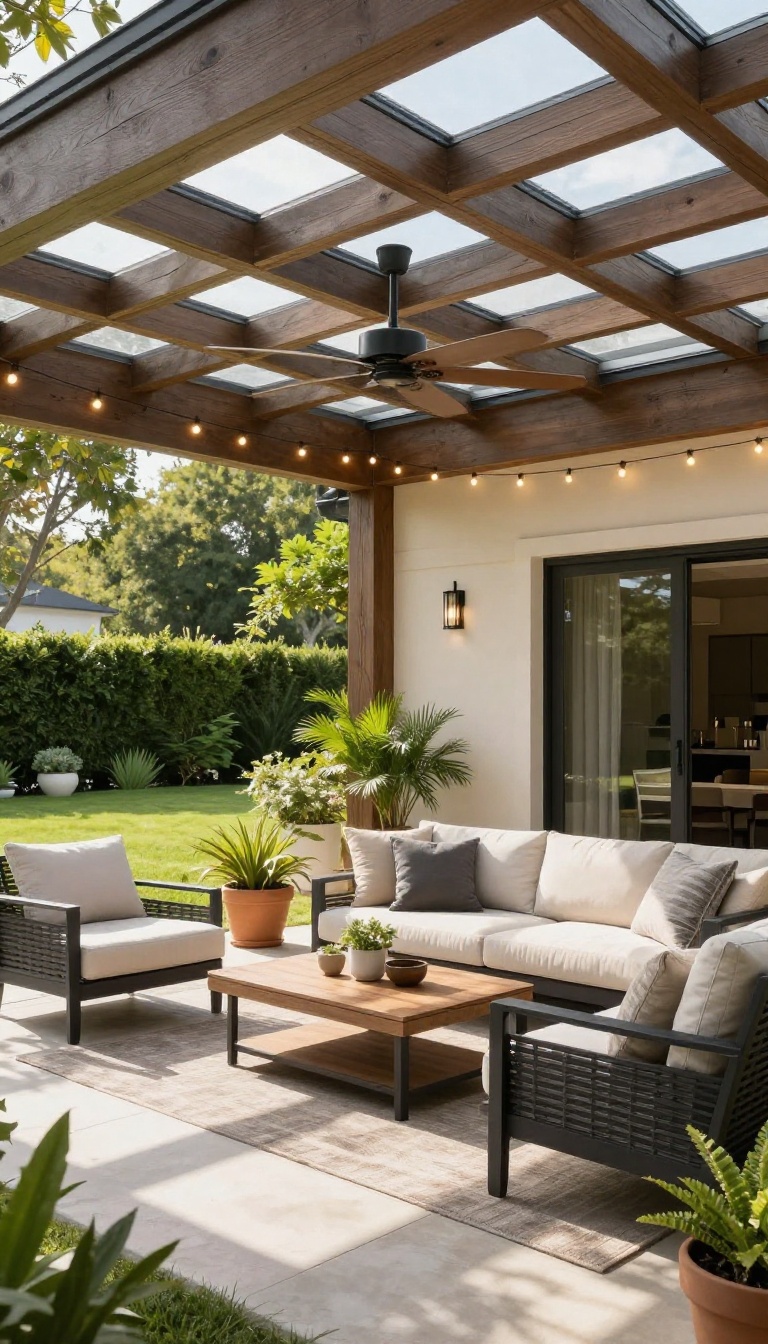
A solid roof can turn a fair-weather patio into a year-round retreat. If rain or intense sun keeps you inside more than you'd like, adding a covered extension is a game-changer. It's not just about staying dry—it's about creating a comfortable outdoor room you can actually use.
A covered patio extension does more than block the elements. It expands your living space, protects your furniture, and adds value to your home. With the right design, it can feel like a natural extension of your indoor rooms, making outdoor living effortless.
Choose The Right Roof Style
The roof you pick sets the tone for the whole space. A flat roof with skylights brings in light while keeping rain out. A gabled roof adds height and a classic look, while a lean-to design is simple and cost-effective.
Think about your home's architecture and how much coverage you need.
Pick Materials That Last
Your roof needs to handle sun, wind, and rain for years. Aluminum and steel are durable and low-maintenance, while wood offers a warm, natural feel but requires more upkeep. Polycarbonate panels are lightweight and let in soft light, making them a popular choice for patios.
Add Lighting And Fans For Comfort
A covered patio is the perfect place for ceiling fans and layered lighting. Fans keep the air moving on hot days, while string lights or recessed fixtures create a cozy evening ambiance. This makes the space usable from morning to night, no matter the weather.
4. Create an Outdoor Kitchen Nook
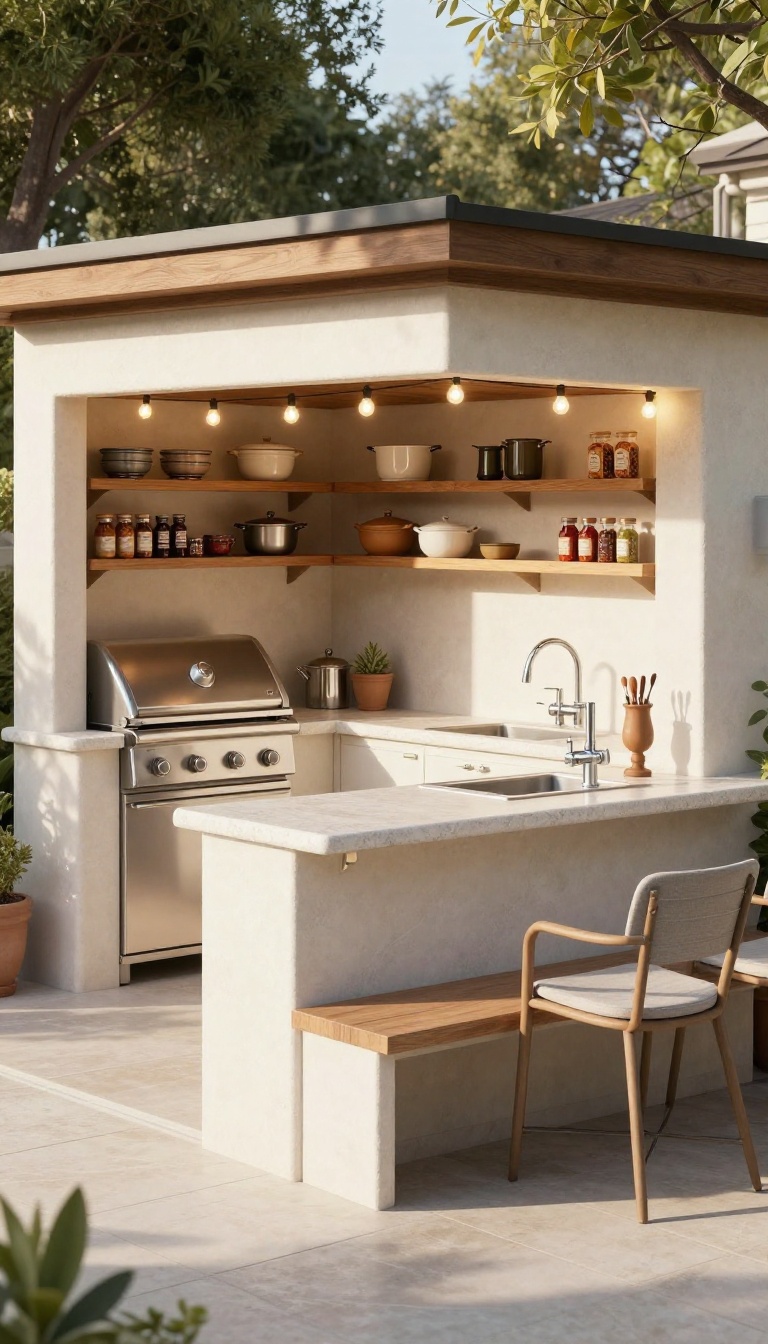
Cooking outside doesn't have to mean a full outdoor kitchen with all the bells and whistles. A compact nook along one side of your patio can handle most of your meal prep, keeping the mess and heat outside where they belong. This setup turns your patio into a natural gathering spot, because the cook stays part of the conversation instead of being stuck indoors.
Think of this as a mini kitchen that takes up just a few linear feet. You don't need a huge budget or a major remodel—just a counter, a sink, and a grill can make a world of difference. Position it along a wall or fence to save space, and you'll free up the rest of the patio for seating and lounging.
The result is a seamless flow from cooking to eating to relaxing, all in one outdoor room.
Start With The Essentials
A basic outdoor kitchen nook needs three things: a countertop for prep, a grill or cooktop, and a sink for cleanup. If you're tight on space, skip the sink and use a portable basin instead. A weatherproof counter made of stone, tile, or stainless steel will hold up to sun and rain, and it gives you a place to set down plates and ingredients while you work.
Add Storage That Works
Outdoor cabinets and drawers keep your tools, spices, and grill accessories within reach. Look for weather-resistant materials like marine-grade polymer or stainless steel. A few shelves underneath the counter can hold pots, pans, and serving dishes, so you don't have to run inside every time you need something.
This makes the nook feel like a real kitchen, not just a grill on wheels.
Light It For Evening Use
Good lighting turns your outdoor kitchen into a place you'll use after the sun goes down. Under-counter LED strips illuminate the prep area without blinding you. A pendant light or two above the counter adds a warm glow and makes the space feel inviting.
If you have a pergola or awning, mount lights on the underside to keep them protected from the weather.
Keep It Comfortable For The Cook
Don't forget the person doing the cooking. A small overhang or umbrella can shade the counter from direct sun, and a nearby stool lets you sit while you wait for the grill to heat up. Consider a small fan for hot days or a portable heater for cooler evenings.
When the cook is comfortable, the whole patio feels more usable.
5. Lay a Garden Path to Connect Spaces
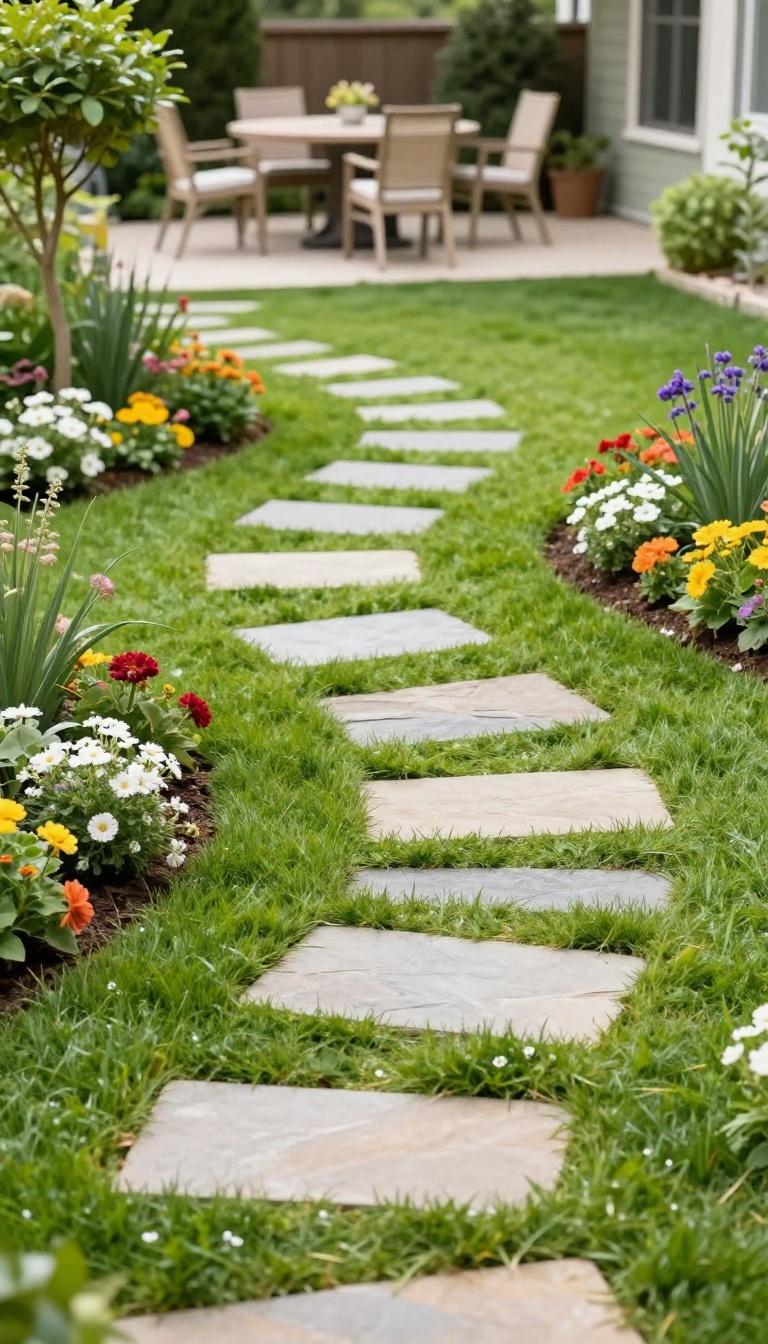
A patio that sits alone can feel like an island. By adding a winding path that leads to other parts of your yard, you invite people to explore and make the whole property feel more connected. This simple addition turns your patio into a hub rather than a dead end.
A garden path does more than just get you from point A to point B. It creates a visual journey that draws the eye and encourages movement. When you connect your patio to a garden, fire pit, or secondary seating area, you effectively extend your living space into the entire yard.
The path becomes a thread that ties different zones together, making even a modest-sized lot feel larger and more intentional.
Choose The Right Material
The material you pick sets the tone for the entire path. Stepping stones with grass in between keep things casual and blend into a lawn. Gravel is budget-friendly and drains well, but it needs edging to stay put.
Pavers or bricks offer a more permanent, polished look and match many patio styles. Think about how much foot traffic you expect and how much maintenance you're willing to do.
Plan The Route For Flow
Don't just draw a straight line from the patio to the next spot. Curves feel more natural and invite slower, more relaxed walks. Consider what you'll pass along the way—a flower bed, a tree, a seating nook—and weave the path around these features.
Also, think about how the path will be used: a direct route for carrying food to a grill, or a meandering stroll to a fire pit.
Light The Way For Evening Use
If you plan to use the path after dark, add lighting. Solar stakes or low-voltage lights along the edges make the path visible and add a warm glow. This not only improves safety but also extends the time you can enjoy the connected spaces.
String lights overhead or lanterns near the path can create a magical atmosphere.
6. Add a Fire Pit Lounge Area
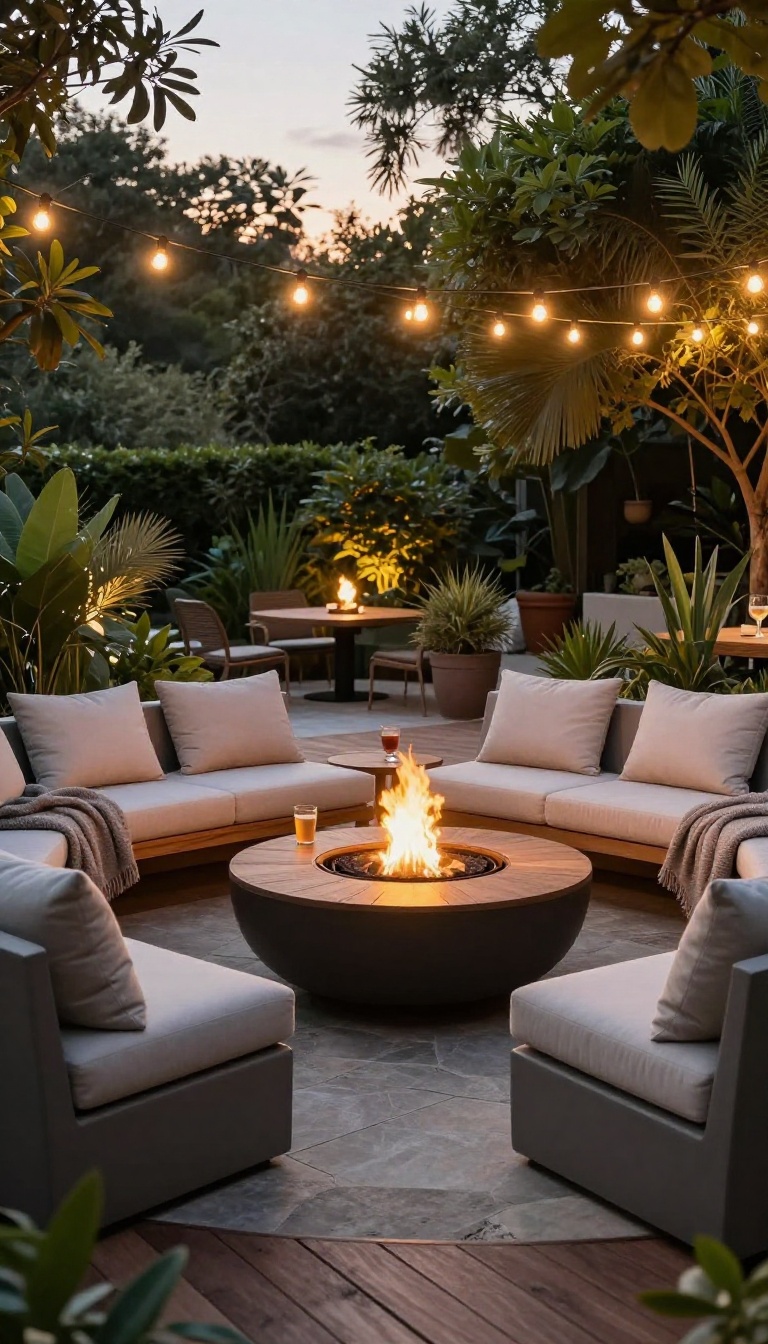
When the sun goes down and the air gets crisp, most patios go quiet. A fire pit changes that by giving people a reason to stay outside longer. It doesn't need to be a huge built-in stone structure—even a portable metal bowl can do the trick.
The key is arranging seating around it so conversations flow naturally.
A fire pit lounge area turns the coolest part of the day into the most inviting one. It's a simple addition that makes your patio feel like a destination, not just a walkway. With the right setup, you'll find yourself using your outdoor space well into fall.
Pick The Right Fire Pit For Your Space
Built-in fire pits look permanent and high-end, but they require a solid base and proper ventilation. Portable options are cheaper and flexible—you can move them around or store them when not in use. Think about how often you'll use it and how much maintenance you're willing to do.
Wood-burning models give that classic crackle and smell, while gas versions light instantly and produce less smoke. Choose what fits your lifestyle and your patio's size.
Arrange Seating For Conversation
The whole point of a fire pit is to bring people together, so seating should face each other, not the fire. Use a mix of chairs, benches, and even outdoor floor cushions to create a relaxed, flexible vibe. Keep a clear path to the fire so people can move around safely.
If you have the room, add a low table nearby for drinks and snacks—just keep it out of the direct heat zone.
Add Comfort And Safety Touches
Outdoor throw blankets and pillows make the area cozier and encourage people to linger. A simple mesh screen or spark guard is a smart safety addition, especially if you have kids or pets. Keep a fire extinguisher or a bucket of sand nearby just in case.
Also, check your local regulations on open flames before you commit to a wood-burning pit—some areas have restrictions.
7. Incorporate Built-In Seating and Planters
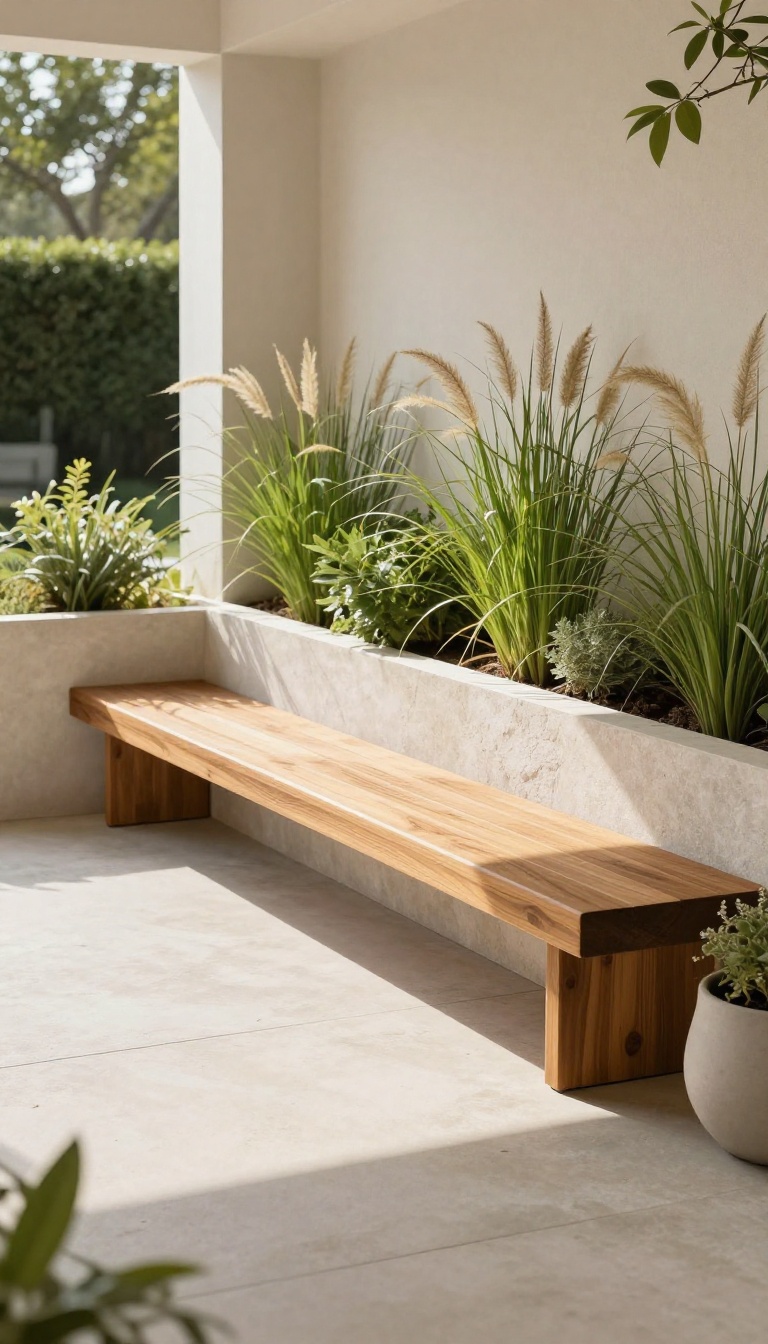
A patio that feels empty often lacks definition. Built-in benches and planter boxes along the perimeter give the space structure and purpose without eating into your floor area. They also bring in greenery, which softens the hardscape and makes the whole area feel more inviting.
Built-in seating and planters are a smart way to maximize every inch of your patio. By attaching them to the edges, you keep the center open for movement and furniture. Plus, they add architectural interest and a natural touch that plain concrete just can't match.
Define The Space With Perimeter Benches
Running a bench along one or two sides of your patio creates a clear boundary and a natural gathering spot. It's perfect for entertaining because it offers plenty of seating without crowding the middle. Choose materials that match your home's exterior—like brick, stone, or treated wood—so it feels like it belongs.
Add Planters For Color And Privacy
Built-in planters can double as low walls or privacy screens. Fill them with a mix of perennials, ornamental grasses, or small shrubs to add height and texture. If you want more seclusion, plant tall evergreens or bamboo in the planters to block sightlines from neighbors.
Combine Seating And Planting For Efficiency
You can combine benches and planters into one continuous structure. For example, a bench with a planter box built into its backrest gives you seating and greenery in one compact footprint. This approach works especially well in small patios where every square foot counts.
8. Install Outdoor Curtains for Privacy and Versatility
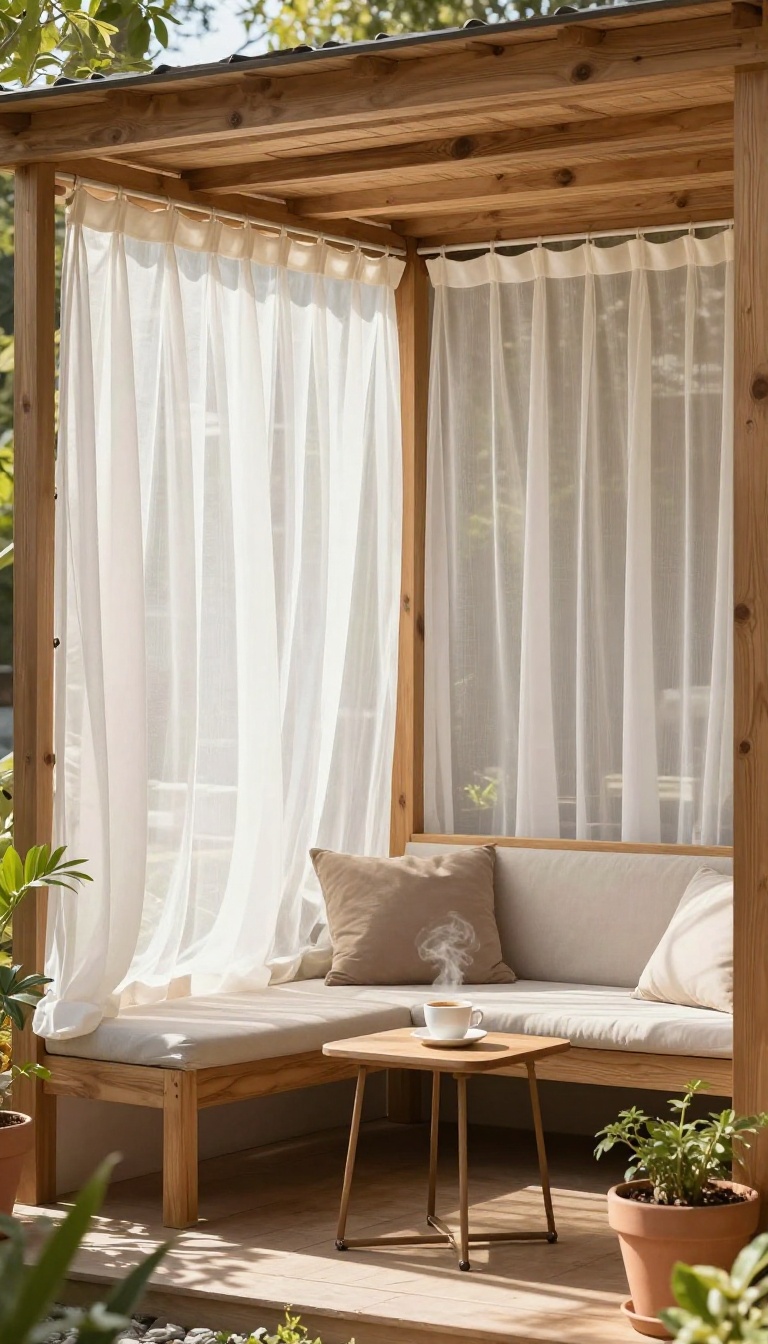
If your patio feels exposed to neighbors or wind, curtains are a simple fix that changes the whole vibe. They turn an open area into a cozy nook, like an extra room with walls you can open or close as needed.
Outdoor curtains are one of the easiest ways to add privacy and flexibility to your patio. They hang from a pergola, a freestanding frame, or even a wire system, and they instantly make the space feel more enclosed and intimate. When you want fresh air and open views, just pull them back.
When you need shade or a windbreak, close them up. It's a low-commitment upgrade that works on any budget.
Choose The Right Fabric
Pick outdoor-rated fabric that's water-resistant and UV-protected. Look for materials like polyester or acrylic that won't fade or mildew. Avoid heavy fabrics that trap heat; lighter colors reflect sun better and keep the space cooler.
Hanging Options
A pergola or awning is a natural spot for curtains. If you don't have one, install a sturdy wire or track system between posts or walls. Use rust-proof hardware and make sure the rod or wire can support the curtain weight, especially in windy areas.
Style And Function
Curtains come in many colors and patterns, so you can match your patio decor. Sheer fabrics let in light while offering some privacy; thicker ones block wind and sun. You can also use tie-backs to hold them open when you want an unobstructed view.
9. Add a Retractable Awning for Flexible Coverage
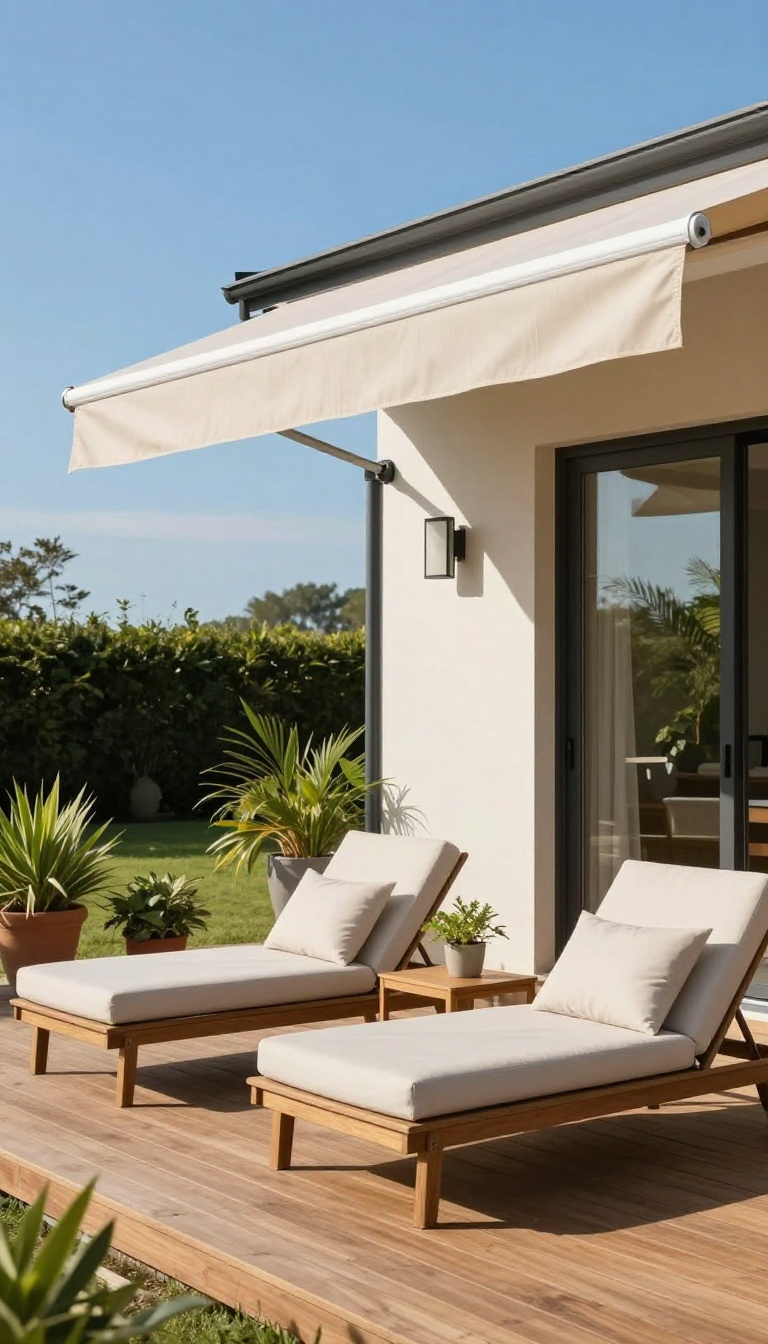
A retractable awning gives you the option of shade or sun at the push of a button. It's a flexible way to extend your patio's comfort without a permanent structure, and it can be mounted to your house or freestanding. Whether you want to block harsh afternoon rays or let in the last of the evening light, this simple addition adapts to your needs in seconds.
Think of a retractable awning as a shade that shows up when you need it and disappears when you don't. Unlike a fixed pergola or canopy, it doesn't block your view or make the space feel closed in. You can extend it during the hottest part of the day, then retract it at night to enjoy the stars.
It's also a smart choice if you're not ready to commit to a permanent structure—you get the benefits without the long-term footprint.
Why Choose A Retractable Over A Fixed Structure?
A fixed pergola or roof adds permanent shade, but it also changes the feel of your patio. Retractable awnings give you control. You can let the sun warm the space on cooler days, then pull the shade out when it gets too intense.
That flexibility is perfect for patios that get mixed sun throughout the day. Plus, you can tuck the awning away completely, keeping your view open and your patio feeling larger.
Motorized Vs. Manual: Which Is Right For You?
Motorized awnings are the easiest to use—just press a button or set a timer, and the fabric extends or retracts automatically. They're great for hard-to-reach spots or if you want to control the awning from indoors. Manual options are more budget-friendly and still simple to operate with a hand crank.
If you're handy, you can even install a manual awning yourself. Think about how often you'll adjust it and whether convenience is worth the extra cost.
Fabric And Frame: Picking What Lasts
The fabric and frame determine how long your awning will hold up. Look for solution-dyed acrylic fabric—it resists fading and mildew better than cheaper options. The frame should be made of aluminum or stainless steel to handle wind and weather.
Also, check the wind rating; many awnings can handle light breezes but need to be retracted in stronger gusts. A good quality awning will pay for itself in years of use.
10. Create a Multi-Purpose Screen Room
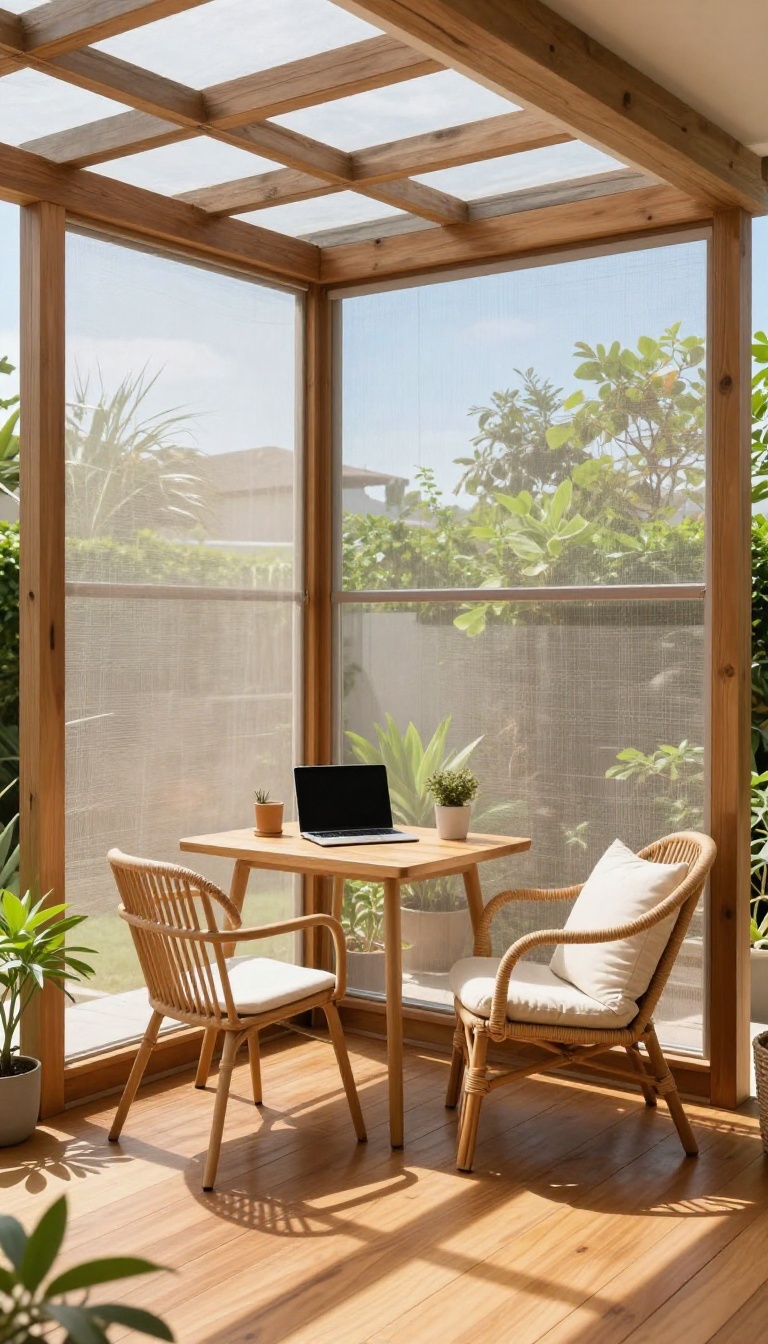
Nothing kills a patio vibe faster than mosquitoes dive-bombing your dinner or a sudden gust of wind sending napkins flying. A screen room solves that by giving you the best of both worlds: fresh air without the bugs. It's like turning your patio into a glassless sunroom—open to the breeze but sealed off from the critters.
What makes this extension so valuable is its flexibility. One day it's an outdoor dining room, the next it's a play area for the kids, and on a quiet morning, it can even double as a home office. You're not just adding square footage; you're adding a room that adapts to whatever you need.
A screen room is more than just a bug barrier—it's a versatile living space that can be used year-round (with the right setup). Whether you attach it to your existing patio or build it as a freestanding structure, it creates a defined area that feels like an indoor room but keeps that open-air connection. The key is to plan for multiple uses from the start, so you're not stuck with a one-trick space.
Choose The Right Frame And Screening
Start with a sturdy frame—aluminum, wood, or vinyl—depending on your climate and style. Aluminum is low-maintenance and resists rust, while wood gives a classic look but needs more upkeep. For the screening, fiberglass is the most common choice because it's affordable and easy to replace, but if you want better durability and visibility, consider pet-proof screening or even clear vinyl panels for colder months.
Think about how you'll use the room: if you plan to work out there, you might want a screen that blocks UV rays to protect your laptop screen.
Design For Year-round Comfort
To make your screen room usable beyond summer, add ceiling fans for airflow and a portable heater or fire pit for cooler evenings. If you live in a rainy area, install a roof that extends over the screen or use retractable panels to keep water out. For extra coziness, lay down an outdoor rug, add weather-resistant furniture, and hang string lights to create a warm ambiance after dark.
You can even add curtains that you can close for privacy or to block the afternoon sun.
Make It Work As An Office, Playroom, Or Dining Space
The real magic of a screen room is how easily it switches functions. Set up a foldable table and chairs for dining, then stash them away to make room for a yoga mat or kids' toys. If you're using it as a home office, invest in a weatherproof desk and a power outlet (installed by a professional) so you can plug in your laptop.
For a playroom, add storage bins that double as seating. The goal is to keep the space flexible, so it never feels cluttered or single-purpose.
11. Extend with a Deck or Platform
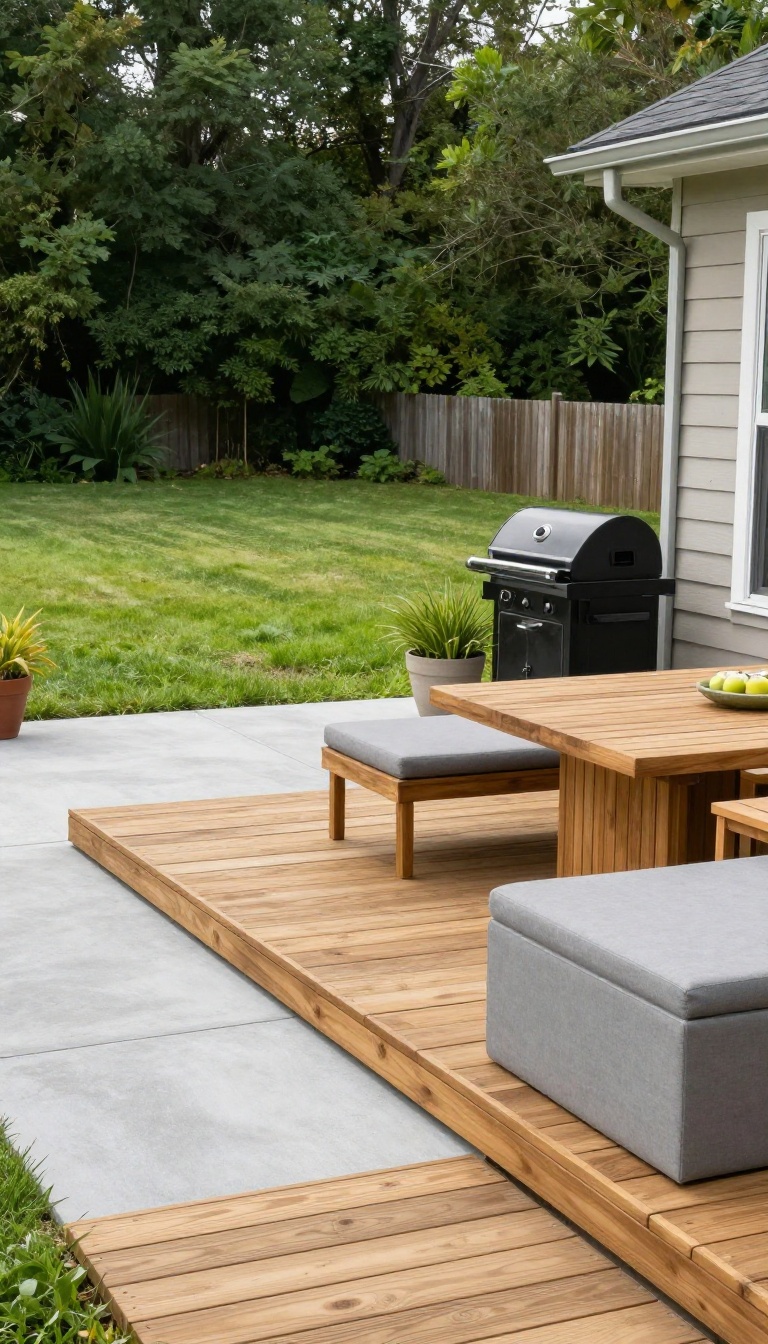
A concrete patio is solid, but it's also fixed in size. If you're constantly bumping elbows or squeezing chairs around the table, a wooden deck can give you that extra breathing room without a full renovation. Building a deck right next to your existing patio creates a seamless transition and instantly doubles your usable outdoor space.
Adding a deck or platform is one of the most straightforward ways to expand your patio. It's a project that most DIYers can handle over a weekend or two, and it provides a level, stable surface for furniture, grills, or even a hot tub. Plus, wood adds warmth that concrete just can't match.
Why A Deck Works
A deck extends your living area without the hassle of pouring new concrete. It's easier to install, especially on uneven ground, and you can build it at any height—from a low platform to a raised deck that steps down to the yard. Wood also feels softer underfoot, which is nicer for bare feet and kids playing.
Design Tips For A Seamless Look
Match the deck height to your patio for a smooth transition, or add a small step if needed. Use the same color scheme or complementary stains to tie the two surfaces together. Consider adding built-in seating or planters along the edge to define the space and make it feel intentional.
Material Choices And Maintenance
Pressure-treated pine is budget-friendly but needs regular sealing. Composite decking costs more upfront but lasts longer and requires almost no maintenance. Cedar and redwood resist rot naturally and look beautiful, but they demand a bit more care.
Choose based on your climate and how much time you want to spend on upkeep.
12. Add a Water Feature for Ambiance
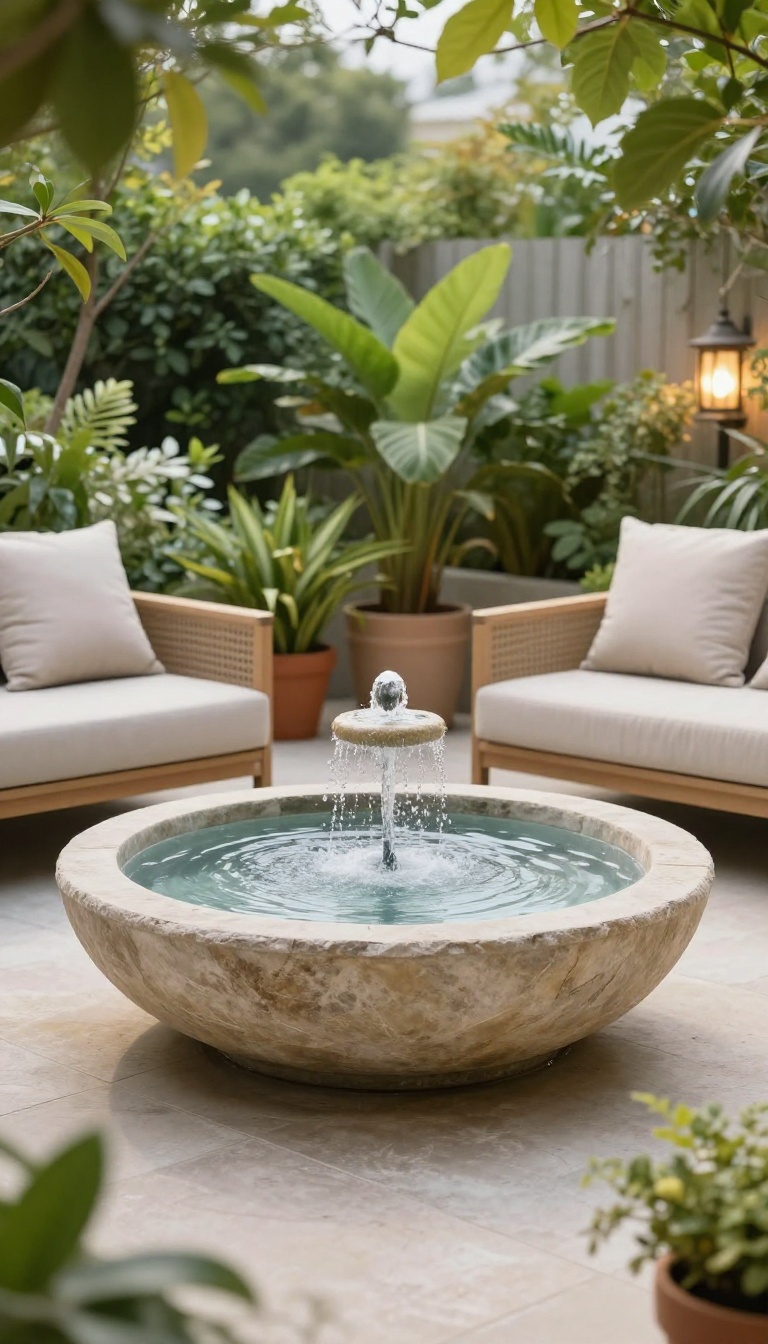
A small fountain or pond can turn a plain patio into a personal retreat without eating up your square footage. The gentle sound of moving water masks traffic noise and creates a calm backdrop that makes you want to linger outside. Whether you choose a tabletop fountain or a sunken pond, the effect is immediate and surprisingly affordable.
Choose The Right Size
You don't need a huge pond to get the benefit. A compact wall-mounted fountain or a self-contained container water feature works well on most patios. Measure your available space first, and remember that the water feature should complement, not dominate, the area.
A good rule of thumb is to keep it under one-third of your patio's width.
Placement Matters
Position your water feature near a seating area so you can actually hear it. If you're aiming to mask street noise, place it closer to the noise source. Also, consider the view from inside your home—placing it where you can see it from a window adds to the ambiance even when you're indoors.
Easy Maintenance Tips
Keep maintenance simple by choosing a feature with a pump that's easy to access. Use distilled water to reduce mineral buildup, and clean the pump every few weeks. In colder climates, drain and store portable features during winter to avoid damage.
A little regular care keeps the water clear and the sound soothing.
13. Incorporate an Outdoor Bar or Serving Station
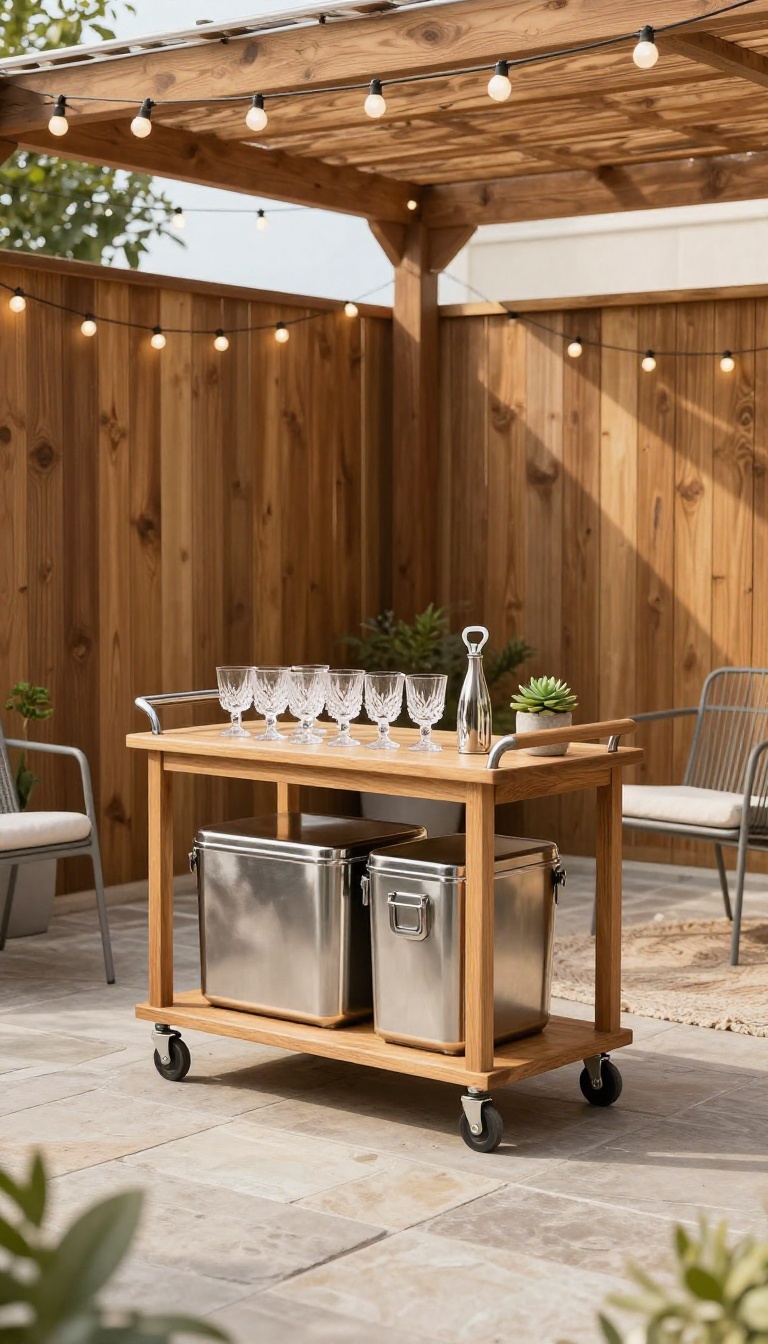
When you're hosting a get-together, the last thing you want is to keep running inside for refills. A dedicated outdoor bar or serving station solves that by putting drinks and snacks right where the action is. It's a practical addition that also gives your patio a clear focal point, making the space feel more intentional and inviting.
A bar or serving station doesn't have to be a massive built-in with a sink and mini-fridge—though that's certainly an option. Even a simple cart or a repurposed console table can do the job. The key is to make it functional and stylish, so it becomes a natural gathering spot.
Choose The Right Spot
Place your bar along one edge of the patio, away from the main walkway, so it doesn't block traffic. If you have a covered area, that's ideal—it protects both you and your supplies from the sun and rain. Consider proximity to your indoor kitchen or outdoor grill, too, for easy restocking.
Pick A Style That Fits
For a sleek, modern look, go with a stainless steel cart or a built-in with stone veneer. If your patio feels more rustic, a wooden cart or a bar made from reclaimed barn wood adds warmth. You can also match the station to your existing outdoor furniture for a cohesive feel.
Add The Essentials
Stock your bar with the basics: a cooler or ice bucket, glasses, a bottle opener, and a few mixers. For a serving station, include platters, napkins, and utensils. Add a few personal touches like a small plant or string lights to make it feel welcoming.
FAQ
What is the most cost-effective way to extend a patio?
Adding a gravel or paver extension is usually the most budget-friendly. You can also create a simple seating area with outdoor rugs and furniture to visually expand the space without construction.
Do I need a permit for a patio extension?
It depends on your local regulations. Small, ground-level patios might not require a permit, but any structure with a roof, electrical work, or significant changes to your property line likely will. Always check with your local building department.
How can I make a small patio feel bigger?
Use light-colored materials, add mirrors or reflective surfaces, keep furniture proportional, and create clear zones. Also, removing clutter and adding vertical elements like plants can draw the eye upward, making the space feel larger.
What is the best material for a patio extension?
Concrete, pavers, and natural stone are durable and popular. Pavers are easy to replace if damaged, while concrete is affordable and versatile. Consider your climate and maintenance preferences when choosing.
How long does it take to build a patio extension?
A simple gravel or paver patio can be done in a weekend, while a concrete pour might take a few days including curing time. More complex extensions with roofs or electrical work can take several weeks or more.
Conclusion
You don't need to tackle every idea at once—just pick the one that solves your biggest patio problem first. Whether it's adding shade, defining zones, or boosting storage, each upgrade makes the space more usable without a full remodel.
Start small, see what works, and let the patio evolve with how you actually live. The best extension is the one you'll use every day, so choose what fits your routine and enjoy the extra room.