11 Landscape Ideas for Backyard Spaces with Natural Charm
A backyard with natural charm doesn't need a huge budget or a team of designers. It just needs a few smart choices that work with what's already there. Think of it as a gentle nudge in the right direction rather than a full overhaul.
Start by looking at the light, the soil, and the way you actually use the space. Those clues tell you which ideas will feel effortless and which will fight you. The best landscapes look like they belong, not like they were forced into place.
Below are 11 ideas that add warmth, texture, and a sense of ease. Pick one or mix a few, and you'll see the difference without losing the laid-back feel.
1. Layer Native Plants for a Wild, Welcoming Look
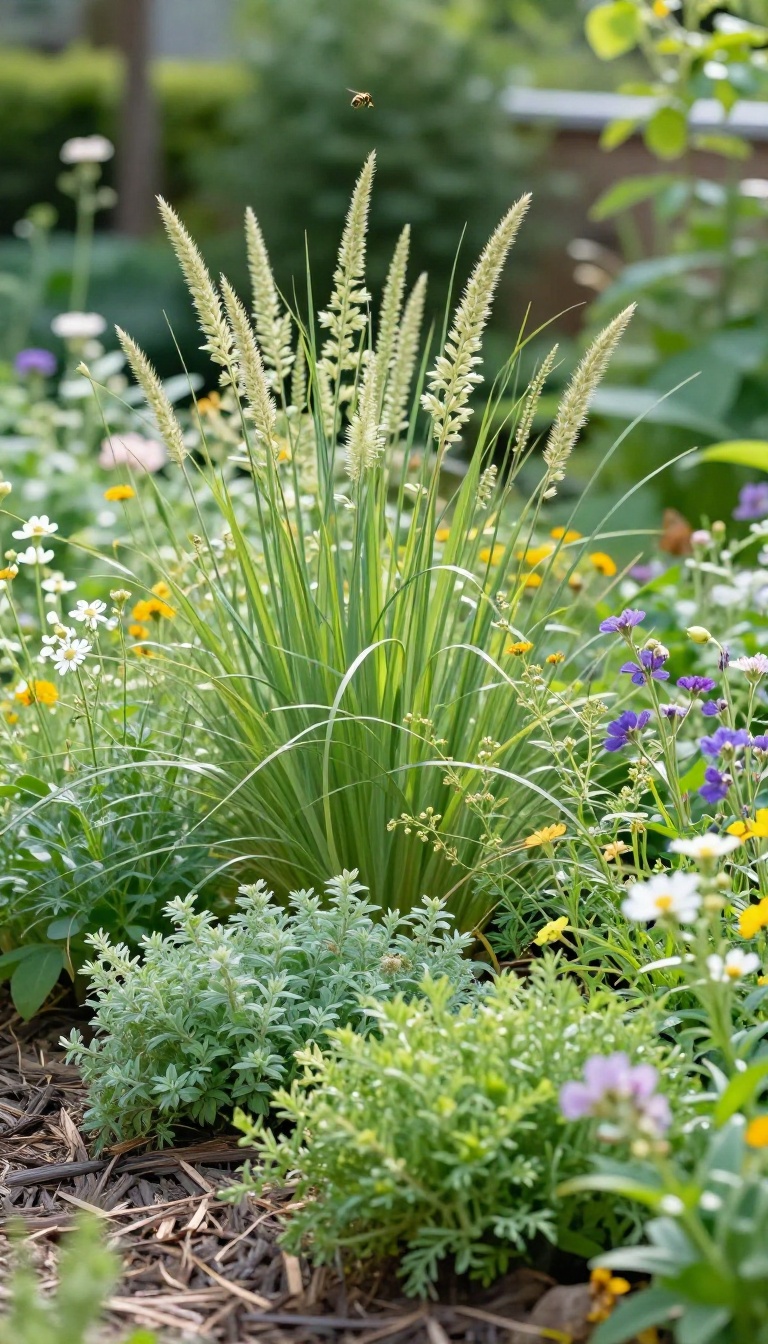
Native plants already know how to thrive in your area, so they need less water, fewer fussy amendments, and almost no pampering once they settle in. The trick is to arrange them in layers—tall, medium, and low—so the garden looks full and natural instead of flat. That stacked look also gives birds, bees, and butterflies exactly what they need to stick around.
Layering native plants is less about strict design rules and more about copying how a meadow or woodland edge actually grows. You put the tallest species in the back or center, mid-size plants around them, and low growers or ground covers up front. The result feels wild but intentional, and it fills in faster than a row of single-species plantings.
Pick Plants That Already Belong
Start with species native to your region, not just your hardiness zone. A plant from a neighboring state might survive, but a true local will sync with your rainfall, soil, and pollinators. Check with a nearby native plant nursery or your extension office for a short list of reliable options.
Stack Heights For Depth
Aim for at least three height tiers: knee-high, waist-high, and shoulder-high or taller. Place the tallest plants toward the back of a border or the middle of an island bed. Then tuck mid-size and low growers in front so every layer stays visible and nothing gets swallowed.
Let It Fill In Naturally
Native perennials often sleep, creep, then leap—meaning they settle in slowly before taking off in year two or three. Resist the urge to overplant or rearrange too soon. Add a thin layer of leaf mulch and let the plants weave together on their own.
2. Add a Gravel Path That Meanders Naturally
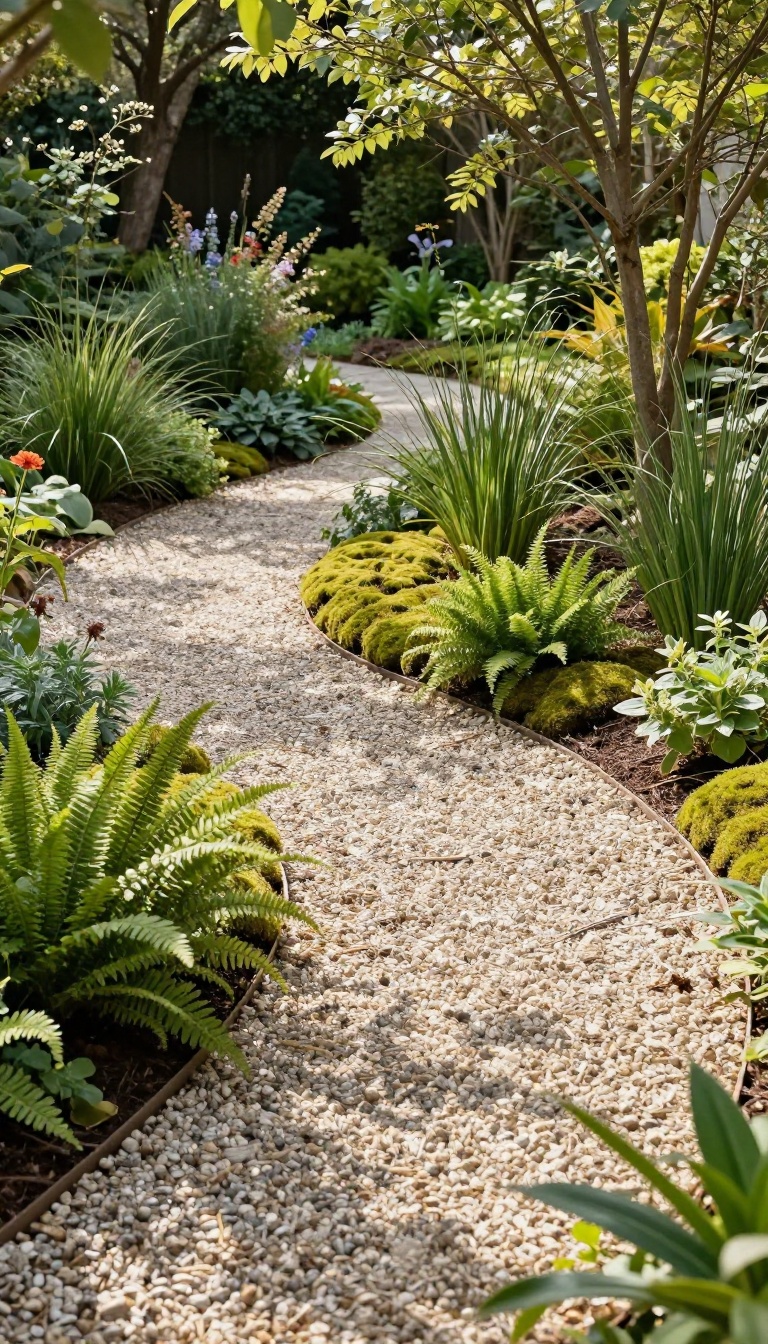
Straight lines have their place, but they rarely feel organic in a backyard. A gravel path that curves and bends as it goes creates a softer, more inviting route through your space. It also tells your feet where to go without feeling like a sidewalk.
Gravel paths are forgiving. They handle foot traffic, drain well, and don't demand the same level of perfection as poured concrete or cut stone. When you let the path meander, it mimics the way people naturally walk—around trees, toward a view, or alongside a garden bed.
That gentle curve is what gives the whole yard a relaxed rhythm. The material itself matters less than the shape. Crushed stone, pea gravel, or even decomposed granite all work.
What sells the natural look is the line: wide enough to walk comfortably, but not so wide that it dominates the yard. A path that narrows and widens slightly feels more like a trail and less like a highway.
Lay Out The Curve Before You Dig
Grab a garden hose or a length of rope and snake it through the yard where you think the path should go. Step back and look from a few angles. Adjust until the curve feels easy and unforced.
Then mark both sides with landscaping spray paint or small flags. This step saves you from digging a straight line you'll regret.
Prep The Base So It Lasts
Remove grass and topsoil along the marked route. A depth of about three to four inches works for most gravel paths. Tamp the soil down, then add a layer of weed fabric if you want to slow future growth.
For a firmer surface, spread a couple inches of compacted base rock before the gravel. It's extra work now, but it keeps the path from turning into a muddy mess later.
Choose A Gravel That Feels Right Underfoot
Pea gravel is smooth and quiet but tends to shift. Crushed stone locks together better and stays put, though it's a bit crunchier to walk on. Decomposed granite packs down almost like concrete but keeps a warm, earthy color.
Visit a local stone yard if you can—seeing and touching the options makes the choice much easier.
Edge It Without Overdoing It
A simple edge keeps gravel from wandering into the lawn. You can use steel edging, a row of bricks, or even just a shallow trench. For a more natural look, plant low groundcovers like creeping thyme or moss along the sides.
They'll soften the transition and make the path feel like it's been there for years.
3. Build a Dry Creek Bed to Handle Rain and Add Interest
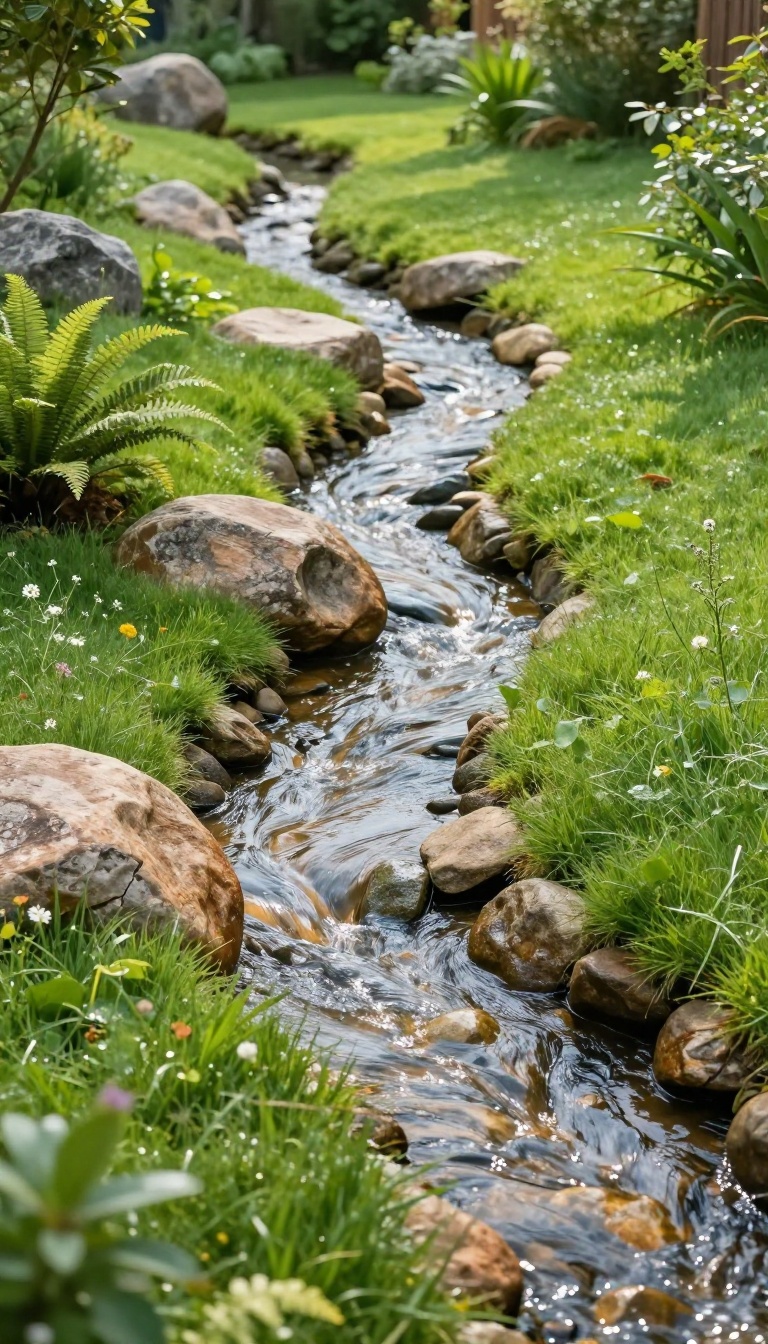
A soggy corner of the yard doesn't have to be a permanent headache. You can turn that drainage problem into a dry creek bed that looks like it's been there for years. River rocks and a few well-placed boulders mimic a natural stream, guiding water away from your foundation while giving the space a relaxed, organic feel.
It's one of those rare projects that solves a practical issue and makes the landscape more interesting at the same time.
A dry creek bed is exactly what it sounds like: a shallow, rock-lined channel that only carries water during heavy rain. The rest of the time, it reads as a decorative feature, like a stream that dried up for the season. That dual purpose is what makes it so useful in a backyard with natural charm.
You're not just hiding a problem. You're creating a focal point that adds texture, sound, and movement to the garden, even when it's dry.
Why It Works
Water follows the path of least resistance, and a dry creek bed gives it an obvious one. Instead of pooling near your patio or creeping toward the house, runoff gets channeled along the rocks and safely away. Visually, the mix of sizes and shapes breaks up flat ground.
It looks intentional, like a piece of the landscape that belongs there, not a quick fix.
Choosing Rocks That Look Right
River rock is the go-to for the bed itself because the rounded edges feel natural and won't cut bare feet. Sizes between one and three inches work well for the main channel. Boulders anchor the edges and add weight.
Pick a few larger ones, ideally local stone, and place them so they look like they tumbled into place. Avoid perfectly matching rocks; variety is what sells the natural look.
Laying It Out Without A Headache
Start by watching where water actually goes during a storm. That's your path. Dig a shallow trench, about twice as wide as it is deep, and line it with landscape fabric to keep weeds down.
Add a layer of larger gravel for drainage, then top with river rock. Nestle the boulders along the edges, and plant low-growing perennials or grasses alongside to soften the transition.
Keeping It Looking Good
A dry creek bed needs almost no maintenance, but a quick check after big storms helps. Rake leaves and debris out so water can flow freely. If weeds pop up, pull them while they're small.
Every few years, you might top off the rocks, but otherwise, it just sits there looking like it's always been part of the yard.
4. Create a Cozy Fire Pit Nook with Natural Stone
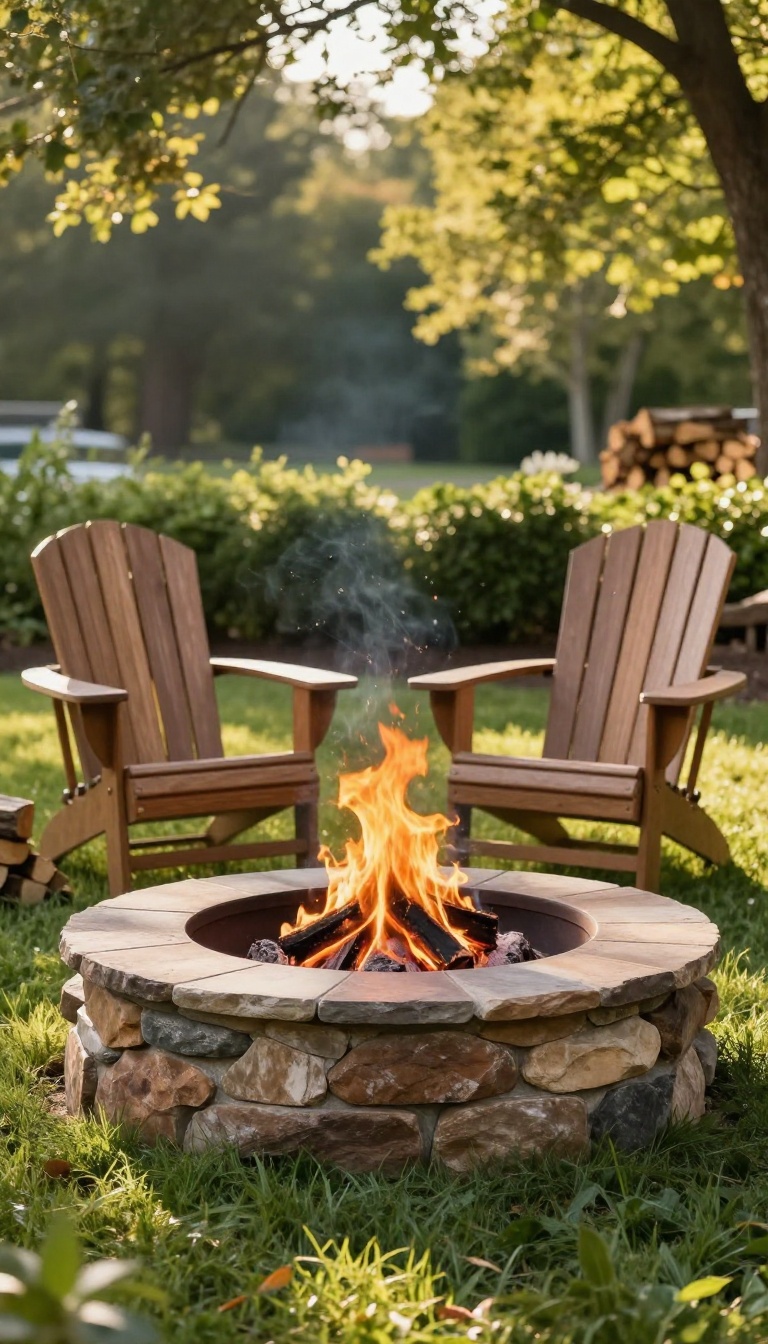
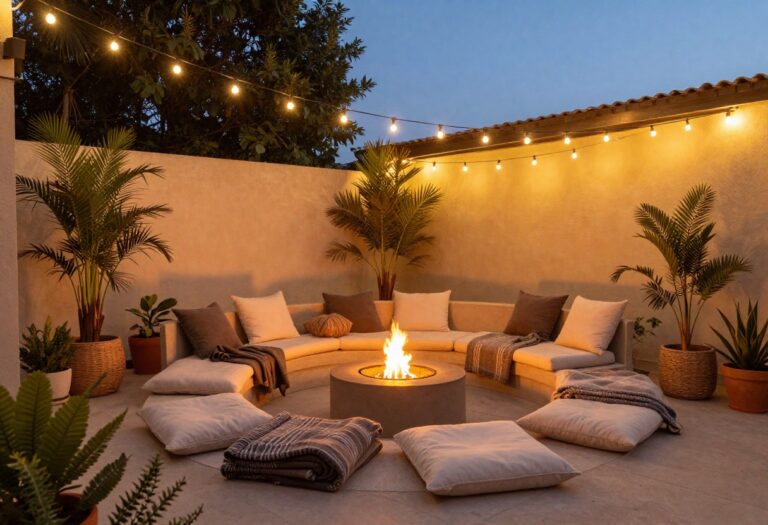
A fire pit turns a plain backyard into a destination, especially when it's built from natural stone that blends with the landscape. You don't need a massive built-in structure to get the effect. A simple ring of stones or bricks, a few seats, and a clear spot to gather is enough to make people want to linger.
The real charm comes from how it feels, not how much it costs. Natural stone has a way of looking like it's always been there, even if you just finished it last weekend. Pair it with log seating or a couple of Adirondack chairs and you've got an instant gathering spot that works for cool evenings, long talks, and quiet mornings with coffee.
Pick A Spot That Already Feels Good
The best fire pit location is usually the one you're already drawn to. Look for a flat, open area away from low tree branches and anything flammable. You want a little breathing room, but not so far from the house that you'll skip using it on a whim.
Check the wind direction too. A spot with a natural breeze break, like a hedge or a small shed, keeps smoke from chasing everyone inside. If the ground is uneven, a shallow gravel or sand base will keep your stones level and safe.
Choose Stone That Matches Your Yard
Fieldstone, flagstone, and river rock all work, but they give off different vibes. Fieldstone feels rustic and a little wild, while flagstone reads more tailored. River rock is smooth and calming, perfect if your yard already has a soft, natural feel.
You can also mix materials. A brick inner ring with a stone outer edge adds depth without much extra work. Just avoid porous stones like limestone near the fire itself, since they can crack when heated.
Seating That Invites People To Stay
Log seating is the easiest way to keep things casual. A few thick rounds of cedar or oak, sanded and sealed, make sturdy stools that look like they grew there. Add flat cushions for comfort and you're set.
If you want a bit more back support, Adirondack chairs are a classic choice. They're roomy, weather-friendly, and they angle toward the fire naturally. A mix of both works well, especially if you have a small crowd.
Small Touches That Make It Cozy
A fire pit nook feels cozier when it has soft light and a little texture. Hang a few solar lanterns or string lights on nearby posts or branches. A small side table for drinks and marshmallow sticks keeps things handy.
Plant low-growing herbs or native grasses around the edges to soften the stone. They'll add movement and scent without blocking the view. Just keep them far enough back to stay safe from sparks.
5. Use Woodland Edges to Soften Fences and Boundaries
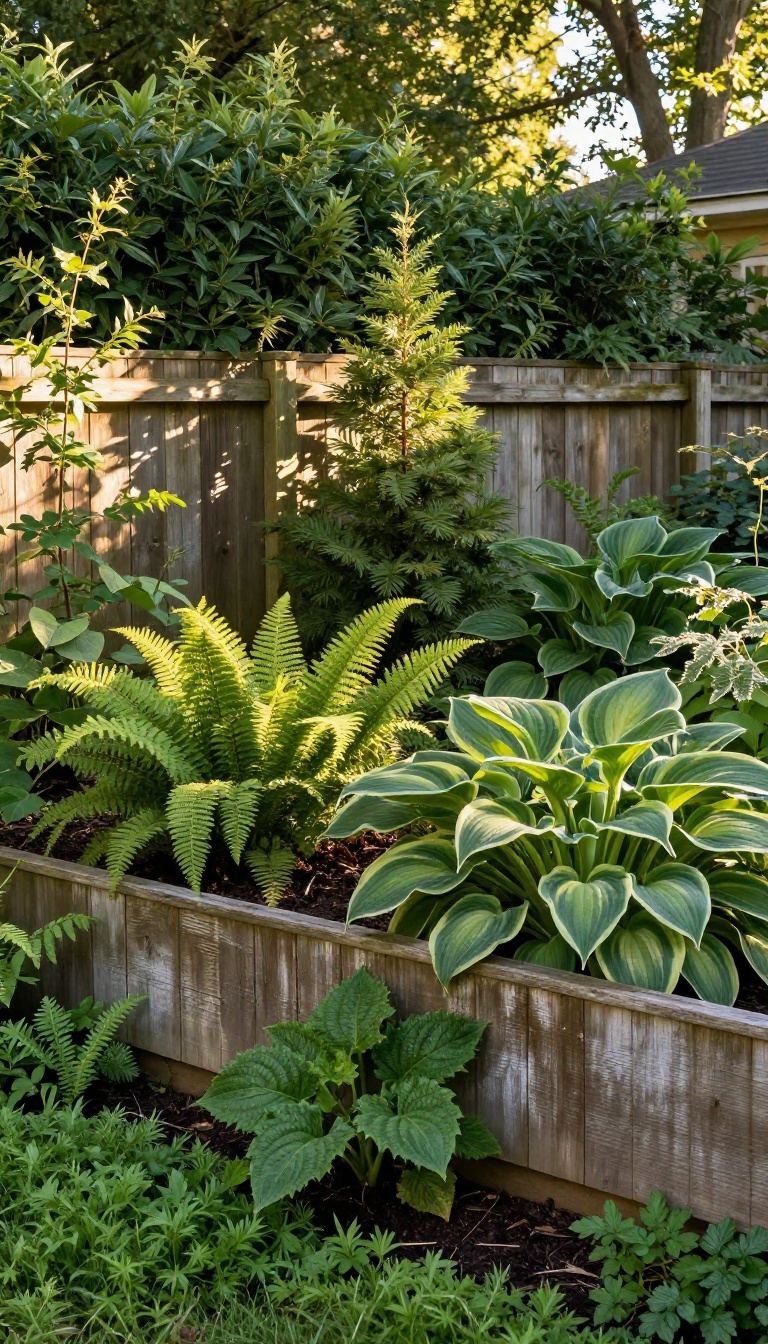
Fences do their job, but they rarely win beauty contests. A bare stretch of wood or vinyl can make even a lush yard feel boxed in. Woodland edges fix that by layering shade-loving plants right up against the boundary, so the fence fades into greenery instead of shouting for attention.
The trick is to work with the shade and root competition most fences create, not against it. Ferns, hostas, and a few sturdy shrubs handle those conditions without constant watering or fuss. Once they fill in, the line between your yard and whatever's beyond it gets pleasantly blurry.
You don't need a deep bed to pull this off. A two- to three-foot strip is plenty for most yards, and it's easier to maintain than a wide border you'll neglect by August. Start by clearing grass and weeds, then loosen the soil a bit and mix in some compost.
If your fence sits in heavy shade, that's actually an advantage here. Plant in layers: taller shrubs at the back, mid-size hostas and ferns in the middle, and low groundcovers or creeping plants at the front. This stacking is what creates the soft, woodland look.
It also hides the bottom rail of the fence, which is usually the least attractive part. Water everything well for the first few weeks, then let the plants settle into their own rhythm. Most of these species are tough once established and will spread slowly on their own.
A light mulch helps keep moisture in and weeds down without much extra work.
Best Plants For Shady Fence Lines
Ferns like autumn fern and lady fern bring fine texture and stay green through most of the season. Hostas come in dozens of sizes and leaf colors, so you can mix and match without it looking messy. Add a few shade-tolerant shrubs such as hydrangea, viburnum, or Japanese forest grass for structure.
If your soil stays damp, try astilbe or ligularia. For drier shade, coral bells and epimedium hold up well. Stick with plants that match your moisture level and you'll spend less time babying them.
Layering For Depth And Softness
A single row of the same plant along a fence looks flat and a little sad. Instead, stagger heights and leaf shapes so the eye moves around. Taller plants near the fence, medium ones in front, and low spreaders at the edge.
Let a few plants lean or spill slightly over the bed line. That small bit of looseness is what makes a border feel natural rather than planted by a ruler. It also softens the transition between lawn and garden.
Keeping It Low-maintenance
Woodland edges don't need much once they're in. Trim back dead foliage in early spring, refresh mulch every year or two, and water during long dry spells. That's about it.
Avoid planting right against the fence boards if you can, since airflow helps prevent rot and pests. Leave a few inches of gap and let the plants grow into it. The fence stays healthier and the border still looks full.
6. Incorporate a Small Water Feature for Calm and Sound
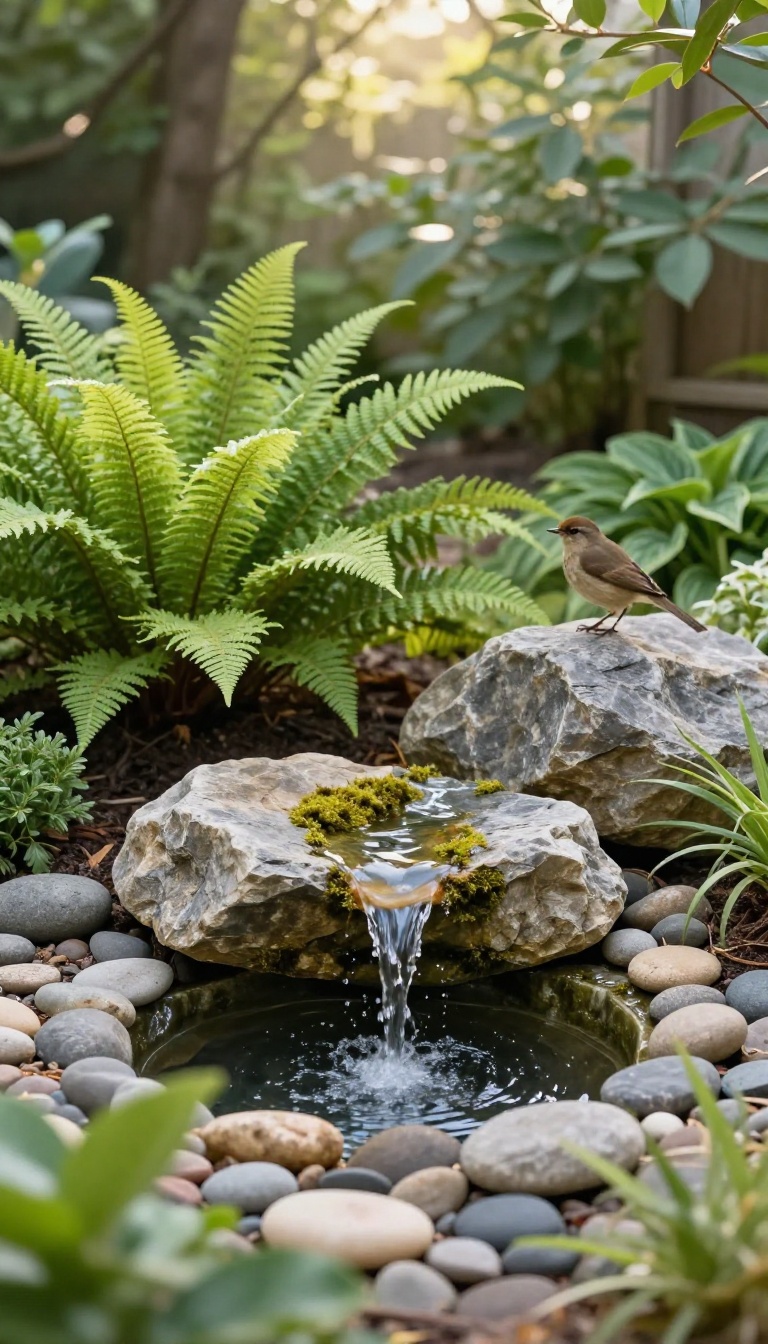
Water adds a layer of calm that few other landscape elements can match. The gentle sound of a bubbling rock or a small fountain can mask traffic noise and create a peaceful backdrop for your backyard. Even a tiny water feature attracts birds and other wildlife, bringing movement and life to your space.
Best of all, you don't need a massive pond or a complicated setup to enjoy these benefits. A simple, self-contained water feature can be installed in a weekend and maintained with minimal effort.
A small water feature works because it engages multiple senses at once. You see the light reflect off the water, hear the soothing sound, and watch birds stop by for a drink. It becomes a natural focal point that draws the eye without dominating the landscape.
Unlike a swimming pool or a large pond, a small feature fits into almost any yard size, from a cozy patio to a spacious garden. And because it recirculates water, you won't waste much, and you won't need to refill it constantly.
Choose The Right Style For Your Space
The style of your water feature should match the overall feel of your backyard. A bubbling rock is a great choice for a natural, woodland garden. It's essentially a rock with a hidden reservoir and pump that pushes water up through the top, creating a gentle bubble.
For a more traditional look, a tiered fountain or a simple basin with a spout can work well. If you have a bit more room, a small pond with a few aquatic plants and a tiny pump creates a mini ecosystem. Each option has its own personality, so pick one that feels like a natural extension of your existing landscape.
Keep Maintenance Simple
One of the biggest worries with water features is upkeep, but small ones are surprisingly easy to care for. A recirculating fountain or bubbling rock only needs occasional topping off and a quick scrub every few weeks. If you add a small pond, include a few mosquito-eating fish like goldfish or mosquitofish, and keep the water moving with a pump.
That circulation prevents stagnation and reduces algae. In colder months, you can drain and cover the feature, or keep it running if it's designed for winter. The key is to choose a setup that fits your schedule, not one that becomes a chore.
Place It Where You'll Enjoy It Most
Location matters more than size. Put your water feature near a seating area, like a patio or a bench, so you can enjoy the sound while you relax. If you want to attract birds, place it where they feel safe, with some nearby cover like shrubs or a small tree.
Avoid putting it right next to a bedroom window if the sound might keep you awake, unless you find it soothing. Also, consider the sun exposure: too much direct sun can encourage algae, while too much shade might make plants struggle. A spot with morning sun and afternoon shade is often ideal.
7. Let Climbing Vines Cover an Arbor or Pergola
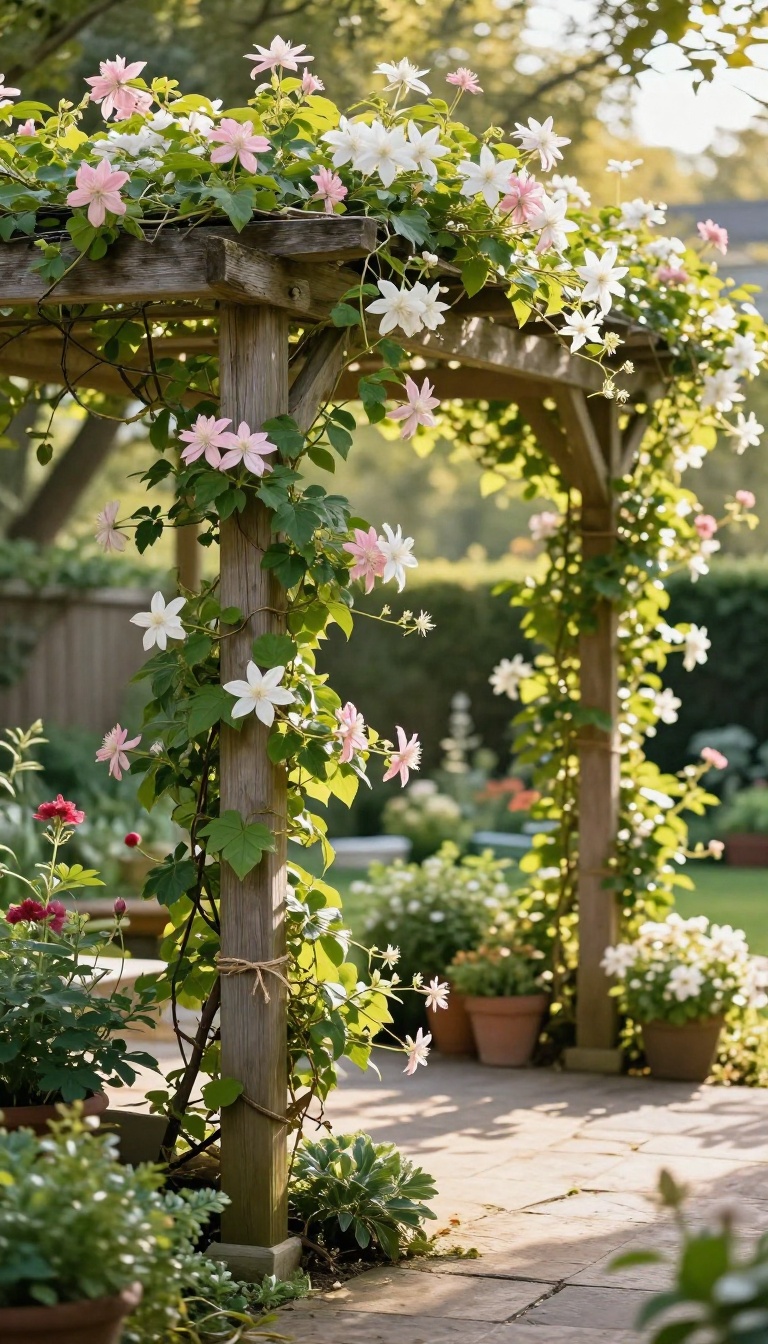
A bare arbor or pergola can look a little lonely, like a skeleton waiting for its skin. Give it something to climb, and it transforms into a living ceiling that offers shade, privacy, and a touch of romance. Vines turn a simple structure into a green retreat that feels like it's been there for years.
The trick is picking the right vine for your climate and the look you want. Some grow fast and furious, while others take their time but reward you with spectacular blooms. Either way, you'll want to match the vine to the structure's strength and your patience level.
Once you've chosen your climber, a little training goes a long way. Vines don't naturally know where to go, so you'll need to guide them in the beginning. After that, they'll mostly take care of themselves with occasional pruning.
Choosing The Right Climber
Jasmine fills the air with sweetness, especially in the evening. Clematis offers a rainbow of colors and works well in smaller spaces. Climbing roses bring classic charm but need more sun and annual pruning.
Consider your hardiness zone and how much maintenance you're willing to do.
Training And Support
Start by tying young stems loosely to the structure with soft twine or plant ties. As they grow, weave them through the slats or wires. For heavy vines like wisteria, make sure your arbor is sturdy enough to handle the weight.
Keeping It Tidy
Prune after the main bloom period to keep growth in check and encourage next year's flowers. Remove any dead or tangled stems to maintain good airflow. A little upkeep keeps the structure safe and the vines healthy.
8. Mix Natural Materials for Patios and Walkways
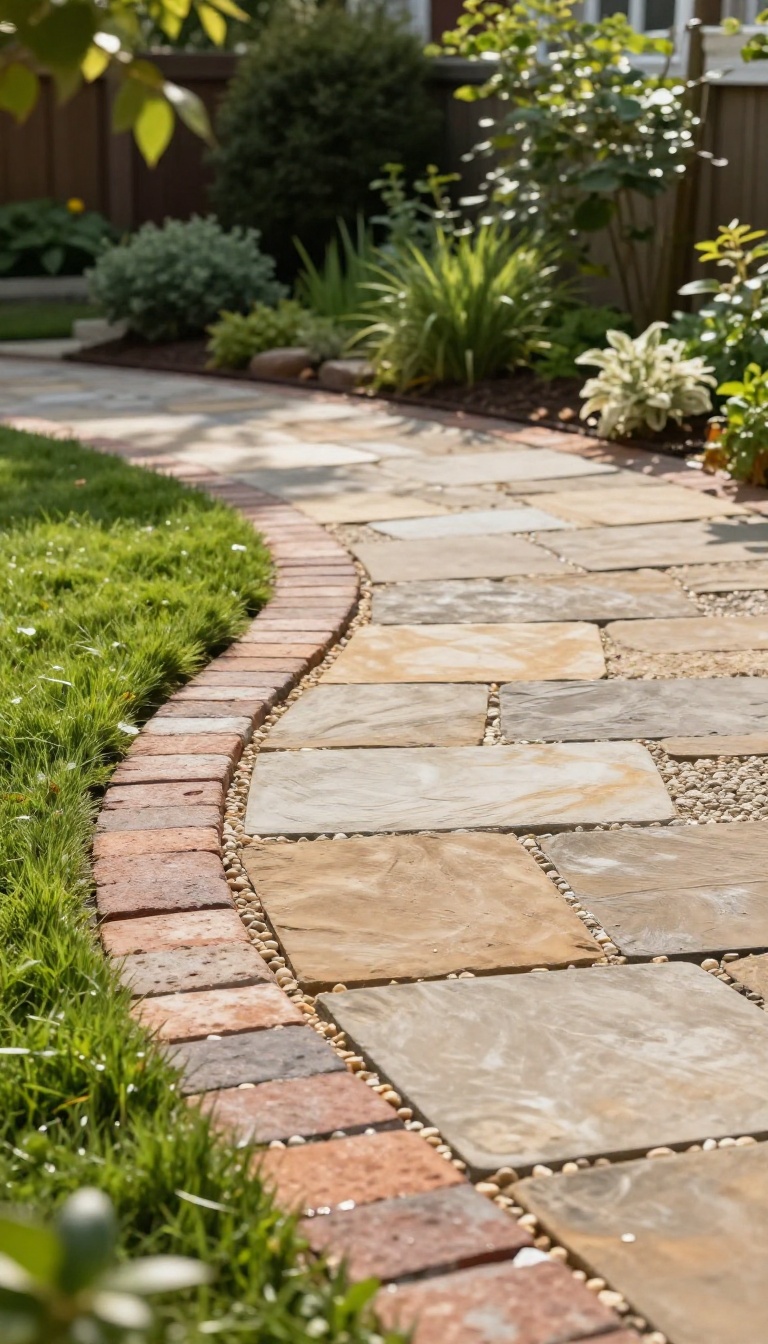
A patio made from a single material can look flat, even when the material itself is beautiful. The fix isn't to rip it out and start over. It's to layer in a few complementary textures so the space feels collected rather than ordered from a catalog.
Think of it like a well-worn path in an old garden. Flagstone here, brick there, gravel filling the gaps. Each material brings its own color and weight, and together they tell a story of time passing.
You don't need a mason's budget to pull this off. Small swaps and borders can do most of the work, and the result feels more personal than any single-surface install.
Start by choosing a dominant material for the main walking or sitting area. Flagstone is a natural pick because its irregular shapes and earthy tones already look like they've been there for decades. Use it for the patio itself, then let other materials play supporting roles.
Brick works well as a border or a transition strip. It adds a warm, handmade feel that breaks up the gray of stone. Gravel is the easiest way to fill awkward gaps or create a soft edge between the hardscape and the lawn.
When you mix materials, keep a common thread. Stick to warm neutrals or cool grays, and let one material lead. Too many colors and the space starts to look busy instead of charming.
Pick A Lead Material
Choose one material to cover at least sixty percent of the surface. Flagstone, brick, or even large concrete pavers can work. This gives the eye a place to rest and keeps the mix from feeling random.
Use Gravel As A Flexible Filler
Pea gravel or crushed stone is cheap, easy to spread, and soft underfoot. Use it between flagstone pieces or along the edge of a brick path. It also helps with drainage, which is a bonus in wet climates.
Add A Brick Border For Warmth
A single row of bricks around a flagstone patio adds a finished look without much cost. Set them in sand or mortar, depending on how permanent you want the edge to be. The reddish tones warm up cooler stone.
Let The Edges Stay Loose
Don't fight the transition between materials. Let gravel spill into the garden bed or let moss grow between stones. Those small imperfections are what make the space feel established and lived-in.
9. Plant a Mini Meadow Instead of a Lawn
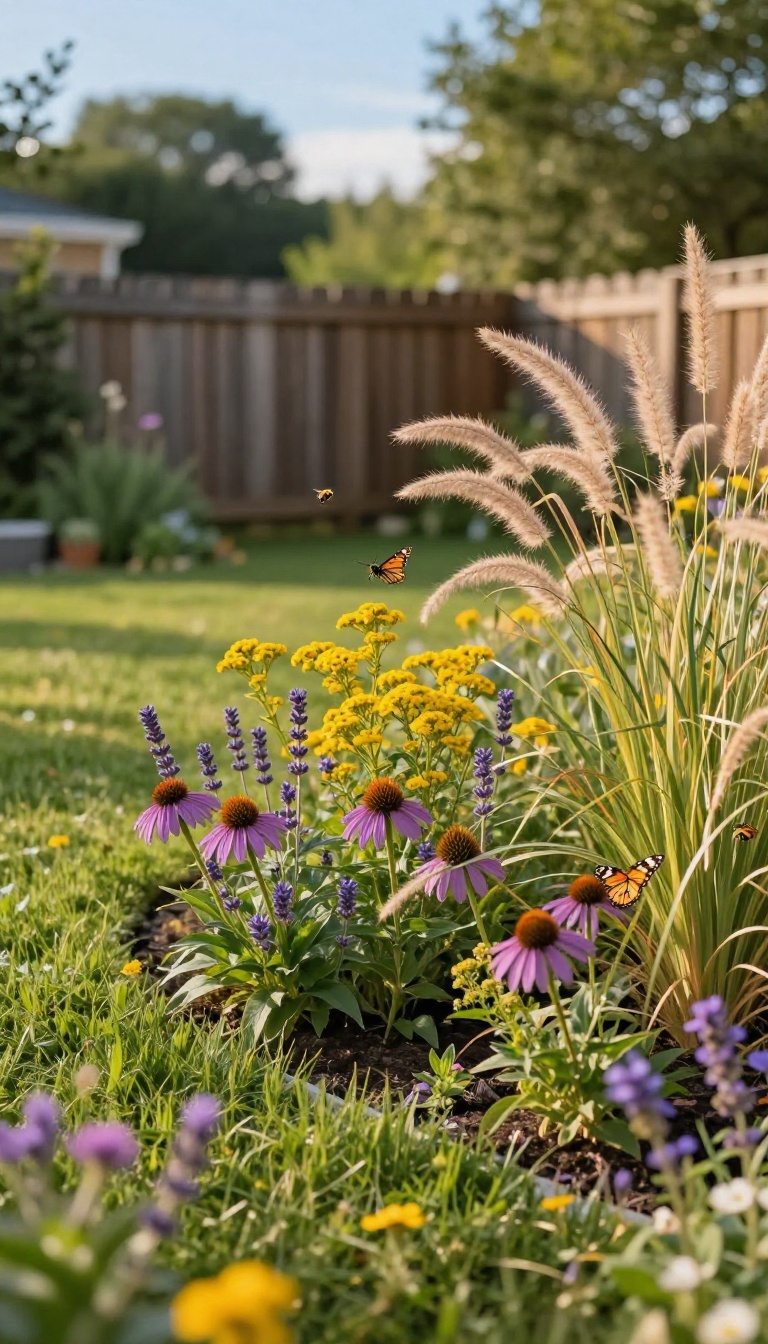
Lawns are fine, but they're basically green carpets that demand constant attention. A mini meadow flips that script. You swap a chunk of turf for wildflowers and ornamental grasses that mostly take care of themselves.
The result is a soft, shifting patch of color that changes with the seasons. Bees and butterflies show up without an invitation. And you spend way less time pushing a mower.
You don't have to convert the whole yard. Start with a corner, a slope, or a strip along the fence. Even a 10-by-10-foot patch makes a difference.
Meadows work best in full sun and soil that drains. If your spot stays soggy, choose plants that like wet feet, like swamp milkweed or Joe Pye weed. If it's dry and rocky, go with yarrow, lavender, or little bluestem.
The key is to keep it low-maintenance, not no-maintenance. You'll still need to water new plants until they settle in, and give the whole area one good cut in late winter or early spring. That's about it.
Pick The Right Spot
Sunlight is the biggest factor. Most meadow plants want at least six hours of direct sun. Watch your yard for a day to see where the light lands.
Also think about how you use the space. If kids play there or you walk that way often, leave a path or keep the meadow to the edges. A simple mowed trail through the flowers looks intentional and keeps things tidy.
Choose A Simple Plant Mix
You don't need a botany degree. A mix of 60% wildflowers and 40% grasses works well in most places. Native plants are your best bet because they already know how to survive your climate.
Try easy starters like black-eyed Susan, purple coneflower, bee balm, and switchgrass. Add a few spring bloomers like columbine or wild geranium for early color. Check with a local nursery or extension office for a seed mix made for your region.
Plant And Care For It
Clear the existing grass and weeds first. You can smother them with cardboard and mulch for a few weeks, or rent a sod cutter if you want to move fast. Scatter seeds in fall or early spring.
Press them into the soil gently—don't bury them deep. Water regularly the first season. After that, nature takes over.
In late winter, cut everything down to about 4 to 6 inches. Leave the clippings for a day so seeds can drop, then rake them up. That's your yearly maintenance.
10. Add Rustic Seating Made from Logs or Reclaimed Wood
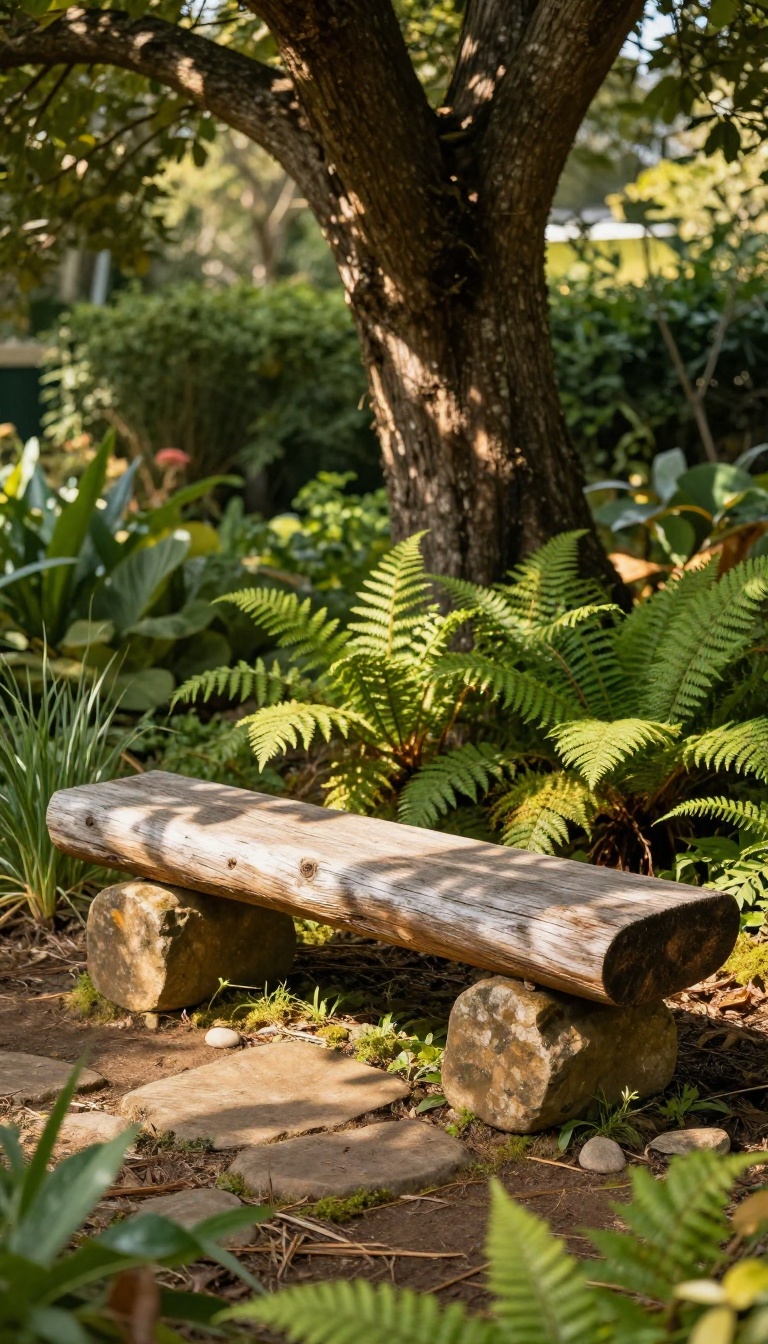
Seating doesn't have to be fancy to be comfortable. A simple bench made from a half log or a few planks of reclaimed barn wood can anchor a quiet corner of your yard. It invites you to sit down, stay a while, and enjoy the view you've created.
Best of all, these pieces look like they grew there. They weather naturally, blend with plants and stone, and never feel out of place. Whether you build it yourself or find a local maker, rustic seating adds instant character without much fuss.
Rustic seating works because it feels honest. There's no shiny finish or perfect symmetry, just solid wood doing its job. That relaxed vibe encourages people to actually use the space, not just admire it from a distance.
You can place a log bench under a tree, line a path with stump stools, or tuck a reclaimed wood chair near a fire pit. Each spot becomes a destination. And because the materials are natural, they age gracefully instead of looking worn out.
Choosing The Right Wood
Cedar, oak, and black locust hold up well outdoors. They resist rot and insects without chemical treatments. Reclaimed lumber from old barns or fences brings instant history, but check for lead paint if it's pre-1978.
A quick sanding and a coat of linseed oil or outdoor sealant will keep it sturdy for years.
Simple Builds For Any Skill Level
You don't need to be a carpenter. A half log set on two flat stones makes a sturdy bench. Two stumps and a thick plank create a low table or extra seating.
For a more finished look, attach reclaimed boards to a metal frame. Even a basic stool from a tree slice and three legs adds charm.
Styling And Placement Tips
Group seating around a focal point like a fire pit or a small pond. Mix heights and shapes to keep it interesting. Add a few outdoor cushions in muted colors for comfort, but bring them inside when it rains.
Let moss or lichen grow on the wood if you want an even more natural look.
11. Use Soft Lighting to Extend Evenings Outdoors
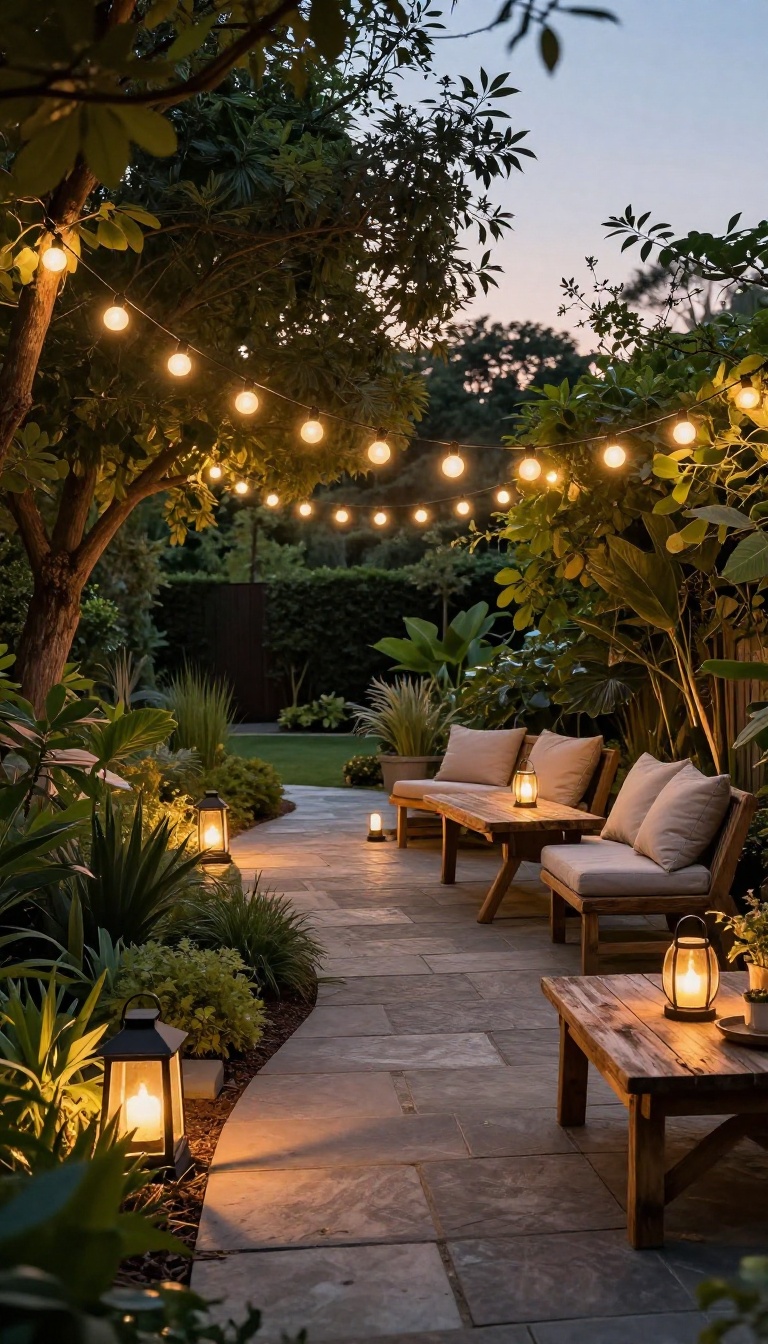
As the sun sets, your backyard can either fade into darkness or transform into a cozy retreat with the right lighting. Soft, warm lights not only make the space usable after dark but also highlight the natural textures and shapes of your plants and trees. The best part?
You don't need to hire an electrician or spend a fortune—solar and low-voltage options make it easy.
Think of outdoor lighting as a gentle layer that adds depth and atmosphere. It's not about flooding the yard with brightness; it's about placing a few key lights to create pools of warmth. This approach keeps the natural charm intact while making evenings feel inviting.
Plus, with today's solar and LED options, you can set it up in an afternoon.
Solar Path Lights For A Guiding Glow
Line a walkway or garden bed with solar path lights. They soak up sun during the day and automatically turn on at dusk, casting a soft, steady glow. Choose styles that blend with your landscape—like metal stakes or stone-finish fixtures—so they look like they belong.
Space them a few feet apart to create a rhythm that leads the eye without feeling like an airport runway.
String Lights For A Festive Touch
Hang string lights across a patio, from tree to tree, or along a fence. They add a playful, welcoming vibe that instantly makes the space feel larger and more intimate. Use warm white bulbs for a classic look, or go with round globe lights for a retro feel.
Just make sure to use outdoor-rated strands and secure them well so they stay put through wind and rain.
Lanterns And Candles For Portable Warmth
Place lanterns with LED candles or citronella candles on tables, steps, or hanging from hooks. They're easy to move around, so you can shift the mood as the evening progresses. Lanterns come in all shapes and sizes—from rustic metal to sleek glass—so you can match your style.
They also add a flickering, organic light that feels more like a campfire than a bulb.
Highlighting Plants And Features
Use spotlights or well-placed uplights to showcase a favorite tree, a sculpture, or a water feature. This creates drama and draws attention to the elements you love most. Keep the light soft and angled upward to mimic moonlight.
A few well-placed lights can make even a simple shrub look like a piece of art.
FAQ
What does 'natural charm' mean in a backyard landscape?
It means using plants, materials, and layouts that look like they belong in your region, with a relaxed, unforced feel rather than a manicured or formal look.
Do these ideas work for small backyards?
Yes. Many of them, like a small water feature or a gravel path, scale down easily. The key is to choose a few elements and give them room to breathe.
How can I add natural charm on a tight budget?
Start with native plants, reclaimed materials, and DIY projects like a simple fire pit or log seating. These give big impact without a big spend.
What's the easiest idea to start with?
Layering native plants is probably the simplest. You can begin with a small bed and expand over time as you see what thrives.
How do I keep a natural-looking yard from feeling messy?
Use repetition, clear edges, and a few structural elements like a path or a focal point. That keeps the wildness intentional rather than chaotic.
Conclusion
Natural charm does not come from one big project. It builds slowly, from a few honest choices that fit your yard and how you actually live in it. Pick two or three ideas here and start with the one that fixes your biggest annoyance, whether that is a bare corner, harsh sun, or a path that floods every spring.
Give it a season. Then add the next piece when it feels right.