23 Best Floor Cleaning Solution Ideas for Every Surface
Scuff marks on vinyl, dull spots on hardwood, or streaky tile—each floor surface has its own cleaning quirks. You don't need a dozen different store-bought bottles to handle them all.
Everyday ingredients like vinegar, rubbing alcohol, and even tea bags can tackle specific problems without harsh chemicals. These 23 ideas target everything from grout lines to carpet stains, so you can pick the perfect solution for your floor type.
No guesswork, just practical recipes that deliver real results.
1. Vinegar and Water for Hardwood Floors
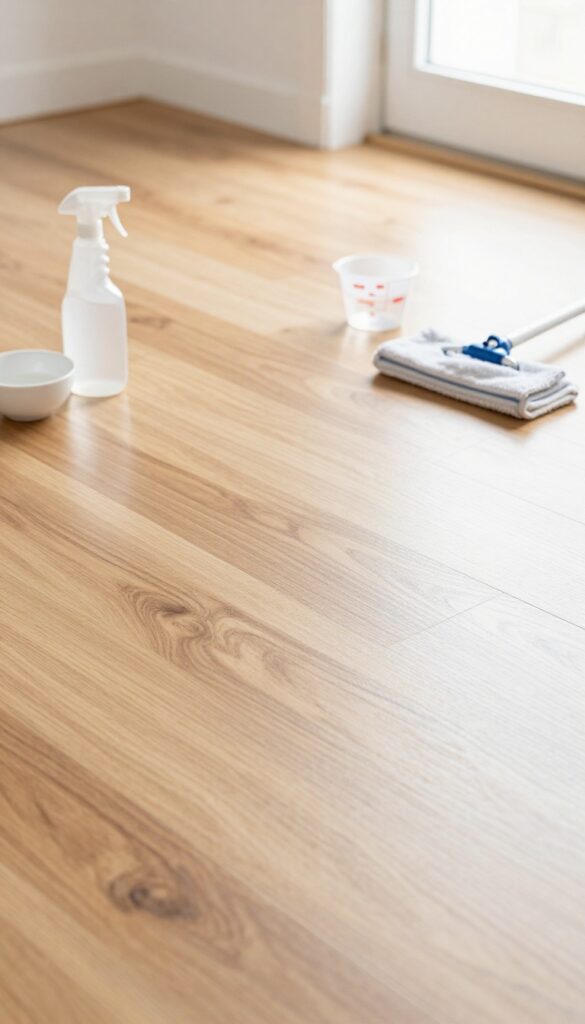
Hardwood floors need gentle care to keep their finish looking great. A simple vinegar and water solution is a go-to for many homeowners because it cuts through grime without harsh chemicals. The key is using the right ratio and technique to avoid damaging the wood.
Why It Works
White vinegar is mildly acidic, which helps dissolve dirt, grease, and residue without stripping the protective finish. Diluted properly, it's safe for sealed hardwood and leaves no soapy film.
How To Mix And Apply
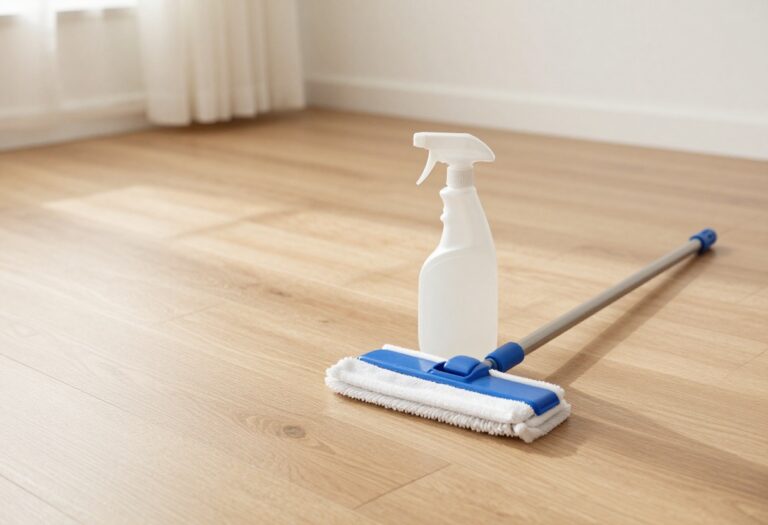
Mix 1/4 cup of white vinegar with one gallon of warm water. Use a spray mop or a damp (not wet) microfiber mop. Work in small sections, mopping with the grain.
Dry immediately with a clean cloth to prevent moisture from seeping into seams.
What To Avoid
Never use full-strength vinegar or soak the floor. Excess water can cause warping. Avoid this mix on unsealed or waxed floors—vinegar can damage the finish over time.
Test in a hidden area first.
2. Rubbing Alcohol for Streak-Free Tile
Ceramic and porcelain tile look great when they're clean, but streaks can ruin the effect fast. Rubbing alcohol solves that problem by evaporating almost instantly, so there's no time for residue to form. Just add half a cup to a bucket of warm water with a tiny squirt of dish soap, and you're ready to go.
Why It Works So Well
Rubbing alcohol is a solvent that cuts through grease and grime without leaving a film. Unlike vinegar or ammonia, it doesn't linger on the surface. That fast evaporation means no streaks, even on dark or glossy tiles where every smudge shows.
How To Use It Safely
Mix 1/2 cup rubbing alcohol with 1 gallon of warm water and a drop of dish soap. Mop as usual, but don't soak the floor. Use a well-wrung mop to avoid puddles.
Let it air dry—no rinsing needed. Avoid highly diluted alcohol; it won't be effective.
Best For High-traffic Areas
Kitchens, bathrooms, and entryways with tile floors benefit most. The alcohol sanitizes lightly and deodorizes, so it's great for spaces that see a lot of use. Just test on an inconspicuous spot first to make sure it doesn't affect the grout sealant.
3. Hydrogen Peroxide for Grout Lines
Grout lines can be a magnet for dirt and discoloration, making even freshly mopped tile look dingy. Hydrogen peroxide offers a gentler alternative to chlorine bleach, lifting stains without the harsh fumes or risk of yellowing. Combined with baking soda, it forms a paste that clings to vertical surfaces and penetrates porous grout for a deeper clean.
This simple paste brightens grout naturally, restoring the crisp contrast between tiles. It's safe for most sealed grout and won't damage surrounding surfaces when used as directed.
Mixing The Paste
Combine 1/2 cup baking soda with about 3 tablespoons of 3% hydrogen peroxide. Stir until it forms a thick, spreadable paste. Adjust the peroxide amount if needed—it should be moist but not runny.
Application And Dwell Time
Use an old toothbrush or a small grout brush to apply the paste directly onto the grout lines. Let it sit for 10 minutes so the peroxide can work on embedded stains. Avoid letting it dry completely; cover with plastic wrap if you're working on a large area.
Scrubbing And Rinsing
Scrub the grout with the brush in circular motions, focusing on dark spots. Rinse thoroughly with water and wipe away any residue with a damp cloth. For stubborn stains, repeat the process or let the paste sit longer.
4. Castile Soap for Sealed Stone
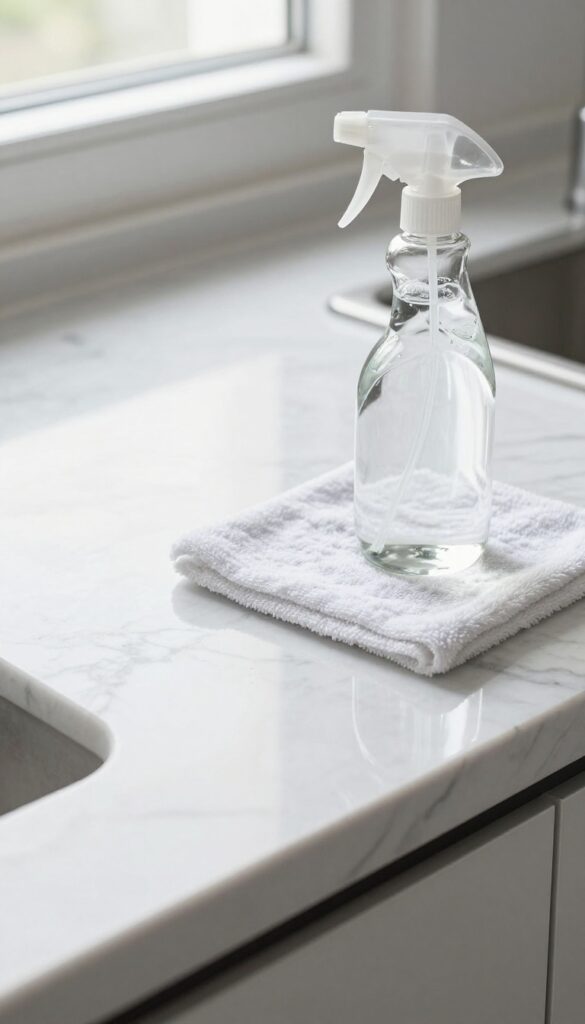
Marble, granite, and slate add a touch of elegance to any home, but they demand a gentle touch. Harsh cleaners can strip the sealant or cause etching, leaving permanent damage. That's where castile soap comes in—it's a mild, plant-based cleanser that lifts dirt without harming the stone's protective layer.
Castile soap is biodegradable, fragrance-free, and safe for sealed natural stone. It won't leave a residue or dull the finish like some commercial cleaners. Just mix one tablespoon of liquid castile soap per gallon of warm water, and you're ready to mop.
Why Castile Soap Works
Unlike acidic cleaners like vinegar, castile soap has a neutral pH that won't react with stone or dissolve the sealant. It gently emulsifies grime and grease, so you get a streak-free shine without scrubbing. Plus, it's gentle on your hands and the environment.
How To Mop Sealed Stone
Start by sweeping or vacuuming to remove loose dirt. Dip a microfiber mop into the castile soap solution, wring it out well—you want a damp mop, not a wet one. Mop in sections, rinsing the mop frequently.
Let the floor air dry, or buff with a dry microfiber cloth for extra shine.
What To Avoid
Never use vinegar, lemon juice, or any acidic cleaner on stone—they etch the surface. Also skip abrasive scrubbers or bleach. And don't overdo the soap; too much can leave a film.
Stick to the one-tablespoon-per-gallon ratio for best results.
5. Dish Soap and Warm Water for Vinyl
Vinyl plank flooring is popular for its durability and water resistance, but it can still look dull when dirt builds up. A simple mix of dish soap and warm water is often all you need to bring back the shine without damaging the surface.
Dish soap cuts through grease and everyday grime without the harsh chemicals that can dull vinyl over time. Warm water helps dissolve dirt faster, and a quick rinse with plain water prevents any leftover soap from leaving a film. This method is safe for most vinyl floors, including luxury vinyl plank (LVP) and sheet vinyl.
Why Dish Soap Works
Mild dish soap is formulated to break down oils and food residue, which are common on kitchen and entryway floors. Unlike all-purpose cleaners, it won't strip the protective wear layer on vinyl. Just a few drops in a bucket of warm water is enough to lift stuck-on dirt.
How To Mop Correctly
Use a microfiber mop or soft cloth—never a scrub brush or abrasive pad. Dip and wring until damp, then mop in sections. Rinse the mop head frequently to avoid spreading dirty water.
Follow up with a clean damp mop (plain water) to remove any soap residue.
Dos And Don'ts
Do test a small hidden area first. Don't use too much soap—excess suds can leave a sticky layer that attracts more dirt. Don't let puddles sit; vinyl is water-resistant but standing water can seep into seams over time.
Always dry the floor with a clean towel or let it air dry completely.
6. Baking Soda Paste for Scuff Marks
Scuff marks from shoes or furniture can make a clean floor look messy fast. Instead of reaching for harsh cleaners, try a simple paste made from baking soda and water. It’s gentle enough for laminate and vinyl but tough on those black streaks.
Mix three parts baking soda with one part water to form a thick paste. Apply it to the scuff mark with a soft cloth or sponge, rubbing gently in a circular motion. The mild abrasiveness lifts the mark without scratching the surface.
Wipe away the residue with a damp cloth, then dry. For stubborn marks, let the paste sit for a minute before rubbing.
Why Baking Soda Works
Baking soda is a mild abrasive—about a 2. 5 on the Mohs hardness scale—so it’s hard enough to remove scuffs but soft enough to avoid damaging floor finishes. It also neutralizes odors, leaving your floor fresh.
Best Floor Types For This Method
Laminate and vinyl floors are ideal because they have a durable wear layer that can handle gentle scrubbing. Avoid using baking soda paste on unsealed wood or waxed floors, as the moisture and abrasion may damage the finish.
Tips For Tough Scuffs
For really stubborn marks, add a drop of dish soap to the paste for extra cleaning power. Test on an inconspicuous area first. Always use a soft cloth—never a scrub brush—to prevent scratching.
7. Tea Bags for Dark Hardwood Shine
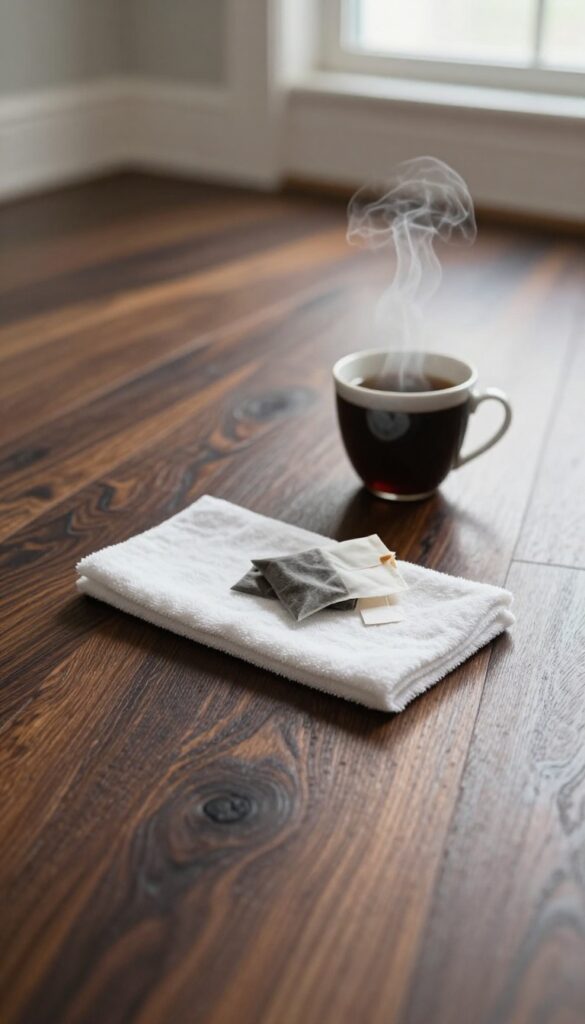
Dark stained hardwood floors can lose their luster over time, but you don't need harsh polishes to bring back the glow. A simple brew of black tea does the trick—naturally. The tannins in tea leaves work like a gentle stain enhancer, deepening the color and adding a subtle shine without any sticky residue.
Steeping two black tea bags in a quart of boiling water creates a tannin-rich solution that restores richness to dark wood. Let it cool completely, then mop as usual. The effect is subtle but noticeable—your floors look deeper and more vibrant, not greasy or coated.
This method works best on sealed dark hardwood and should be tested in an inconspicuous spot first.
Why Tannins Work
Tannins are natural compounds found in tea that bond with wood fibers, enhancing color and adding a low-sheen finish. Unlike chemical polishes that sit on top, tannins soak in slightly, reviving the wood's natural richness. This makes black tea an ideal pick-me-up for tired dark floors.
How To Apply It
Brew two black tea bags in 4 cups of boiling water for 10 minutes. Remove bags and let the tea cool to room temperature. Pour into a spray bottle or use a damp mop—don't soak the floor.
Work in small sections, then buff dry with a microfiber cloth for an even, streak-free shine.
When To Skip This Method
Avoid using tea on light or unfinished wood, as it can stain unevenly. Also skip if your floor has a wax coating—tea can dull wax. Always test on a hidden area first.
For best results, use this treatment every few months, not weekly.
8. Baby Oil for Linoleum Gloss
Linoleum is a classic, durable flooring choice, but it can start to look tired and dull over time. You don't need a commercial polish to bring back its natural glow. Baby oil, a surprisingly effective and affordable alternative, can restore shine and add a protective layer.
Adding just a few drops of baby oil to your mop water makes a noticeable difference. It polishes the linoleum surface, leaving a subtle, non-greasy shine. More importantly, it creates a thin barrier that helps repel dust and dirt, keeping your floors cleaner for longer.
Why Baby Oil Works
Baby oil is a mineral oil that lightly coats the linoleum, filling in microscopic scratches and imperfections. This smooths the surface, which reflects light better and gives that glossy look. It also acts as a mild sealant, reducing the adhesion of grime.
How To Apply It Safely
Start with a clean, dry floor. Add 5-7 drops of baby oil to a bucket of warm water. Mop as usual, but avoid soaking the floor.
Let it air dry. For best results, use a microfiber mop and don't rinse afterward. The thin oil layer will dry clear and non-sticky.
What To Avoid
Too much oil can leave a slippery residue, so stick to a few drops. Never use baby oil on unsealed or waxed linoleum, as it can break down the finish. Test in a hidden corner first.
If your linoleum has a matte finish, skip this method to avoid unwanted shine.
9. Club Soda for Carpet Stains
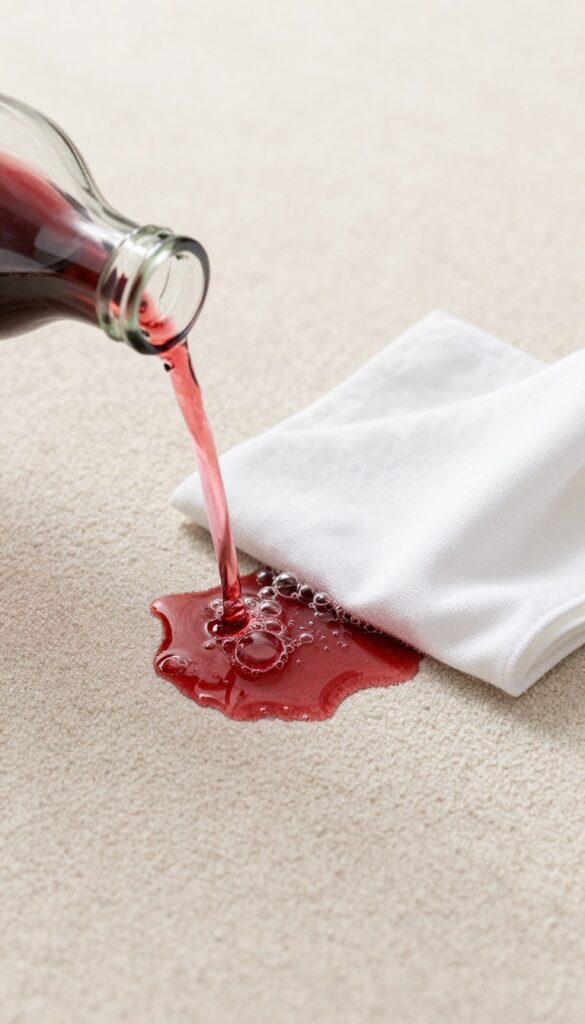
Carpet stains happen, especially in high-traffic areas or homes with kids and pets. Club soda is a surprisingly effective cleaner that uses carbonation to lift dirt from fibers without leaving soapy residue behind. It works best on fresh spills—think red wine, coffee, or juice.
The bubbles help separate the stain from the carpet, making it easier to blot away. No scrubbing, no harsh chemicals, just a simple pantry staple.
Club soda is a go-to for fresh carpet stains because the carbonation gently lifts dirt and the minerals help break down acidic spills. It’s safe for most synthetic and wool carpets, but always test on a hidden spot first. The key is to act quickly and blot, not rub, to avoid spreading the stain.
How It Works
The carbon dioxide in club soda creates bubbles that push stain particles away from carpet fibers. The mild acidity and mineral content help dissolve common stains like wine, soda, or pet accidents. Unlike soap-based cleaners, club soda leaves no sticky residue that attracts more dirt.
Step-by-step Application
Pour a small amount of club soda directly onto the fresh stain—just enough to saturate the area. Let it fizz for a few seconds, then blot with a clean white cloth or paper towel. Press down firmly to absorb the liquid and stain.
Repeat until the stain lifts, then rinse with a little water and blot dry.
Tips For Best Results
Use plain club soda—no flavored or sweetened versions. Work from the outside of the stain inward to prevent spreading. For older stains, let the club soda sit for a minute before blotting.
If the stain persists, a second application often does the trick.
10. White Vinegar and Essential Oils for Laminate
Laminate floors are sensitive to excess moisture, which can cause swelling or warping. That's why many commercial cleaners are either too wet or too harsh. A simple vinegar-based solution, when used correctly, cleans effectively without damaging the surface.
Adding a few drops of essential oil masks the vinegar smell and leaves a light, pleasant aroma.
The key to cleaning laminate without causing damage is using the right ratio of water to vinegar and applying it sparingly. This recipe is gentle enough for regular use but strong enough to cut through everyday grime and fingerprints.
The Right Ratio
Mix 1/4 cup of white vinegar with 2 cups of warm water in a spray bottle. Add 10 drops of lemon essential oil (or any citrus oil) to help cut grease and add a fresh scent. Shake gently to combine.
How To Apply
Lightly mist the solution onto a microfiber mop pad—never directly onto the floor. Too much liquid is the enemy of laminate. Mop in the direction of the planks to avoid streaks, and let the floor air dry.
No rinsing needed.
Why It Works
Vinegar breaks down dirt and grime without leaving a residue, while the small amount of water evaporates quickly. Essential oils add antibacterial properties and a natural fragrance. This solution is safe, cheap, and effective for weekly maintenance.
11. Rubbing Alcohol and Vinegar for Glass Tile
Glass tile showers and backsplashes look stunning when they're clean, but they also show every single water spot and fingerprint. Standard glass cleaners often leave a hazy film that dulls the shine. A simple mix of rubbing alcohol and white vinegar cuts through grease and mineral deposits without any residue, leaving glass tile crystal clear.
This two-ingredient spray is a game-changer for glass tile because it evaporates quickly and doesn't streak. The alcohol acts as a degreaser and drying agent, while the vinegar dissolves hard water spots and soap scum. Together, they create a solution that cleans and polishes in one step.
How To Mix And Apply
Combine equal parts 70% isopropyl rubbing alcohol and white vinegar in a spray bottle. Shake gently to mix. Spray the solution onto the glass tile surface—no need to soak it, just a light mist is enough.
Wipe immediately with a clean, dry microfiber cloth using a circular motion, then buff with a second dry microfiber for extra shine. Work in small sections so the solution doesn't dry before you wipe it off.
Why It Works So Well
Rubbing alcohol evaporates fast, which means no streaks or residue. Vinegar is acidic and breaks down alkaline deposits like hard water stains and soap scum. The combination is strong enough to clean yet gentle on glass and grout.
Unlike commercial glass cleaners, this mix doesn't contain dyes, fragrances, or ammonia that can leave a film or cause respiratory irritation.
Safety Tips And Precautions
Always test the solution on an inconspicuous area first, especially if your glass tile is tinted or has a decorative coating. Avoid using this mix on natural stone tiles like marble or travertine, as the acid can etch them. Keep the spray bottle labeled and out of reach of children.
Work in a well-ventilated space, and never mix rubbing alcohol with bleach or ammonia.
12. Glycerin for Polished Concrete
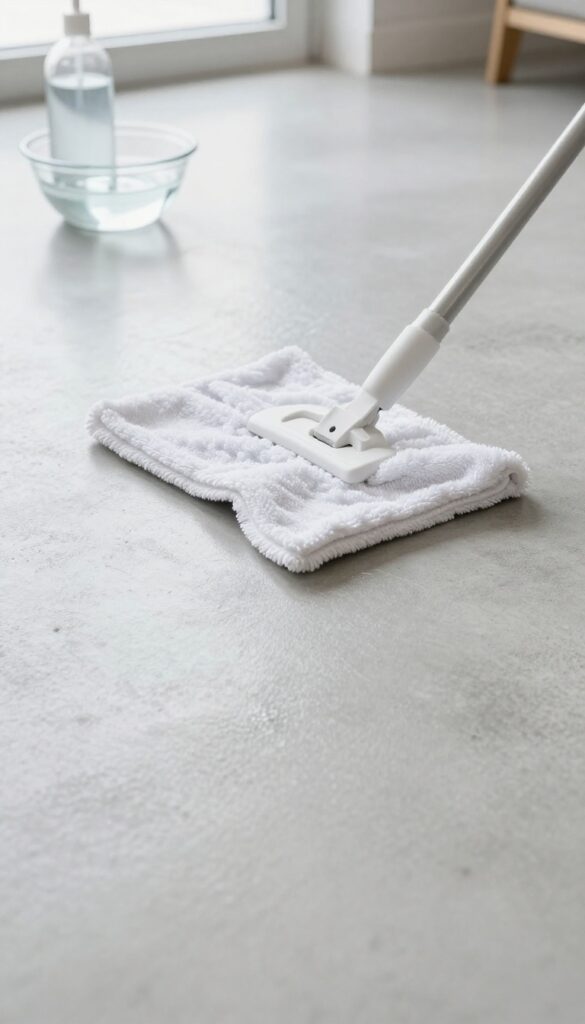
Polished concrete floors look sleek, but they can attract dust and lose their sheen over time. Glycerin, a common ingredient in soaps and lotions, offers a simple fix. Mixed with water, it creates a gentle cleaning solution that leaves behind a thin protective layer.
This not only adds a subtle gloss but also helps repel dust, keeping your floors cleaner for longer.
For polished concrete, mix 1 tablespoon of glycerin with 1 quart of warm water. Mop the floor as usual, then let it air dry. The glycerin residue is barely visible but effectively reduces static and dust attraction.
Avoid overusing it, as too much can make the floor feel slightly sticky. Use this method once a month or as needed.
Why Glycerin Works
Glycerin is a humectant, meaning it attracts and retains moisture. On sealed concrete, it forms a thin, invisible film that fills microscopic pores, reducing the surface's ability to hold onto dust. It also adds a soft, natural sheen without the slippery residue of traditional polishes.
Application Tips
Use a microfiber mop for even application. Avoid soaking the floor; a damp mop is enough. For best results, sweep or vacuum first to remove loose dirt.
If you notice streaks, dilute the solution further. Test on a small, inconspicuous area first to ensure compatibility with your sealer.
When To Skip This Method
Glycerin is not suitable for unsealed concrete, as it can seep in and cause discoloration. Also avoid using it on floors that are frequently wet, as the glycerin may attract moisture and create a slippery surface. Stick to sealed, indoor polished concrete for the best outcome.
13. Borax for Heavy-Duty Vinyl
Vinyl floors are tough, but ground-in dirt and grime can still make them look dingy. Borax, a natural mineral powder, is a gentle abrasive that lifts embedded dirt without scratching the surface. It's especially effective on sheet vinyl that sees heavy foot traffic or tracked-in mud.
Mix 1/2 cup of borax into a gallon of hot water until fully dissolved. Mop the floor with the solution, focusing on high-traffic areas. Let it sit for a few minutes to loosen stubborn dirt, then rinse with clean water.
For extra-tough spots, sprinkle a little dry borax directly on the stain and scrub with a soft brush before mopping.
Why Borax Works
Borax has a high pH that helps break down oily residues and dirt. Its fine crystalline structure provides just enough abrasion to scrub away grime without scratching vinyl. Plus, it's a natural deodorizer, leaving your floor smelling fresh.
Avoid On No-wax Vinyl
Borax can dull the finish on no-wax or urethane-coated vinyl floors. Test it in an inconspicuous area first. If you see a cloudy residue, dilute the solution further or switch to a gentler cleaner like vinegar.
Safety Tips
Borax is safe for most homes but can irritate eyes and skin. Wear gloves when handling the powder, and keep pets and kids away until the floor is dry. Always rinse thoroughly to avoid any slippery residue.
14. Lemon Juice for Greasy Kitchen Floors
Kitchen floors take a beating—spilled oil, splattered sauce, and sticky footprints are part of daily life. Commercial degreasers work, but they often leave behind a chemical smell that lingers. Lemon juice offers a natural alternative that cuts through grease without the harsh fumes.
The acidity in lemon juice breaks down fatty residues on tile and vinyl, while the fresh scent leaves your kitchen smelling clean. This simple solution is cheap, non-toxic, and uses ingredients you probably already have in your pantry.
Why Lemon Juice Works So Well
Lemons contain citric acid, a natural degreaser that dissolves the bonds in grease molecules. When mixed with warm water, the acid helps lift grime from hard surfaces like ceramic tile, porcelain, and sheet vinyl. Unlike some harsh chemicals, lemon juice is gentle enough for daily use and won't damage sealed floors.
How To Mix And Apply The Solution
Combine 1/2 cup of fresh or bottled lemon juice with one gallon of warm water. Stir well, then mop the floor as usual. For tough spots, let the solution sit for a minute before scrubbing with a soft brush.
Rinse with plain water afterward to remove any sticky residue from the lemon sugars.
Floors That Love Lemon Juice
This solution works best on non-porous surfaces like glazed ceramic tile, porcelain, and luxury vinyl plank. Avoid using it on natural stone (marble, travertine, limestone) or unsealed grout, as the acid can etch or discolor them. Always test in a hidden corner first.
Pro Tips For The Best Results
Use warm water, not hot, to prevent the lemon juice from evaporating too quickly. Add a few drops of liquid dish soap for extra grease-cutting power. For a streak-free finish, dry the floor with a microfiber mop or cloth after cleaning.
15. Dishwasher Rinse Aid for Spotless Tile
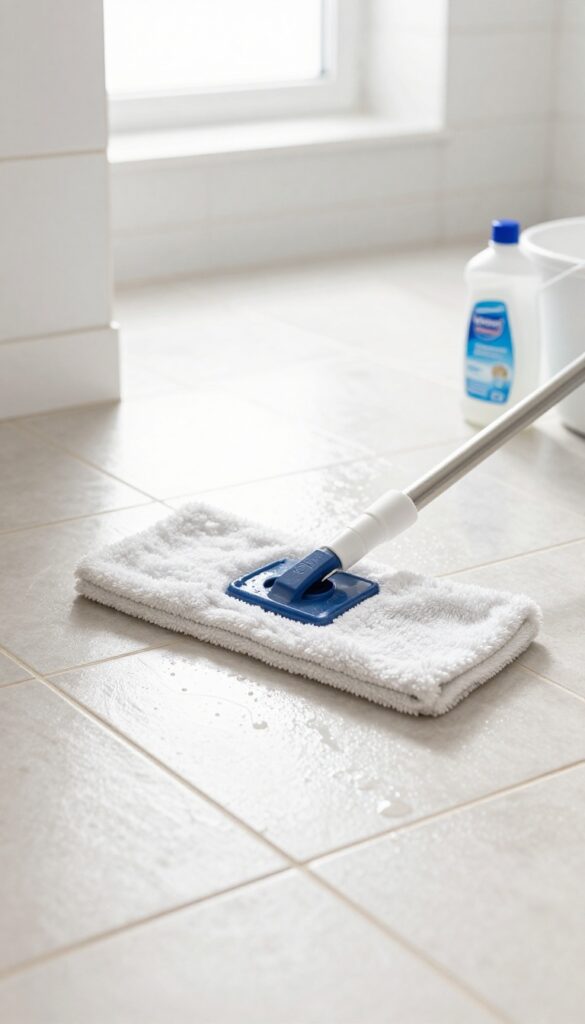
Ceramic and porcelain tile floors look amazing when they're clean, but water spots can ruin the effect—especially in bathrooms where hard water is common. A simple trick from the kitchen can help: dishwasher rinse aid.
Adding a splash of rinse aid to your mop water helps water sheet off the tile surface instead of beading up and leaving mineral deposits. This is especially useful in bathrooms where hard water is common. Just a tablespoon in a bucket of warm water is enough to make a noticeable difference.
Your tiles dry faster and stay spot-free with less effort.
Why Rinse Aid Works On Tile
Rinse aid contains surfactants that reduce the surface tension of water. When you mop with it, the water spreads out in a thin, even layer instead of forming droplets. As the floor dries, there are no concentrated spots where minerals can accumulate, so you get a streak-free, spotless finish.
How To Use It Safely
Add about one tablespoon of rinse aid to a gallon of warm water. Mop as usual, but avoid over-saturating the floor—too much rinse aid can leave a slightly sticky residue. Rinse the mop frequently and change the water if it gets dirty.
This method works best on glazed ceramic and porcelain tiles; avoid it on unglazed or natural stone tiles.
Best Rinse Aids To Try
Any standard dishwasher rinse aid works, but look for ones labeled as fragrance-free or low-odor if you're sensitive to scents. Generic store brands are just as effective as name brands. You can also use a homemade rinse aid substitute: a mixture of equal parts white vinegar and rubbing alcohol, but test it on an inconspicuous area first.
16. Olive Oil and Vinegar for Wood Polish
Hardwood floors can lose their luster over time, especially in high-traffic areas. Before you reach for a commercial polish full of chemicals, try this simple two-ingredient blend that conditions the wood and adds a gentle shine. Olive oil nourishes the grain while vinegar cuts through grime and residue.
The result is a soft, natural glow that also helps hide minor surface scratches.
This DIY polish is incredibly easy to whip up and costs pennies compared to store-bought alternatives. It works best on finished hardwood—sealed polyurethane or waxed floors—but avoid using it on unfinished or oiled wood, as the oil can darken or stain those surfaces. Always test in an inconspicuous spot first.
The Perfect Ratio
Mix 1/4 cup olive oil, 1/4 cup white vinegar, and 2 cups warm water in a spray bottle. Shake well before each use. The vinegar helps dissolve dirt and disinfect, while the olive oil provides a light conditioning layer.
Use distilled water if your tap water is hard to avoid streaks.
Application Tips
Lightly mist the solution onto a microfiber mop or cloth—never spray directly onto the floor, as excess moisture can damage wood. Work in small sections, buffing in the direction of the grain. Let it dry for a few minutes, then go over the area with a dry microfiber cloth to remove any leftover oil and enhance the shine.
When To Use It
This polish is ideal for monthly maintenance between deeper cleanings. It’s especially effective on dull-looking floors that just need a quick refresh. Don’t use it more than once a month, though—too much oil can build up and attract dust over time.
17. Salt for Red Wine on Carpet
Red wine spills on carpet feel like a disaster, but salt can save the day. This pantry staple works like a magnet, pulling the stain out of the fibers before it sets. No scrubbing, no harsh chemicals—just a simple absorbent trick that's saved many a rug.
Salt is a natural desiccant, meaning it loves to soak up moisture. When you pour it over a fresh red wine spill, it draws the liquid—and the pigment—out of the carpet fibers. This prevents the stain from bonding with the material, making cleanup a breeze.
Blot First, Then Pour
Start by blotting the spill with a clean cloth to remove as much wine as possible. Don't rub—that pushes the stain deeper. Once the area is damp (not soaked), generously cover it with table salt.
Use enough to form a thick layer over the entire stain.
Wait And Watch
Let the salt sit for at least 10 minutes. You'll see it start to change color as it absorbs the wine. For stubborn or larger spills, leave it on for up to 30 minutes.
The salt will clump as it works.
Vacuum Away The Evidence
Vacuum up the salt thoroughly. If any stain remains, repeat the process. For dried stains, make a paste with salt and a little water, apply it, let it dry, then vacuum.
This method works on most synthetic and wool carpets, but test a hidden area first.
18. Cornstarch for Greasy Laminate
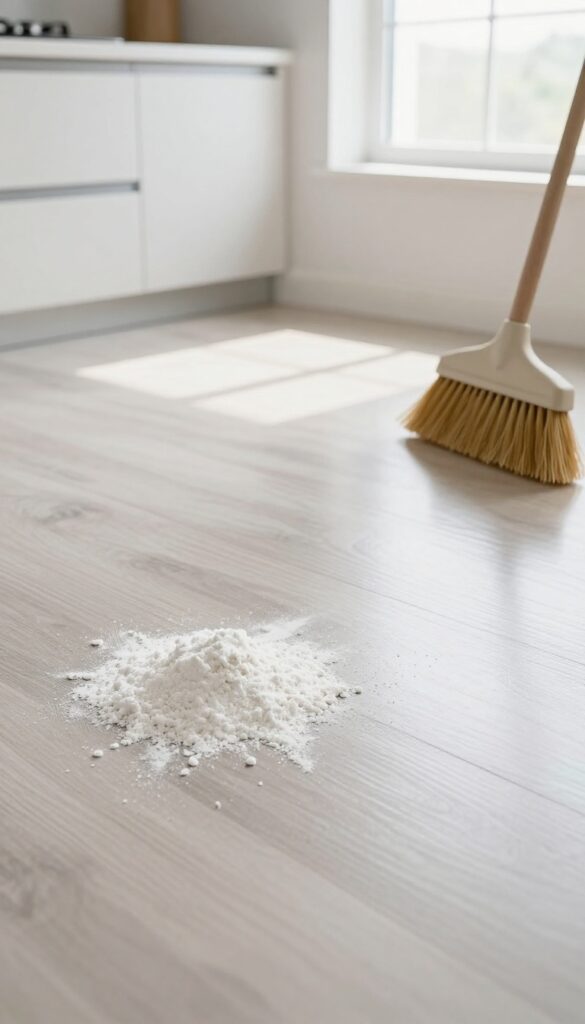
Laminate floors are great until they get greasy—then they just look sad. Cooking splatters, handprints, and tracked-in kitchen grime can leave a hazy film that water alone won't touch. Cornstarch steps in as a gentle, absorbent helper that lifts grease without scratching the surface.
Sprinkle a generous layer of cornstarch over the greasy spots. Let it sit for about 5 minutes—long enough for the powder to soak up the oil. Then sweep it away with a soft-bristle broom or a dust mop.
The cornstarch pulls the grease right off the laminate, so you don't have to scrub hard. Follow up with a damp mop using a mild laminate cleaner (or a few drops of dish soap in warm water) to remove any residue. Your floor will be clean and streak-free.
Why Cornstarch Works So Well
Cornstarch is a natural absorbent. It acts like a sponge for oil, pulling it away from the laminate's protective layer. Unlike harsh degreasers, it won't dull the finish or leave sticky residue.
Plus, it's cheap and you probably already have it in your pantry.
How To Apply It Right
Don't rub the cornstarch in—just sprinkle it on and let gravity do the work. For stubborn spots, you can gently press the powder with a paper towel to help it absorb. Always sweep away all the powder before mopping, or you'll end up with a pasty mess.
When To Skip This Method
Avoid cornstarch on unsealed or very old laminate that has worn-through finish. The powder can get trapped in tiny cracks and attract moisture. Stick to this trick for sealed, smooth laminate floors in good condition.
19. Ammonia for High-Traffic Tile
High-traffic tile floors collect grime that regular cleaners can't touch. Ammonia cuts through that stubborn soil fast, leaving ceramic tiles sparkling without heavy scrubbing. Just remember: ammonia is potent stuff, so treat it with respect.
Mix 1/2 cup of clear ammonia into a gallon of warm water. Mop the floor as usual, then rinse with plain water. The ammonia breaks down grease and dirt on contact, making it ideal for entryways, kitchens, and hallways.
Always ventilate the area well—open windows and turn on fans. Never mix ammonia with bleach or any product containing bleach; the combination creates toxic fumes. Wear gloves to protect your skin, and avoid using on unsealed grout or natural stone, as ammonia can damage those surfaces.
Why Ammonia Works On Tile
Ammonia is a strong alkaline cleaner that saponifies fats and oils, turning them into soap that rinses away easily. On ceramic tile, it dissolves the sticky residue left by foot traffic, cooking splatters, and tracked-in dirt. Unlike some commercial degreasers, ammonia leaves no film behind, so floors dry streak-free.
Safety First: Using Ammonia Correctly
Ammonia fumes are strong and can irritate your eyes and lungs. Always work in a well-ventilated space—open windows and doors, and consider wearing a mask if you're sensitive. Wear rubber gloves to prevent skin irritation.
Never combine ammonia with bleach, chlorinated cleaners, or products containing chlorine. Store ammonia out of reach of children and pets.
Best Practices For High-traffic Areas
For best results, sweep or vacuum the tile first to remove loose debris. Apply the ammonia solution with a damp mop, not a soaking wet one, to avoid puddles. Let the floor air-dry or go over it with a clean dry mop.
For extra dirty spots, let the solution sit for a few minutes before mopping. Rinse thoroughly with clean water to remove any ammonia residue.
20. Vodka for Disinfecting Hardwood
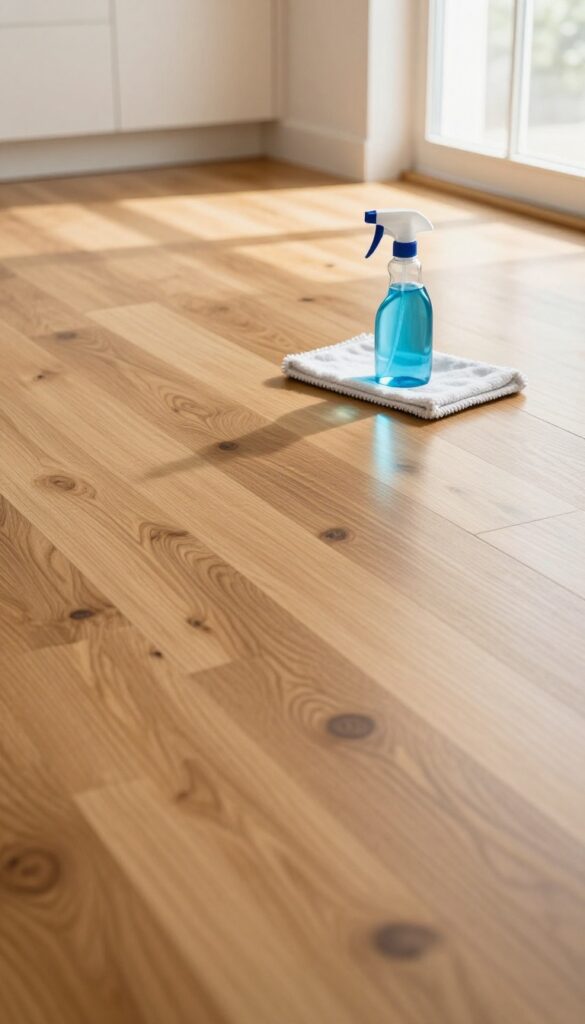
Hardwood floors need gentle care, but they also need to be germ-free—especially in kitchens and entryways. Vodka is a surprising but effective solution: it kills bacteria without the harshness of bleach or ammonia. Plus, it evaporates quickly, so you won't risk warping the wood.
Plain vodka (80 proof or higher) works as a disinfectant and degreaser. Mix one part vodka with three parts water in a spray bottle, or use it straight for tough spots. Lightly mist a microfiber mop and go over the floor.
The alcohol cuts through grime and dries streak-free. Avoid soaking the wood—damp mop only. Test in an inconspicuous area first, especially on waxed or oiled finishes.
Why Vodka Works
Ethanol in vodka kills most household germs and dissolves sticky residues. Unlike vinegar, it won't dull the finish, and unlike commercial cleaners, it leaves no artificial scent. It's also safe for pets and kids once dry.
Best Application Method
Pour the vodka solution into a spray bottle. Spray lightly onto a microfiber mop pad, not directly on the floor. Work in small sections, using a back-and-forth motion.
Let it air dry—no rinsing needed. For extra shine, follow with a dry microfiber cloth.
When To Avoid
Do not use vodka on unsealed or waxed hardwood, as the alcohol can strip the wax. Also avoid it on floors with cracks or deep scratches, where moisture might seep in. Stick to sealed, polyurethane-finished floors for best results.
21. Cream of Tartar for Aluminum Oxide Stains
Aluminum oxide stains on vinyl or linoleum can look like someone dragged a pencil across the floor. They're stubborn but not hopeless. Cream of tartar mixed with lemon juice makes a gentle paste that lifts these marks without scratching the surface.
Combine equal parts cream of tartar and lemon juice to form a thick paste. Apply it directly to the stain and rub gently with a soft cloth or sponge. Let it sit for a minute, then rinse with water.
The mild acidity breaks down the oxide while the cream of tartar acts as a fine abrasive. This method works best on light-colored floors, but test on a hidden area first to be safe.
Why It Works
Aluminum oxide stains are caused by metal residue reacting with moisture or cleaners. Cream of tartar is a mild acid that dissolves the oxide, while the lemon juice adds extra acidity and cutting power. Together, they create a non-abrasive paste that lifts stains without damaging the floor's finish.
Application Tips
Always test on an inconspicuous spot first. Use a soft cloth—never a scrub pad or brush. Work in small circles and rinse thoroughly to avoid any sticky residue.
For stubborn stains, let the paste sit for up to 5 minutes before rubbing.
Aftercare
Once the stain is gone, wipe the area with a damp cloth to remove any leftover paste. Dry with a clean towel. Avoid using wax or polish immediately after, as the acidic treatment can affect adhesion.
Wait a day before applying any floor finish.
22. Microfiber Mop with Plain Water for Daily Touch-Ups
Sometimes the simplest tool is all you need. A clean microfiber mop and plain water can handle daily dust, footprints, and light messes on sealed hardwood, tile, vinyl, or laminate. No streaks, no residue, no fuss.
For everyday maintenance, skip the sprays and buckets of cleaner. Just dampen a microfiber mop head with water, wring it well, and glide it over your floors. The microfiber fibers trap dust and dirt without pushing grime around.
This method works best on sealed surfaces—unsealed wood or natural stone may absorb moisture, so check your floor's finish first.
Why Water Works
Water alone dissolves light dirt and picks up particles that dry dusting leaves behind. It's safe for pets, kids, and sensitive noses. Plus, you avoid the dulling film that some cleaners leave on floors.
Best Practices
Use a separate mop head for wet vs. dry cleaning. Rinse or swap heads between rooms to avoid spreading dirt. Always wring until the mop is barely damp—too much water can damage seams or cause warping.
When To Upgrade
For sticky spots or greasy areas, add a drop of dish soap or use a dedicated cleaner. But for quick daily touch-ups, plain water is your best friend.
23. Store-Bought Neutral pH Cleaner for All Surfaces
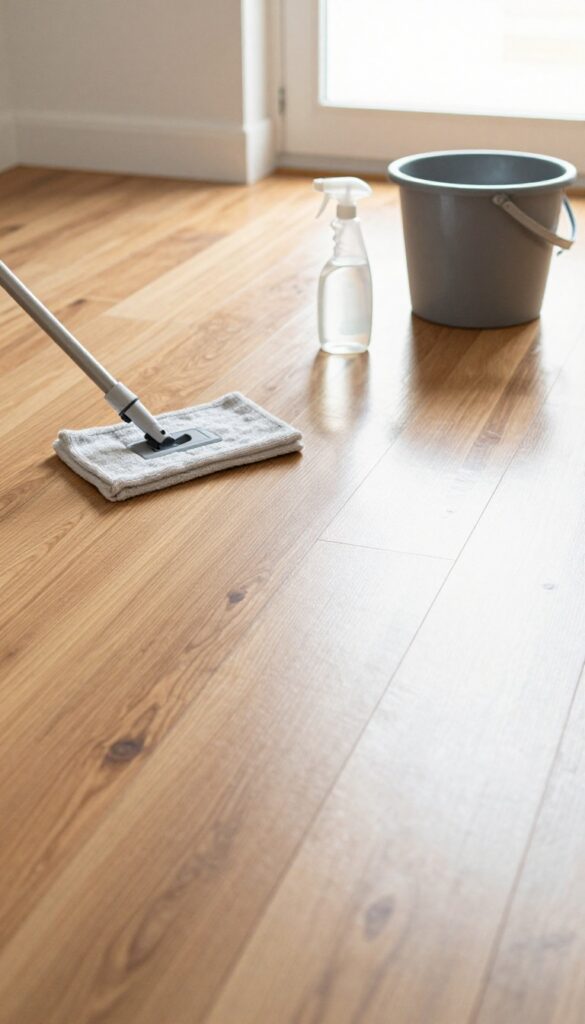
Not every floor problem needs a homemade remedy. Sometimes the best solution comes straight from a bottle—if you pick the right one. A neutral pH cleaner is the universal workhorse that handles wood, tile, laminate, and stone without damaging finishes or leaving residue.
It's the safe bet when you're unsure what your floor can handle.
Neutral pH cleaners are formulated to match the natural pH of water (around 7), making them gentle enough for daily use on almost any sealed floor. They won't strip wax, dull gloss, or etch natural stone like acidic or alkaline cleaners can. Look for products labeled "pH neutral" or "neutral cleaner"—avoid anything with ammonia, bleach, or strong solvents.
Follow the dilution ratio on the label; using too much concentrate can leave a film that attracts dirt. For most floors, a capful per gallon of warm water is plenty. Mop with a well-wrung microfiber mop and let air dry.
No rinsing needed unless the label says otherwise.
Why Neutral Ph Matters
Floor sealants and finishes are sensitive to extreme pH levels. Acidic cleaners (like vinegar) can etch stone and dull hardwood polyurethane. Alkaline cleaners (like ammonia) can break down wax and damage laminate.
Neutral pH sits right in the safe zone, preserving the integrity of your floor's protective layer.
Best Practices For Application
Always test a small hidden area first. Use a spray bottle for spot cleaning or a bucket for whole-room mopping. Never oversaturate—excess moisture can seep into seams and cause swelling or delamination.
Wring your mop until it's damp, not dripping. Change the water frequently to avoid spreading dirty water around.
Top Recommended Brands
Bona, Zep, and Method all offer reliable neutral pH floor cleaners. Bona's Hardwood Floor Cleaner is a favorite for wood and laminate. Zep Neutral Floor Cleaner works well on tile and stone.
Method's Squirt + Mop is a plant-based option that's gentle and effective. Each is ready-to-use or concentrate, so choose based on your cleaning routine.
FAQ
Can I use vinegar on all floor types?
No. Vinegar is safe for sealed hardwood, tile, and vinyl but can damage unsealed wood, natural stone, and some laminate finishes. Always test in an inconspicuous area first.
How often should I mop my floors?
High-traffic areas need mopping every 1-2 weeks. Low-traffic zones can go 3-4 weeks. Spot clean spills immediately to prevent stains.
What's the best way to dry floors after mopping?
Use a dry microfiber mop or a clean towel to buff the floor dry. This prevents water spots and moisture damage, especially on wood and laminate.
Can I mix vinegar and baking soda for floor cleaning?
They react and neutralize each other, so the mixture isn't effective for cleaning. Use them separately—baking soda as a scrub, vinegar as a rinse.
Is it safe to use steam mops on hardwood?
Only on well-sealed hardwood. Steam can penetrate cracks and cause warping. For engineered wood, check manufacturer guidelines—many recommend against steam.
Conclusion
Finding the right floor cleaner doesn't have to be a guessing game. From DIY vinegar solutions to specialized pH-neutral formulas, you now have a toolkit for every surface in your home. Start with the option that matches your biggest flooring challenge—whether that's grimy tile, dull hardwood, or sticky laminate.
A little experimentation goes a long way. Try one or two ideas this week, see what works best for your floors, and build a simple routine from there. Your floors will look better, last longer, and make your whole space feel cleaner.