20 Rug Cleaning Ideas for Fresh and Revived Floor Decor
That once-vibrant rug now looks dull, flattened, and maybe a little musty. High-traffic paths and accidental spills take a toll, but a full deep clean isn't your only option.
Small, targeted techniques can revive fibers, lift stains, and restore color without harsh chemicals or expensive services. From everyday vacuuming tricks to surprising stain fighters, these 20 ideas make rug care straightforward and effective.
Each tip targets a specific problem—like odor, pilling, or set-in spots—so you can pick exactly what your rug needs. Ready to bring back that fresh, cozy feel underfoot?
1. Vacuum Both Sides Regularly
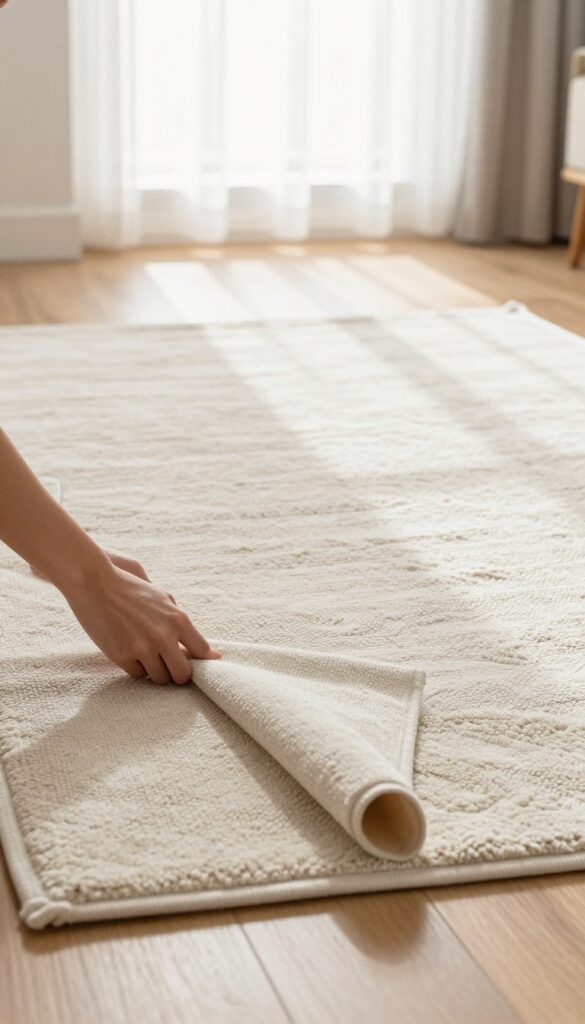
Most people only vacuum the top of their rug, but dirt and dust actually work their way down to the backing. Flipping the rug over and vacuuming the back first loosens trapped particles before they can grind into the fibers. Then vacuum the front to pick up surface debris.
This two-sided approach keeps your rug fresher longer and reduces wear.
Why The Back Matters
Dirt doesn't just sit on top—it migrates through the pile and settles near the base. When you walk on the rug, those particles act like sandpaper, slowly cutting fibers. Vacuuming the back pulls out that hidden grit before it can do damage.
Best Vacuum Settings For Rugs
Use a brushless suction setting or a hard floor attachment on the back to avoid snagging the backing. For the front, switch to the beater bar or brush roll if your rug can handle it—check the manufacturer's tag first. Adjust height settings so the brush just skims the surface.
How Often To Do This
Once a week is ideal for high-traffic areas. For low-traffic rugs, every two weeks works fine. If you have pets or allergies, bump it up to twice a week.
The extra minute per side pays off in extended rug life.
2. Blot Spills Immediately
Spills happen, but how you handle them in the first few seconds makes all the difference. The faster you act, the less chance the stain has to set into the fibers. A quick, careful response can save you from a permanent mark.
Grab a clean, white cloth or paper towel and blot the spill gently. Start at the outer edge and work your way inward to prevent spreading. Press down firmly to absorb as much liquid as possible, then switch to a dry section of the cloth and repeat.
Never rub or scrub—that pushes the stain deeper and damages the fibers. For thicker spills like sauce or wine, scrape off any solids first with a dull knife or spoon edge. After blotting, if a residue remains, use a small amount of mild dish soap mixed with water, blot again, then rinse with plain water and blot dry.
Why Blotting Beats Rubbing
Rubbing grinds the spill into the carpet backing, making it nearly impossible to remove. Blotting lifts the liquid out instead of forcing it in. Think of it like dabbing a wet sponge—you want to absorb, not smear.
What To Use For Blotting
White cloths or paper towels are best because they won't transfer dye onto your rug. Avoid colored towels or printed paper products. If you use a sponge, make sure it's clean and damp, not soaking wet.
When To Call For Backup
If the spill has already dried or left a noticeable stain, a professional cleaner or a targeted stain remover may be needed. But for fresh spills, quick blotting is your best first defense.
3. Use Club Soda for Fresh Stains
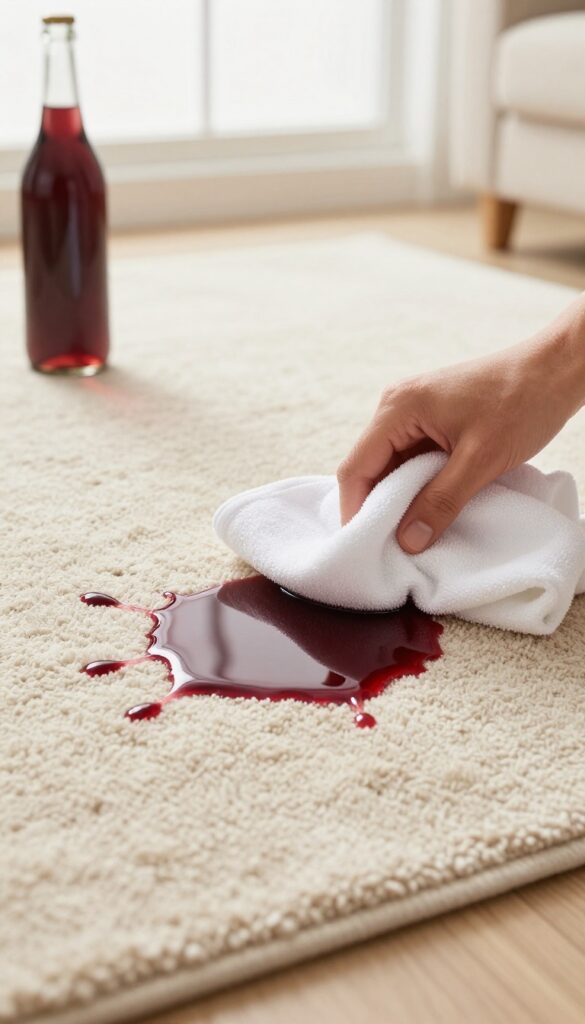
Club soda isn't just for mixing drinks—it's a surprisingly effective stain fighter for fresh spills. The carbonation helps lift liquid and particles from rug fibers before they set. Keep a bottle handy in your kitchen or laundry area for quick action on wine, coffee, juice, or even pet accidents.
When a spill happens, grab club soda and a clean white cloth. Pour a small amount directly on the stain—enough to saturate it but not soak through to the backing. Blot gently with the cloth, working from the outside in to prevent spreading.
Repeat until the stain fades, then blot with a dry cloth to remove excess moisture. For stubborn spots, let the club soda sit for a minute before blotting. This method works best on fresh stains; older, dried stains may require a different approach.
Why Club Soda Works
The carbonation in club soda creates tiny bubbles that help lift dirt and liquid from rug fibers. The mild acidity also helps break down some stains, making them easier to blot away. Unlike some chemical cleaners, club soda is gentle on most rug materials and won't leave a sticky residue.
Best Stains To Treat
Club soda is most effective on fresh, water-based stains like red wine, coffee, tea, juice, soda, and pet urine. It can also help with muddy footprints or light food spills. Avoid using it on oil-based stains (like grease or butter) or set-in stains that have already dried.
Step-by-step Technique
- Blot the spill immediately with a dry cloth to remove excess liquid. 2.
Pour club soda directly over the stain. 3. Blot with a clean cloth, pressing firmly but not rubbing.
- Repeat steps 2-3 until the stain lifts. 5.
Blot with a dry cloth to absorb remaining moisture. 6. Let the rug air dry completely.
For large stains, work in small sections.
4. Try a Vinegar and Water Solution
White vinegar is a household staple that doubles as a gentle yet effective rug cleaner. It cuts through grime, neutralizes odors, and won't damage most fibers. Mixed with water, it becomes an all-purpose spray that's safe for regular use.
For a simple DIY cleaner, combine equal parts white vinegar and water in a spray bottle. Lightly mist the rug—don't soak it—and blot with a clean cloth. The vinegar smell fades as it dries, leaving your rug fresh and residue-free.
This solution works well for light cleaning, spot treatments, and deodorizing between deep cleans.
Why Vinegar Works
Vinegar is mildly acidic, which helps break down dirt, grease, and soap residue without harsh chemicals. It also neutralizes alkaline odors like pet urine and sweat. Unlike commercial cleaners, it leaves no sticky film that attracts more dirt.
How To Apply It
Test on a hidden area first to check colorfastness. Then spray the solution lightly over the affected area or across the whole rug for a refresh. Blot with a microfiber cloth or sponge—don't rub, or you'll spread the stain.
Let the rug air dry completely, preferably with windows open for ventilation.
When To Skip This Method
Avoid vinegar on silk, wool, or antique rugs, as the acid can damage delicate fibers or alter dyes. For natural stone floors underneath, use a barrier or lift the rug to prevent vinegar from etching the stone.
5. Baking Soda for Odor Removal
Rugs can trap odors from pets, cooking, or just daily life. Baking soda is a gentle, chemical-free deodorizer that works wonders. It's cheap, safe, and easy to use.
Baking soda neutralizes odors by absorbing them into its porous structure. For best results, sprinkle a generous layer over the entire rug, focusing on high-odor areas. Let it sit for at least 15 minutes, or overnight for stubborn smells like pet urine or smoke.
Then vacuum thoroughly, ensuring you pick up all the powder. This simple treatment can be done weekly to keep your rug smelling fresh without harsh chemicals.
How It Works
Baking soda is alkaline and reacts with acidic odor molecules, neutralizing them. Its fine powder also absorbs moisture, which can harbor smell-causing bacteria.
Best Practices
Avoid using too much, as it can leave a white residue. Test on a small area first, especially on dark rugs. For extra freshness, add a few drops of essential oil to the baking soda before sprinkling.
When To Use
Use this method weekly for maintenance, or after any odor incident. It's especially effective for pet areas, entryways, and dining rooms where smells accumulate.
6. Shave Off Pilling and Fuzz
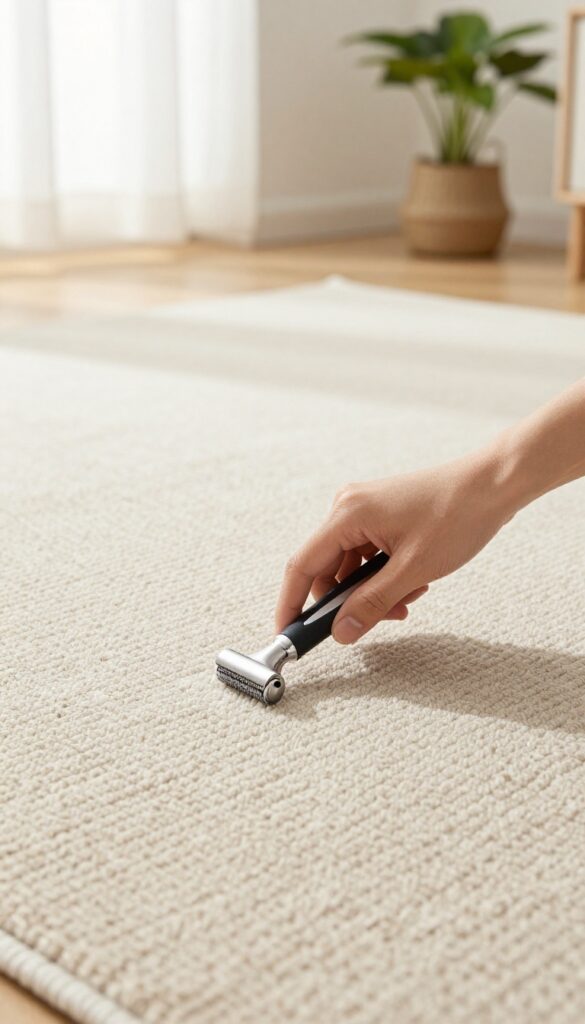
Over time, rugs develop little balls of fiber—pilling—especially in high-traffic areas. It makes even a quality rug look worn and tired. The fix is simpler than you think: a quick shave with the right tool restores a smooth, like-new surface.
Pilling happens when loose fibers tangle into tiny balls on the rug's surface. It's not a sign of poor quality; it's just normal wear. Removing them is easy and instantly refreshes the look and feel of your rug.
Choose The Right Tool
A fabric shaver is the safest and most effective option. These handheld devices are designed to remove fuzz without damaging the fibers. Alternatively, a clean, sharp razor can work if you're careful—hold it at a shallow angle and gently skim the surface.
Avoid using scissors; they can snag and create bare spots.
Shave In Sections
Work one small area at a time, moving the shaver or razor in the direction of the rug's nap. Go slowly to avoid over-shaving. For large rugs, use a lint roller first to pick up loose fibers, then shave.
Empty the shaver's collection chamber frequently to maintain suction.
Prevent Future Pilling
Pilling often returns, but you can minimize it. Vacuum regularly with a beater bar turned off or use a suction-only setting. Place rugs in lower-traffic areas if possible, and rotate them occasionally to distribute wear.
If pilling is excessive, consider a rug pad to reduce friction.
7. Spot Clean with Dish Soap
Not every stain needs a heavy-duty cleaner or a professional visit. A simple mixture of mild dish soap and warm water can handle many common spots without damaging the fibers. This gentle approach works especially well for food spills, dirt marks, and light grime.
The key is using just a few drops of soap—too much can leave a sticky residue that attracts more dirt.
Mix The Solution
Fill a bowl with warm water and add 2-3 drops of mild dish soap. Stir gently to avoid creating too many suds. You want a slightly soapy mixture, not a bubbly one.
Test it on a hidden area first to make sure the rug doesn't discolor or bleed.
Dab, Don't Rub
Dip a clean white cloth or paper towel into the solution and blot the stain gently. Start from the outer edge and work inward to prevent spreading. Rubbing can push the stain deeper into the fibers and damage the rug's texture.
Repeat with a fresh part of the cloth as needed.
Rinse And Blot Dry
After lifting the stain, dampen a separate cloth with plain warm water and blot the area to remove any soap residue. Then press a dry towel firmly over the spot to absorb as much moisture as possible. Let the rug air dry completely before walking on it.
8. Use Hydrogen Peroxide for Tough Stains
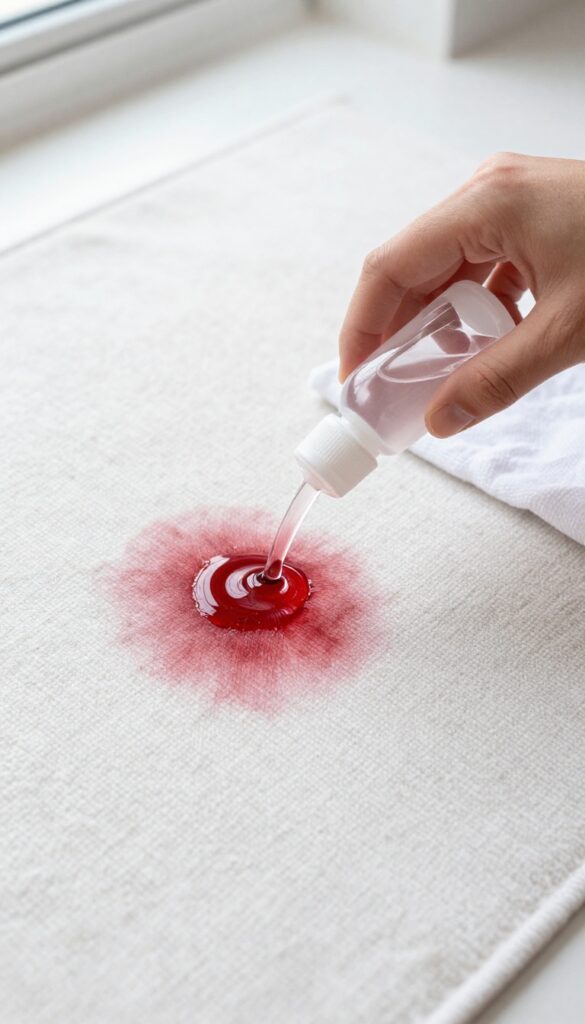
Some stains just won't budge with soap and water. Blood, red wine, and even some fruit juices can leave stubborn marks that seem permanent. That's where hydrogen peroxide steps in—it's a mild bleaching agent that breaks down organic stains without the harshness of chlorine bleach.
Before you go all in, test hydrogen peroxide on a hidden spot of your rug. Some dyes, especially natural ones, may lighten or discolor. If the test area looks good, you're set.
Apply a small amount of 3% hydrogen peroxide directly to the stain—don't soak the area. Let it sit for a few minutes, then blot with a clean white cloth. Repeat if needed, but avoid scrubbing, which can damage fibers.
Rinse with a little water and blot dry. This method works best on fresh to set-in stains, but older stains may need a second round.
Why Hydrogen Peroxide Works
Hydrogen peroxide releases oxygen bubbles that lift and break down stain molecules. It's especially effective on protein-based stains like blood and on tannin stains like red wine. Unlike bleach, it doesn't produce harmful fumes and is safer for most synthetic and wool rugs when used correctly.
Safety First: Test And Protect
Always spot-test in an inconspicuous area. Apply a drop and blot with a white cloth—if color transfers, don't use it. Wear gloves to protect your hands, and keep the area ventilated.
Never mix hydrogen peroxide with vinegar or ammonia, as it creates toxic gases.
Application Tips For Best Results
For fresh stains, blot up as much liquid as possible first. For dried stains, lightly dampen the area with water before applying peroxide. Use a dropper or spray bottle for precision.
Let it work for 5-10 minutes, then blot—don't rub. Rinse with cold water and blot again. Repeat if the stain persists, but avoid over-saturating the rug.
9. Steam Clean for Deep Refresh
When your rug needs more than a surface-level spruce, steam cleaning delivers a thorough reset. Renting or buying a steam cleaner lets you wash deep into the fibers, lifting dirt and grime that vacuuming leaves behind. It’s especially effective for high-traffic areas or rugs that have absorbed years of foot traffic.
Steam cleaning uses hot water and detergent to penetrate fibers, then extracts the dirty solution. This process removes embedded allergens, dust mites, and bacteria, leaving your rug sanitized and revived. Always check the manufacturer’s instructions for your specific rug type—some delicate materials may require low-moisture or professional cleaning instead.
For synthetic rugs, a home steam cleaner works wonders. Use a rug-safe detergent to avoid residue that attracts dirt later. Work in sections, overlapping passes to ensure even cleaning.
Afterward, allow the rug to dry completely—usually 6–12 hours—with good airflow to prevent mold or mildew. The result is a noticeably fresher, softer rug that looks almost new.
Choosing The Right Machine
Not all steam cleaners are created equal. For area rugs, a portable spot cleaner or a full-size carpet cleaner with a rug attachment works best. Look for models with strong suction and a large water tank to minimize refills.
If you only need to clean one rug, renting from a hardware store is more cost-effective than buying.
Prepping Your Rug
Vacuum thoroughly before steam cleaning to remove loose dirt and debris. Spot-treat any stubborn stains with a pre-treatment spray. Move furniture out of the way and ensure the rug is free of small objects that could clog the machine.
Test a hidden corner first to check for colorfastness.
Drying Tips For Best Results
After steam cleaning, lift the rug off the floor if possible—prop it on furniture or hang it over a railing to allow air circulation underneath. Use fans or open windows to speed drying. Avoid walking on the rug until it’s completely dry to prevent re-soiling.
For thick rugs, flipping them halfway through drying helps both sides air out.
10. Dry Shampoo for Delicate Rugs
Wool and antique rugs demand extra care—water can cause shrinkage or bleed colors. That’s where dry shampooing comes in. A simple powder treatment lifts dirt and odors without a single drop of moisture.
Dry carpet powders are widely available, but you can also make your own with baking soda and a few drops of essential oil. The process is gentle, effective, and perfect for rugs that can’t handle a wet cleaning.
Dry shampooing is a game-changer for delicate rugs. It’s quick, low-risk, and leaves fibers looking refreshed. The key is choosing the right powder and giving it enough time to work its magic.
Choosing The Right Powder
Look for a dry carpet powder labeled as safe for wool or natural fibers. Avoid powders with harsh chemicals or strong fragrances that could damage antique dyes. For a DIY version, mix one cup of baking soda with 10–15 drops of lavender or tea tree oil.
Let the mixture sit in an open jar for a few hours to absorb the scent.
Application And Waiting Time
Sprinkle the powder evenly over the rug, focusing on high-traffic areas. Use a soft-bristled brush to gently work the powder into the fibers. Let it sit for at least 30 minutes—overnight for heavily soiled rugs.
The powder absorbs dirt and oils during this time.
Vacuuming Thoroughly
After the waiting period, vacuum the rug slowly and thoroughly. Go over each section multiple times to ensure all powder is removed. Use a brush attachment to lift powder from deep fibers without scratching delicate surfaces.
The rug should look revived and smell fresh.
11. Freeze Gum or Wax
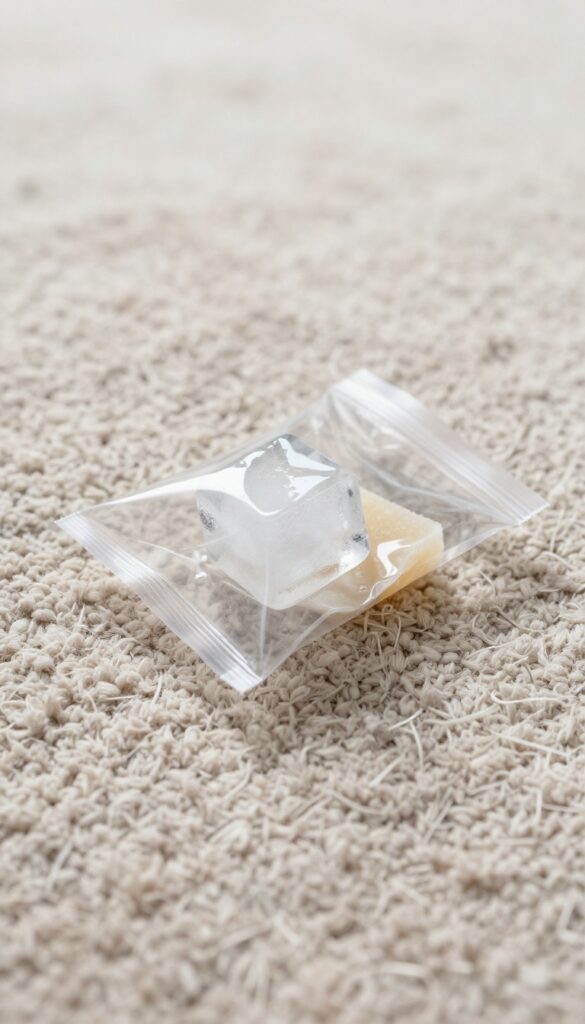
Chewing gum and candle wax are two of the worst offenders when it comes to rug mishaps. They stick deep into the fibers and seem impossible to remove without leaving a greasy residue or pulling out strands. But there's a simple trick that turns these sticky messes into brittle, easy-to-remove chunks: cold.
The principle is straightforward—freezing makes gum and wax hard and brittle, so they lose their grip on the rug fibers. Once frozen, you can gently scrape or break them away without damaging the rug. This method works on most synthetic and natural fiber rugs, but always test on a hidden area first if you're unsure about the material.
The Ice Cube Method
Take a few ice cubes and place them in a sealed plastic bag—this prevents moisture from soaking into the rug. Hold the bag directly over the gum or wax for about 30 seconds to a minute. You'll feel it harden as the cold transfers.
For larger wax spills, you may need to repeat or use multiple bags. Once it's solid, use a dull knife or a plastic scraper to gently lift and break it off. Work from the edges inward to avoid spreading the mess.
What To Do With Leftover Residue
After scraping off the bulk, a faint residue or stain might remain. For gum, a little rubbing alcohol on a cloth can dissolve any sticky leftovers—blot, don't rub. For wax, place a brown paper bag or a clean cloth over the spot and run a warm iron over it briefly.
The heat will melt the remaining wax into the paper. Repeat with fresh paper until no more wax transfers. This two-step cold-then-warm approach handles even stubborn wax stains.
When To Call It Quits
If the gum or wax has been ground deep into the rug or the rug is very delicate (like silk or antique wool), freezing might not be enough. In those cases, consider cutting out the affected fibers with small scissors or consulting a professional cleaner. But for everyday accidents, the freeze-and-scrape method is your best first move—it's cheap, chemical-free, and surprisingly effective.
12. Use a Carpet Rake to Fluff Fibers
Even after a good vacuum, some rugs still look tired and flat. High-traffic areas take the worst beating—fibers get matted down, and the pile loses its bounce. A carpet rake is a simple tool that fixes this without any chemicals or water.
It lifts and separates the fibers, making the rug look fuller and fresher in minutes. Think of it as a comb for your carpet, restoring texture and even helping to redistribute the pile evenly.
Why Fibers Get Flattened
Foot traffic, furniture weight, and even vacuuming can press rug fibers down over time. Synthetic and wool rugs are especially prone to matting in hallways, entryways, and under desks. Once flattened, dirt and dust get trapped deeper, making the rug look dingy.
A carpet rake reaches between fibers to stand them back up, which also loosens hidden debris for your next vacuum to pick up.
How To Rake Without Damaging
Choose a rake with flexible metal tines or rubber bristles—plastic ones can snag or break delicate fibers. Work in one direction, following the natural grain of the rug. Start at the edge and pull the rake toward you in long, even strokes.
For stubborn matting, go over the area a few times, but don't press too hard. Test on a small corner first, especially on looped or hand-knotted rugs, to avoid pulling loops.
When To Rake Vs. Deep Clean
Raking is a maintenance step, not a replacement for washing. Use it weekly in high-traffic zones to keep the rug looking lifted between deep cleans. If the rug is heavily soiled or has set-in stains, clean it first, then rake once dry.
Raking after cleaning also helps the pile dry evenly and prevents clumping.
13. Rotate Your Rug Seasonally
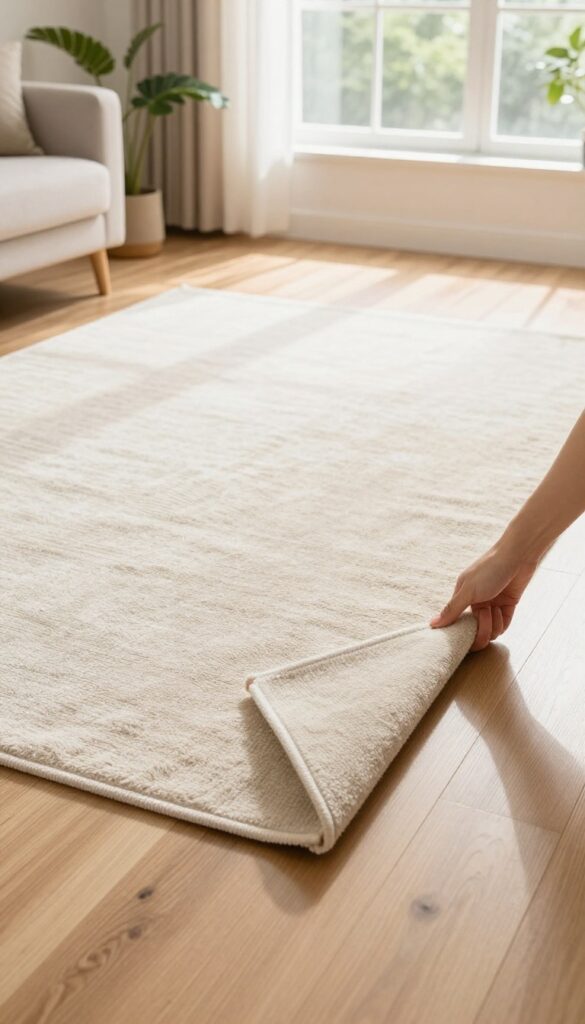
Even sun exposure and foot traffic cause uneven wear. Rotating your rug every few months distributes the load and keeps colors from fading in one spot. It’s a simple habit that extends your rug’s life significantly.
Why Rotation Matters
Over time, sunlight fades the side facing a window, while foot traffic flattens high-use paths. Rotating 180 degrees evens out these effects. For rugs in doorways or hallways, rotate more often—every 2–3 months works well.
How To Rotate Without Damaging Your Rug
Lift the rug gently, especially if it’s heavy or has a thick pile. If your rug is large, ask a helper to avoid folding or creasing. For delicate rugs, roll rather than fold.
After rotating, check that the rug lies flat and adjust furniture accordingly.
Combine Rotation With A Quick Vacuum
Before rotating, give the rug a thorough vacuum on both sides. This removes dirt that can accelerate wear. Rotating right after vacuuming ensures you start fresh and evenly distribute any remaining debris.
14. Shake Out Small Rugs Outdoors
Sometimes the simplest fix is the one you overlook. Taking small rugs outside for a vigorous shake or a few good whacks against a railing can work wonders. It dislodges embedded dust, pet hair, and debris that your vacuum cleaner simply can't reach.
This quick, no-fuss method instantly refreshes the rug's appearance and helps maintain its texture.
Why Shaking Works Better Than You Think
Vacuuming is great, but it doesn't always get deep into the fibers. Shaking uses centrifugal force and gravity to fling out particles trapped near the base of the rug. It's especially effective for flat-weave and low-pile rugs where dirt can get compacted.
A few minutes of shaking can remove more dust than a full vacuum session.
How To Shake Without Damaging The Rug
Hold the rug by one edge and give it a sharp, quick snap. For larger rugs, drape it over a clothesline or railing and beat it with a broom or a rug beater. Avoid twisting or wringing, which can distort the shape.
If the rug is delicate, shake it gently over a clean surface or use a soft brush to loosen dirt first.
When To Shake Vs. When To Vacuum
Shaking is ideal for a quick refresh between deep cleans. Use it when you notice visible dust or after a windy day if you've left windows open. It's also perfect for rugs that can't be vacuumed easily, like those with long fringe or delicate fibers.
But don't replace vacuuming entirely—shaking handles loose debris, while vacuuming lifts embedded dirt and allergens.
15. Use a Squeegee to Remove Pet Hair
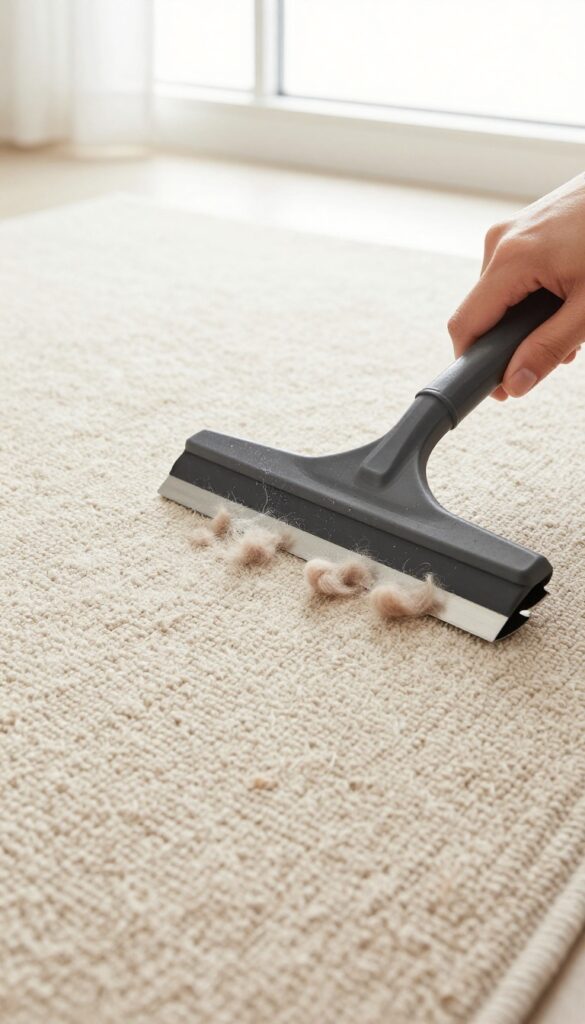
Pet hair can weave deep into rug fibers, making it tough to vacuum up completely. A rubber squeegee—the same tool you use on windows—works like a magnet for fur, gathering it into tidy clumps you can sweep away. It's a low-tech trick that saves your vacuum filter and leaves your rug looking fur-free.
The rubber edge creates static electricity that lifts hair from the fibers without damaging them. Work in one direction, pulling the squeegee toward you. The hair will ball up, making it easy to collect by hand or with a dustpan.
For best results, use a squeegee with a wide, flexible blade.
Why Rubber Works Best
Rubber generates more static than plastic or metal, which helps pull embedded hair to the surface. The flexible blade also conforms to the rug's texture, reaching deep into loops or shag without pulling fibers loose.
Step-by-step Technique
Start at one edge and pull the squeegee toward you in long, even strokes. Overlap each pass slightly. After a few strokes, you'll see hair clumps forming.
Collect them with your hand or a dustpan, then repeat until no more hair comes up. Finish with a quick vacuum to catch any fine particles.
When To Use This Method
This works especially well on low-pile and medium-pile rugs. For high-pile or shag, use a squeegee with wider gaps between the rubber and handle to avoid snagging. It's also great for refreshing a rug between deep cleans or before guests arrive.
16. Apply a Rug Protector Spray
You've put in the work to get your rug clean and fresh—now keep it that way. A fabric protector spray adds an invisible shield that helps repel spills, dirt, and stains before they set in. It's like giving your rug a raincoat for daily life.
How It Works
Most rug protectors contain fluoropolymer or silicone-based compounds that coat each fiber, creating a barrier that makes liquids bead up instead of soaking in. This buys you precious time to blot up spills before they become stains. It also helps dry soil stay on the surface, so vacuuming is more effective.
Choosing The Right Protector
Look for a product specifically labeled for rugs or upholstery, not just any fabric spray. Some are designed for synthetic fibers, others for wool or silk. Check the label to ensure compatibility.
Brands like Scotchgard and 3M offer reliable options, but always test on a hidden area first to check for colorfastness.
Application Tips
Start with a freshly cleaned and completely dry rug. Work in a well-ventilated area. Hold the can about 6–8 inches from the surface and spray in an even, sweeping motion.
Don't oversaturate—a light, even coat is enough. Let it dry fully, usually a few hours, before walking on the rug or replacing furniture.
When To Reapply
Protection isn't permanent. High-traffic areas may need reapplication every 6–12 months. You'll know it's time when liquids start soaking in again instead of beading up.
Some protectors also fade after a deep cleaning, so plan to reapply after each major wash.
17. Hand Wash with a Soft Brush
Not every rug can handle a machine cycle. Delicate heirlooms, handmade wool pieces, or small accent rugs need a gentler touch. Hand washing gives you full control over pressure and water temperature, so you can clean without damaging fragile fibers.
Start by filling a bathtub or large basin with cool water and a few drops of mild detergent—avoid anything with bleach or harsh enzymes. Submerge the rug and let it soak for 10 minutes. Then, using a soft-bristled brush (like a nail brush or a dedicated rug brush), gently scrub in the direction of the nap.
Focus on soiled areas but don't overscrub. Drain the soapy water and refill with clean cool water. Rinse thoroughly by pressing down on the rug to push soap out—don't wring or twist.
Lift the rug out, lay it flat on a clean towel, and roll it up like a jelly roll to absorb moisture. Unroll and air-dry flat, flipping occasionally.
Choose The Right Detergent
Mild dish soap or a pH-neutral rug shampoo works best. Avoid laundry detergents with brighteners or enzymes that can discolor natural fibers. For wool or silk, use a detergent specifically labeled for delicates.
Don't Oversaturate
Too much water can cause shrinking, color bleeding, or mildew. Use just enough to wet the fibers without pooling. Work in small sections if the rug is larger than your basin.
Drying Without Damage
After rolling in towels, place the rug on a drying rack or a clean, dry towel in a well-ventilated area away from direct sunlight. Flip it every few hours to ensure even drying. Never hang a wet rug—gravity can stretch the fibers out of shape.
18. Dry Rugs Completely to Prevent Mold
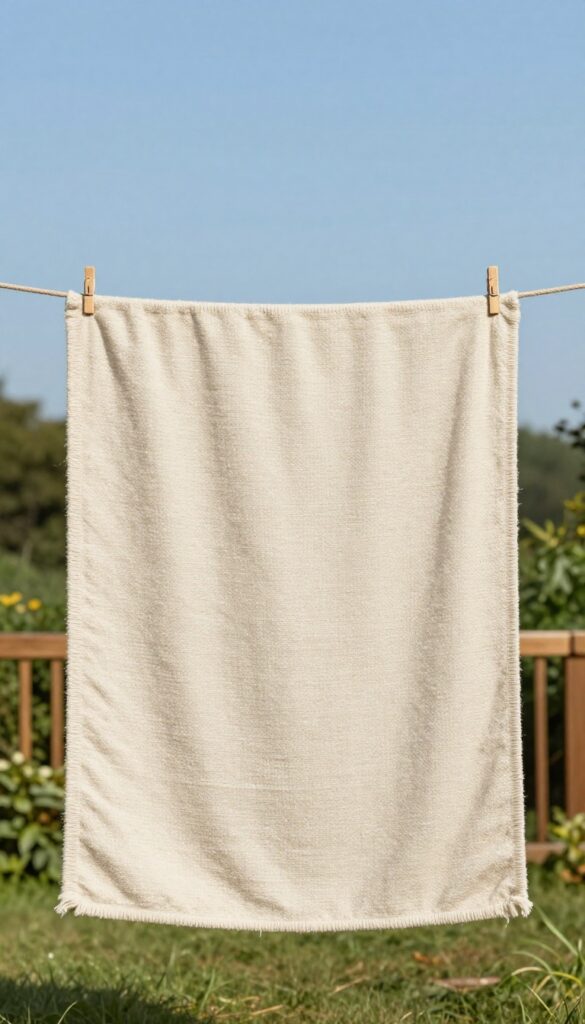
Moisture is the enemy of rug fibers. Even after a thorough cleaning, leftover dampness creates the perfect breeding ground for mold and mildew. That musty smell and those dark spots are signs of trouble that can ruin your rug in no time.
Drying completely is non-negotiable for long-term freshness.
Always ensure your rug is bone-dry before placing it back on the floor. Hang it outdoors on a sunny day, or use fans and dehumidifiers indoors to speed up the process. Avoid folding or rolling a damp rug, as moisture gets trapped in the creases.
Patience here saves you from expensive replacements.
Why Moisture Is Dangerous
Mold and mildew thrive in dark, damp environments. A rug that stays wet for more than 24 hours can develop spores that damage fibers and trigger allergies. Even if the surface feels dry, the backing may still be wet—check thoroughly.
Best Drying Methods
For small rugs, hang them over a clothesline or railing in direct sunlight. For larger rugs, lay them flat on a clean, dry surface and place fans around the edges. Flip the rug halfway through drying to ensure both sides get airflow.
Avoid using heat sources like radiators, which can warp fibers.
How To Test For Dryness
Press a clean paper towel against the rug's backing. If it feels damp or leaves a wet mark, it's not ready. Also, run your hand over the surface—if it feels cool or clammy, give it more time.
A fully dry rug feels warm and crisp.
19. Use a Rug Pad for Cushion and Cleanliness
A rug pad isn't just an extra expense—it's a smart investment for both comfort and longevity. It grips your rug in place, prevents slips, and adds a plush feel underfoot. More importantly, it improves airflow beneath the rug, reducing moisture buildup and keeping fibers fresher for longer.
A good rug pad does more than keep your rug from sliding. It absorbs impact from foot traffic, reducing wear and tear. It also lifts the rug slightly off the floor, allowing air to circulate.
That means less dust and moisture trapped underneath, which helps prevent mold and musty odors. Vacuuming becomes more effective too, because the rug stays flat and doesn't bunch up.
Choose The Right Material
Not all rug pads are created equal. For hard floors, look for a pad with a non-slip rubber or latex backing. Avoid felt-only pads on smooth surfaces—they don't grip well.
For carpets, a thin, non-slip pad works best. Natural rubber pads are eco-friendly and durable, while synthetic options are often more affordable.
Size And Thickness Matter
Your pad should be slightly smaller than your rug—about an inch shorter on each side—so it stays hidden. Thickness depends on the rug and floor type. For low-pile rugs, a thin pad (1/8 inch) is enough.
For high-pile or shag rugs, a thicker pad (3/8 inch) adds cushion without causing tripping hazards.
Easy Maintenance
Rug pads collect dust and debris over time. Shake them out or vacuum them every few months. If they get wet, let them dry completely before placing the rug back.
A well-maintained pad extends the life of both your rug and your flooring.
20. Call a Professional for Heirloom Rugs
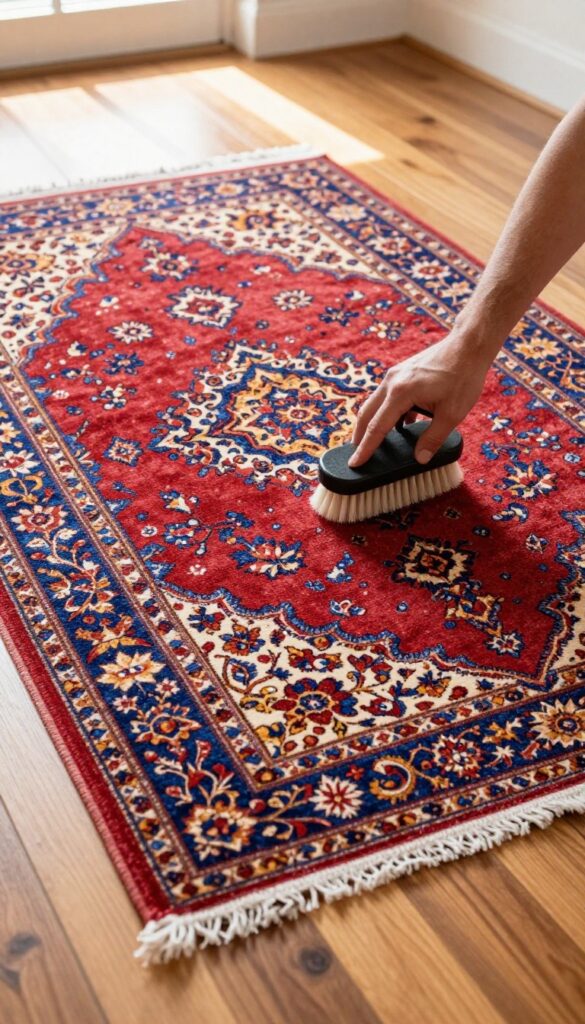
Some rugs are more than floor coverings—they're family treasures. That Persian rug passed down from your grandmother or the antique Aubusson you found at an estate sale deserves extra care. When it comes to valuable or delicate pieces, the safest bet is to hand them over to a professional.
Experts have the right tools, solvents, and techniques to clean fragile fibers without causing fading, shrinkage, or damage. They can also spot potential issues like dye bleeding or weak areas that you might miss. For heirlooms, the cost of professional cleaning is a small price for preserving their beauty and value.
Not every rug can handle a machine cycle. For valuable or antique rugs, professional cleaning is safest. Experts have the tools and knowledge to handle delicate fibers and dyes without damage.
They use gentle methods like hand washing, controlled drying, and specialized stain removal that preserve the rug's integrity. Plus, they can offer advice on storage and ongoing care to extend its life.
When To Call A Pro
If your rug is over 50 years old, made of silk or wool, or has intricate patterns and fringe, it's time to call a specialist. Also, if you notice any loose threads, fading, or brittle areas, professional handling prevents further damage. Avoid DIY cleaning on any rug with sentimental or financial value.
What Professionals Do Differently
Professional rug cleaners use pH-balanced solutions, controlled water temperature, and gentle agitation. They often hand-wash rugs in a controlled environment and dry them flat to avoid stretching. They can also perform minor repairs like reweaving fringe or fixing small holes.
How Often To Schedule Professional Cleaning
For heirloom rugs in low-traffic areas, professional cleaning every 2 to 3 years is sufficient. For those in high-traffic zones, annual cleaning helps prevent dirt buildup that can damage fibers. Regular vacuuming between professional cleanings keeps them looking their best.
FAQ
How often should I clean my rugs?
Vacuum high-traffic rugs twice a week and others once a week. Deep clean every 12 to 18 months, or more often if you have pets or allergies.
Can I use bleach on my rug?
Avoid bleach unless the rug is specifically labeled bleach-safe. It can discolor fibers and weaken them. Stick to mild detergents or vinegar solutions.
What's the best way to dry a rug after cleaning?
Air drying outdoors in shade is best. If indoors, use fans and open windows. Ensure the rug is completely dry before placing it back to prevent mold.
How do I remove pet urine smell from a rug?
Blot up as much as possible, then apply a mixture of vinegar and water. Follow with baking soda, let it sit, and vacuum. For stubborn odors, use an enzymatic cleaner.
Is steam cleaning safe for all rug types?
No. Steam cleaning can damage wool, silk, or antique rugs. Check the care label or test a small area first.
For delicate rugs, consider dry cleaning methods.
Conclusion
Keeping your rugs fresh doesn't have to be a chore. With these 20 ideas, you can tackle stains, odors, and wear without breaking a sweat. Pick a few that fit your rug type and lifestyle, and make them part of your routine.
Your floors will thank you. A little regular care goes a long way in preserving the beauty and comfort of your rugs. So go ahead—give them the attention they deserve and enjoy a cleaner, cozier home.