15 How to Clean Walls Without Ruining Paint or Finish
Your walls take a beating—fingerprints, scuffs, and mystery splatters seem to appear out of nowhere. But the thought of scrubbing them often brings a bigger fear: what if you ruin the paint? That chalky residue, those streaks, or worse, a patch of missing color.
It's enough to make you live with the grime. The good news? You don't have to choose between clean walls and intact paint.
With the right techniques and a little know-how, you can tackle almost any wall mess safely. This guide walks you through 15 proven methods that protect your paint while restoring your walls to their former glory.
1. Start with Dry Dusting
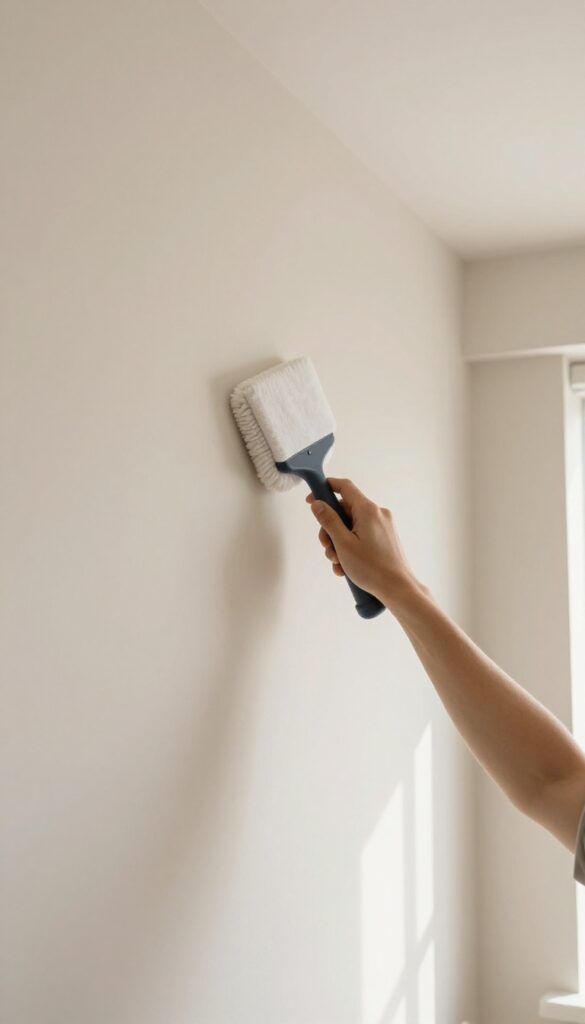
Before any liquid touches your walls, you need to clear away the loose stuff. Dust, cobwebs, and pet hair might not seem like a big deal, but once they mix with water or cleaner, they turn into a gritty paste that can scratch your paint. Dry dusting is the safest first step, and it takes just a few minutes.
Dry dusting is the unsung hero of wall cleaning. It's quick, requires no chemicals, and dramatically reduces the risk of streaks or damage later. By removing surface debris first, you're setting yourself up for a smoother, safer clean.
Choose The Right Tool
A microfiber duster with an extendable handle is ideal for reaching high corners and ceiling edges. The microfiber material traps dust rather than just pushing it around. If you prefer a vacuum, use the soft brush attachment to gently glide over the wall surface.
Avoid using a dry cotton cloth, as it can leave lint behind.
Work From Top To Bottom
Start at the ceiling and work your way down. This way, any dust that falls will land on areas you haven't cleaned yet, so you don't have to redo sections. Use long, overlapping strokes to ensure you don't miss any spots.
Pay extra attention to corners, baseboards, and areas near light switches, where dust tends to accumulate.
Don't Forget The Details
Cobwebs love corners and ceiling edges. Use the duster's angled head to reach into those tight spaces. If you have textured walls, gently run the duster over the surface to lift dust from the nooks and crannies.
This simple step prevents that dusty, dull look that can make even a clean room feel dirty.
2. Use the Magic Eraser for Scuffs
Scuff marks from shoes, furniture, or toys can be stubborn, but a damp melamine sponge—often sold as a magic eraser—makes quick work of them. It's like a tiny eraser for your walls, lifting marks without much elbow grease. However, it's not a one-size-fits-all tool, so a little caution goes a long way.
Before you start scrubbing, always test the sponge on a hidden area, like behind a door or inside a closet. Some paint finishes, especially satin or eggshell, can dull or shine up with too much rubbing. If the test spot looks fine, you're good to go.
How To Use It Right
Dampen the sponge with water and wring it out until it's just moist, not dripping. Gently rub the scuff in a circular motion, applying light pressure. You'll see the mark lift away quickly.
Avoid pressing hard or scrubbing back and forth—that can damage the paint. Rinse the sponge frequently to keep it clean and effective.
When To Skip It
Skip the magic eraser on flat or matte paint, as it can leave a shiny spot that's hard to fix. Also, avoid using it on textured walls or wallpaper, where it can rub off the pattern. If you're unsure, stick to a mild soap and water solution instead.
Aftercare Tips
Once the scuff is gone, wipe the area with a clean, damp cloth to remove any residue from the sponge. Then let it air dry. If you notice any sheen change, you can buff the spot gently with a dry microfiber cloth to blend it in.
3. Mix a Gentle DIY Cleaner
Not every wall mess needs a commercial cleaner. In fact, the simplest solution often sits right in your kitchen sink. A few drops of dish soap in a bucket of warm water can handle everyday grime without risking your paint's finish.
It's cheap, gentle, and surprisingly effective.
This mild solution works on most painted walls, from flat to satin, without stripping the finish. It's perfect for routine cleaning and light stains, and it's safe for the whole family—no harsh fumes or residues.
Why Dish Soap Works
Dish soap is designed to cut through grease and grime, yet it's gentle enough for your hands. When diluted in water, it lifts dirt from the wall surface without breaking down the paint's binders. Unlike all-purpose cleaners, it won't leave a sticky residue that attracts more dust.
The Right Mixing Ratio
Start with a few drops of dish soap—about a teaspoon—per gallon of warm water. Warm water helps the soap dissolve and work faster, but avoid hot water, which can damage some paints. Stir gently to avoid creating too many suds, which can leave streaks.
How To Apply The Cleaner
Dip a soft sponge or microfiber cloth into the solution, wring it out well, and wipe the wall in a circular motion. Work from the bottom up to prevent drips from running down and leaving marks. Rinse the sponge frequently and use a separate damp cloth to wipe away any soapy residue.
When To Skip This Method
If your walls have a flat or matte finish, test the cleaner in an inconspicuous spot first. Some flat paints are more porous and can absorb water, causing streaking. For heavily soiled areas, you may need to repeat the process or move on to a stronger solution.
4. Try a Vinegar Solution for Tough Grime
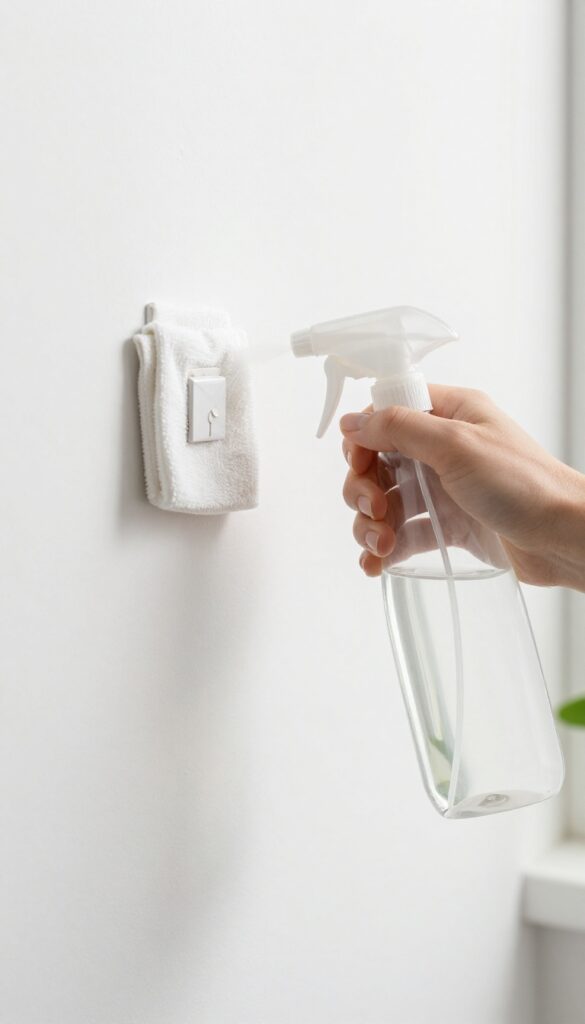
When plain water and dish soap aren't cutting it, reach for white vinegar. It's a natural degreaser that tackles sticky buildup without harsh chemicals. The trick is using it correctly so you don't damage the paint or leave behind a sour smell.
Mix equal parts water and white vinegar in a spray bottle. Lightly mist the affected area, then wipe with a soft microfiber cloth. For extra stubborn spots, let the solution sit for a minute before wiping.
Always follow up with a damp cloth to remove any vinegar residue, then dry with a clean towel.
Why Vinegar Works
Vinegar's mild acidity breaks down grease and grime on contact, making it perfect for kitchen walls, around light switches, and along baseboards. Unlike commercial cleaners, it's safe for most paint finishes when diluted, and it won't leave behind a sticky film.
How To Apply It Safely
Pour the mixture into a spray bottle and test it on an inconspicuous spot first. Spray lightly—you don't want the wall soaked. Wipe in gentle, circular motions with a soft cloth.
Rinse your cloth frequently to avoid spreading dirt around.
Rinsing And Drying
After cleaning, go over the wall with a damp cloth to remove any vinegar residue. Then dry with a clean, lint-free towel. This step is key to preventing streaks and keeping the paint looking fresh.
Open a window or turn on a fan to help the vinegar smell fade quickly.
5. Use a Sponge, Not a Scrub Brush
It’s tempting to grab the scouring pad and go to town on a stubborn mark, but that’s a fast track to dull, scratched paint. Abrasive tools like steel wool or stiff-bristled brushes can sand away the sheen and leave permanent scuffs that are even harder to hide than the original stain. The fix?
Swap to a soft sponge or microfiber cloth and let the cleaner do the work, not the elbow grease.
A soft sponge is your best friend for routine wall cleaning. It’s gentle enough to protect the paint’s finish while still lifting away dirt, grease, and fingerprints. When you press too hard with a rough pad, you’re not just cleaning—you’re actually removing the top layer of paint, which can create a rough patch that catches light and looks different from the rest of the wall.
That’s why the sponge matters more than the cleaning solution.
Pick The Right Sponge
Not all sponges are created equal. Look for a cellulose sponge with a soft side and a mild scrubby side, but use the soft side for most walls. Avoid sponges with coarse, gritty surfaces unless you’re dealing with a truly tough spot—and even then, test on a hidden area first.
Microfiber cloths are also a great option because they’re non-abrasive and can be washed and reused.
Damp, Not Soaking Wet
Excess water is the enemy of paint. Too much moisture can seep into cracks or cause the paint to bubble or peel. Wring out your sponge until it’s just damp—no dripping.
Work in small sections, wiping gently in a circular motion, and rinse the sponge frequently to avoid spreading dirt around. This keeps the wall clean without saturating it.
Let The Cleaner Do The Heavy Lifting
If a spot is stubborn, resist the urge to scrub harder. Instead, apply a gentle cleaner (like dish soap and water or a vinegar solution) and let it sit for a minute to break down the grime. Then, use light pressure with your damp sponge.
The combination of a good cleaner and a soft sponge will lift most marks without harming the paint.
6. Work from Bottom to Top
Here’s a trick that sounds almost too simple, but it makes a real difference: start at the bottom of the wall and work your way up. Gravity is not your friend when you’re cleaning walls—dirty water wants to run down, and if you’ve already cleaned the lower half, it leaves streaks and drips that dry into a mess. By flipping the order, you keep the clean sections clean and let the runoff land on the parts you haven’t touched yet.
It’s a small change in habit, but it saves you from doing double duty.
When you clean from the top down, soapy water drips over areas you just wiped, carrying grime with it. Those drips dry as ugly streaks that you’ll have to go back and fix, which is frustrating and wastes time. Working bottom to top means the dirty water flows onto the unwashed wall below, so you’re not re-soiling your hard work.
Plus, you’ll notice the clean band rising as you go, which gives you a satisfying sense of progress.
Why Top-down Causes Streaks
Think about what happens when you wipe a wall with a wet sponge: gravity pulls the liquid downward. If you start at the top, that liquid travels over the clean surface below, leaving behind a film of dissolved dirt. As it dries, that film shows up as a visible streak or a dull patch.
Starting at the bottom means any runoff hits the dirty wall, where it blends in and gets wiped off next. It’s a simple physics fix that keeps your walls looking even.
The Right Way To Do It
Dip your sponge or cloth in your cleaning solution, wring it out well so it’s damp but not dripping, and begin at the baseboard. Work in horizontal strips, overlapping slightly as you move upward. After each strip, rinse the sponge in clean water and wring it again—this prevents you from just spreading dirt around.
When you reach the top, you’re done, and there’s no need to re-clean anything. It’s efficient and streak-free.
When It Matters Most
This technique is especially important on glossy or semi-gloss paints, where streaks are more noticeable than on flat finishes. It also helps on large walls where you’re covering a lot of area—think living rooms, hallways, or stairwells. If you’re only spot-cleaning a small mark, the order doesn’t matter as much, but for a full wall wash, bottom-to-top is the way to go.
It’s one of those little habits that makes cleaning feel less like a chore and more like a pro move.
7. Don't Soak the Wall
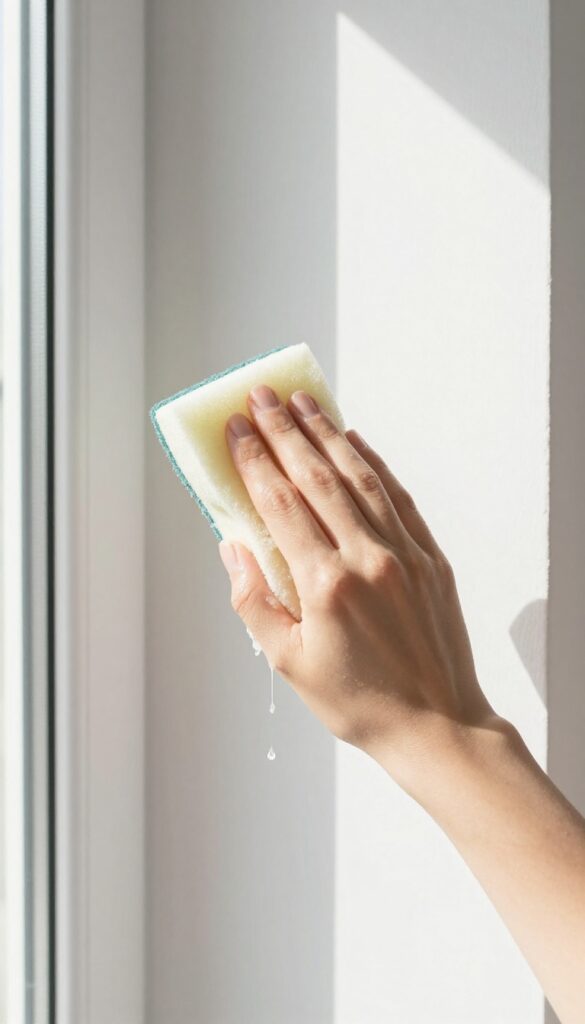
It’s easy to think more water means a better clean, but walls are not floors. When you drench the surface, moisture can seep into the drywall and cause the paint to bubble or peel over time. The fix is simple: keep your sponge or cloth damp, not dripping wet.
Wring it out well before you start, and you’ll avoid a host of paint problems while still getting the grime off.
A sopping wet sponge might feel like it’s working harder, but it’s actually doing more harm than good. Excess water can sneak into tiny cracks or seams, loosening the paint’s bond to the wall. Over time, this leads to unsightly bubbles, peeling, and even mold growth in the drywall.
The goal is to clean the surface, not drench the substrate beneath it.
Why Damp Beats Dripping
When you use a damp cloth, you control exactly where the moisture goes. You can target a stain without spreading water across a large area. Dripping water runs down the wall, pooling at the baseboard and soaking into the drywall.
That’s when you see swelling, warping, or paint that lifts right off. A damp cloth also dries faster, so you can move on to the next section without waiting.
The Right Way To Wring
Before you start, give your sponge or cloth a good squeeze. You want it just wet enough to pick up dirt, but not so wet that water drips when you hold it up. If you’re using a spray cleaner, mist it onto the wall rather than soaking it.
For larger areas, work in small patches and rinse your cloth often, wringing it out each time. This keeps the wall barely damp and prevents any excess from seeping in.
What To Do If You’ve Already Soaked It
If you accidentally used too much water, don’t panic. Grab a dry towel and gently blot the wet areas to pull up as much moisture as you can. Then, let the wall air dry completely before you assess the damage.
In most cases, a quick blot and some patience will save your paint. If you notice bubbling later, you may need to scrape and touch up, but that’s rare if you act fast.
8. Use a Squeegee for Smooth Walls
If your walls have a glossy or semi-gloss finish, you might be fighting streaks every time you clean. A squeegee—the same tool you use on windows—can be a game-changer. It glides over the surface, pushing away dirty water and leaving a streak-free finish behind.
This method is especially handy for large areas like hallways or bathrooms where you want a quick, even clean.
Squeegees are perfect for smooth, non-textured walls because they don't absorb water like sponges or cloths. Instead, they act like a windshield wiper, removing the cleaning solution in one smooth pass. This reduces the amount of moisture that sits on the paint, which is key to preventing water spots and streaks.
Plus, it's faster than wiping with a cloth, so you'll spend less time on your walls and more time on other things.
Why A Squeegee Works So Well
The magic of a squeegee is its rubber blade. It conforms to the surface just enough to catch every bit of liquid, but it doesn't scrub or abrade the paint. That means you can use a stronger cleaning solution without worrying about damaging the finish.
And because you're not rubbing, you're less likely to create those annoying swirl marks that show up under certain lighting.
Step-by-step: Squeegee Cleaning
Start by mixing a gentle cleaning solution—warm water with a few drops of dish soap works perfectly. Dip your squeegee into the solution or spray it on the wall, then pull the squeegee from top to bottom in a straight line. Overlap each pass slightly to avoid missing spots.
After you've covered the area, go back with a dry, lint-free cloth to catch any remaining moisture and give the wall a final polish. This extra step ensures a spotless, shiny finish.
When To Skip The Squeegee
Squeegees are only for smooth walls. If you have textured paint like orange peel or popcorn, the blade will skip and leave streaks, and it might even catch on the texture and peel the paint. Stick to sponges or cloths for textured surfaces.
Also, avoid using a squeegee on flat or matte finishes—they're more delicate and can get shiny patches from the pressure.
9. Tackle Grease with Baking Soda
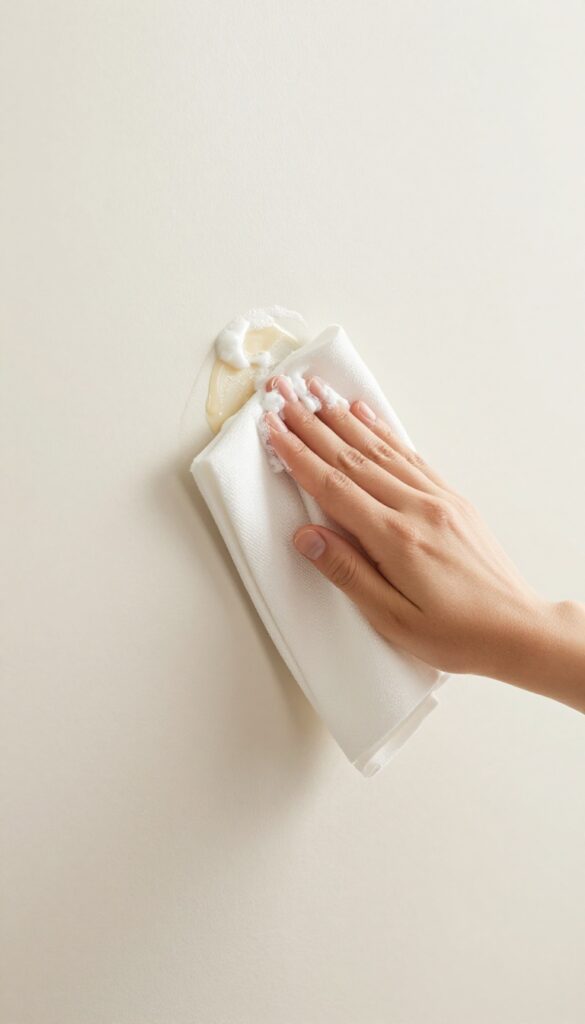
Kitchen walls are grease magnets. Even with a range hood, cooking splatters settle into a sticky film that plain soap often misses. The secret weapon is sitting right in your pantry: baking soda.
It’s gentle enough for most finishes but tough on oily residue, making it a go-to for anyone who wants a deep clean without the risk of damaging paint.
When grease builds up, it can turn yellow and tacky, collecting dust and grime. Baking soda works because it’s a mild alkali that breaks down grease molecules, while its fine texture provides just enough abrasion to lift the gunk without scratching. Plus, it’s cheap, non-toxic, and safe for most wall surfaces, including latex and satin paints.
Make The Right Paste
Mix three parts baking soda with one part water in a small bowl. Stir until it forms a thick paste, similar to toothpaste. If the grease is heavy, add a drop of dish soap to boost the cleaning power.
Avoid making it too runny, as excess moisture can seep into seams or damage the paint.
Apply And Wipe Gently
Dip a soft, lint-free cloth into the paste. Work in small circular motions, focusing on the greasy spots. The baking soda will feel slightly gritty, but that’s normal.
Let it sit for a minute or two to break down the grease, then wipe away with a damp cloth. For stubborn areas, repeat the process, but always test on an inconspicuous spot first.
Rinse And Dry
After cleaning, go over the wall with a clean, damp cloth to remove any baking soda residue. Then dry with a soft towel to prevent streaks or water spots. If you notice a dull film, it might be leftover baking soda, so rinse again.
This method leaves walls fresh and grease-free without harming the finish.
10. Use a Microfiber Cloth for Final Rinse
You’ve scrubbed, wiped, and maybe even used a cleaning solution, but there’s one more step that makes a big difference. Skipping the final rinse is like washing your hair and leaving the shampoo in—it might feel clean, but the residue builds up over time. That soapy film can attract dirt and leave walls looking dull, even after you’ve put in the effort.
A clean, damp microfiber cloth is your best friend here. It picks up leftover cleaner without leaving lint or streaks, and it’s gentle enough to protect your paint finish. This simple habit keeps your walls looking fresh and prevents that sticky, grimy feel that comes back faster than you’d expect.
After you’ve cleaned a section, grab a fresh microfiber cloth and dampen it with plain water. Wipe the wall in smooth, overlapping strokes, turning the cloth frequently so you’re always using a clean side. This removes any soap or cleaner residue that could dull the paint or attract dust.
Don’t wring the cloth too dry—a slightly damp cloth works best. If it’s dripping, you’re adding more water to the wall, which can cause streaks or even seep into cracks. And if you’re cleaning a large area, change the water and cloth regularly to avoid spreading dirt around.
Microfiber is the key here because it’s designed to trap particles and absorb moisture without scratching. Unlike cotton towels or sponges, it won’t leave behind fibers or push residue into the paint. Plus, it’s reusable—just toss it in the wash and it’s ready for next time.
Why Residue Is The Real Enemy
When you clean with a solution, even a mild one, it leaves behind a thin layer of soap or detergent. This residue is sticky, so it grabs onto dust and grime from the air, making your walls look dirty again within days. It can also cause a cloudy, hazy appearance on the paint, especially on darker or glossier finishes.
A final rinse breaks that cycle. It lifts away the residue so your walls stay cleaner longer and look their best. Think of it as the difference between wiping a counter with a soapy sponge and then drying it with a clean cloth—one leaves a film, the other leaves a shine.
How To Do It Right
Start at the top of the wall and work your way down, just like you would with the initial cleaning. This way, any drips from the cloth land on areas you haven’t rinsed yet, so you don’t have to redo sections. Use light pressure and let the cloth do the work—no need to scrub.
Keep a bucket of clean water nearby and rinse the cloth out frequently. If you’re doing a whole room, change the water halfway through. You’ll know it’s time when the water looks cloudy or the cloth starts leaving streaks.
When To Skip The Rinse
If you’re using a cleaner that explicitly says no rinse needed, like some all-purpose spray-and-wipe products, you can skip this step. But even then, a quick once-over with a damp cloth won’t hurt and can help if you used more product than necessary. Also, if your walls are particularly delicate—like flat or matte finishes—test a small hidden spot first.
While microfiber is gentle, any wet cloth can affect these finishes if you press too hard. But for most painted walls, this final rinse is a safe, effective way to keep them looking pristine.
11. Know Your Paint Finish
Before you even pick up a sponge, take a close look at your walls. The finish—flat, eggshell, satin, semi-gloss, or gloss—determines how much water and scrubbing they can handle. Using the wrong technique on a delicate finish can leave permanent marks or strip the paint right off.
Understanding your paint finish is like knowing the care label on your favorite shirt. Flat and matte finishes are the most fragile; they show every touch and can easily develop shiny patches if rubbed too hard. Eggshell and satin offer a bit more resilience, making them common in living rooms and bedrooms.
Semi-gloss and gloss are the tough guys, often found in kitchens and bathrooms because they resist moisture and cleaning well. Match your cleaning method to the finish, and you'll avoid most paint disasters.
Why Finish Matters
The finish isn't just about looks—it's about durability. Flat paint has a porous surface that absorbs water and shows streaks. Glossy finishes have a smooth, sealed surface that repels liquid and stands up to repeated wiping.
Knowing this helps you pick the right cleaning approach from the start.
Quick Finish Guide
Flat/matte: use a dry microfiber cloth or a barely damp sponge, no rubbing. Eggshell/satin: a damp cloth with mild soap works fine. Semi-gloss/gloss: you can use a sponge with a bit more water and gentle pressure.
When in doubt, start with the gentlest method and test in an inconspicuous spot.
Test Before You Clean
If you're unsure what finish you have, do a quick test. Dab a small area with a wet cloth and wait a minute. If the paint softens or leaves a mark, it's likely flat or matte.
If it stays intact and wipes clean easily, you're probably dealing with a more durable finish. This five-second test saves you from bigger headaches later.
12. Test Any Cleaner in an Inconspicuous Spot
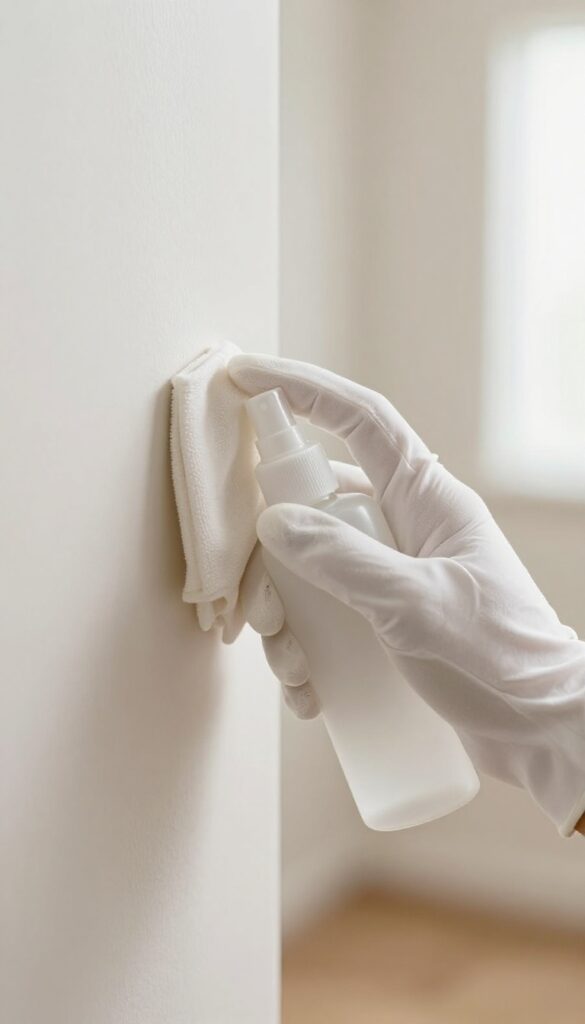
You wouldn't dye a shirt without checking the color first, right? The same logic applies to your walls. That all-purpose spray might work wonders on your neighbor's paint, but your finish could react differently.
Testing a cleaner in a hidden area is the smartest 30 seconds you'll spend. It's not about being paranoid—it's about being practical. Paint formulas vary, and what's safe for one might dull or streak another.
Pick The Right Test Spot
Look for a place that's out of sight but representative of the wall's surface. Behind a door, inside a closet, or behind a piece of furniture are all good options. Make sure the spot has the same paint finish and hasn't been touched up differently.
Apply And Wait
Dampen a clean cloth with your chosen cleaner and wipe a small area—about the size of a quarter. Then wait a few minutes. If you see any discoloration, dullness, or lifting, that cleaner is a no-go for your walls.
What To Look For
Besides obvious color changes, check for a sticky residue or a change in sheen. Sometimes a cleaner can leave a film that's only visible when dry. If the test spot looks exactly like the surrounding wall, you're good to go.
13. Use a Steam Cleaner for Stubborn Stains
Some stains just laugh at regular cleaning. Grease splatters that have baked on, crayon marks that have set in, or mystery smudges that have been there since you moved in—these need more than a sponge. A handheld steam cleaner can be your secret weapon for these tough spots, using heat to break down grime without harsh chemicals.
Steam cleaning works by delivering high-temperature moisture directly to the stain. The heat softens and loosens the bond between the dirt and the paint, making it easy to wipe away. It's particularly effective on grease and oil-based marks, which often resist standard cleaners.
Plus, you avoid introducing any new chemicals to your walls, which is a big plus if you're sensitive to smells or have kids and pets around.
Why Steam Works So Well
The magic is in the heat. When steam hits a stubborn stain, it gently expands the paint's surface just enough to release the grime. It's like giving the dirt a little nudge to let go.
And because steam is just water, you don't have to worry about residue or streaks that some cleaners leave behind. It's also great for textured walls where dirt hides in the nooks and crannies.
How To Use A Steam Cleaner Safely
First, test on an inconspicuous spot to make sure your paint is heat-safe. Most modern paints are fine, but it's better to be safe. Fill the steamer with distilled water to avoid mineral buildup.
Hold the nozzle a few inches away from the wall and move in slow, steady strokes. Don't linger in one spot—the goal is to loosen the stain, not saturate the wall. After steaming, wipe the area with a clean, dry microfiber cloth to pick up the loosened dirt.
When To Skip The Steam
Steam isn't for every situation. If your walls have a flat or matte finish, the moisture can cause streaking or even damage the paint's texture. Also, avoid steaming over peeling or chipping paint, as the water can seep underneath and make it worse.
And if you're dealing with a very delicate wallpaper or older paint that's prone to flaking, stick to gentler methods. When in doubt, test a small area first.
14. Avoid Harsh Chemicals
Some cleaning products are just too aggressive for painted walls. Bleach, ammonia, and abrasive cleaners might seem like quick fixes, but they can do more harm than good. They can strip the paint, cause discoloration, or leave behind a sticky residue that actually attracts more dirt.
When you reach for a cleaner, check the label first. If it contains bleach, ammonia, or any abrasive particles, put it back. These chemicals are overkill for most wall messes and can damage the finish permanently.
Why Bleach And Ammonia Are Bad News
Bleach can fade or discolor paint, especially darker shades. Ammonia can break down the binders in paint, causing it to become chalky or peel. Both can leave a residue that dulls the finish and makes future cleaning harder.
Abrasive Cleaners Scratch
Powders and creams with gritty particles are like sandpaper for your walls. They can leave fine scratches that trap dirt and make the surface look worn. Even on tougher paints, they're not worth the risk.
Gentle Alternatives That Work
Stick to mild dish soap, warm water, and a soft sponge or microfiber cloth. For tougher spots, a solution of vinegar and water (1: 1) is a safe, natural option. Always test in an inconspicuous spot first.
15. Dry the Wall Immediately
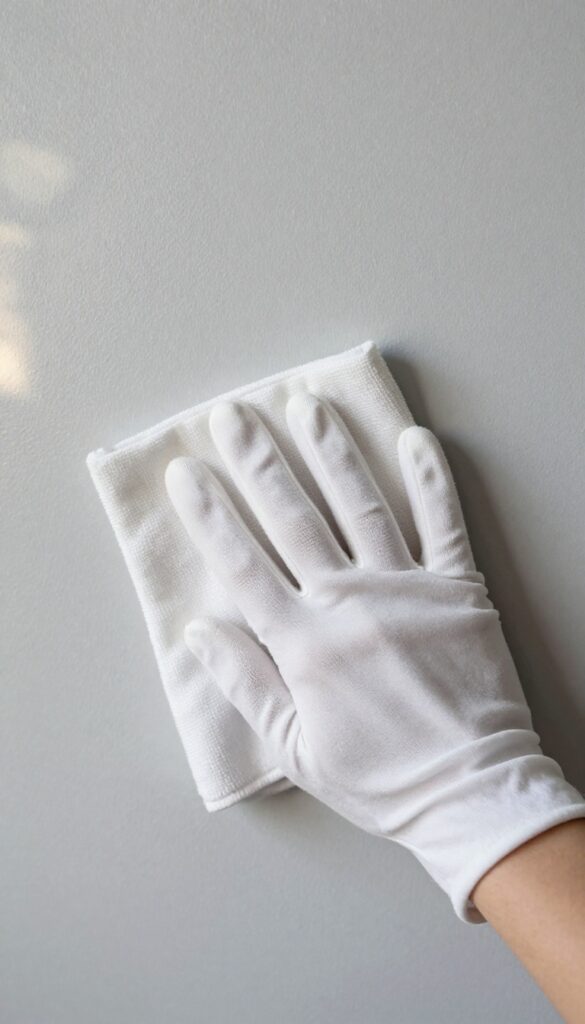
You’ve scrubbed, wiped, and maybe even used a cleaning solution, but there’s one more step that makes a big difference: drying the wall right away. It’s easy to skip, but it’s the difference between a clean, even finish and unsightly water spots or streaks. When water sits on painted surfaces, it leaves behind minerals and residue as it evaporates.
That’s why you often see those cloudy marks or drip trails after cleaning. A quick pat-down with a dry towel prevents that and keeps your paint looking fresh.
Drying your walls immediately after cleaning is a simple habit that protects both the paint and the finish. It stops water from soaking into the paint, which can cause bubbling or peeling over time, especially if the paint is old or low-quality. It also prevents the buildup of mineral deposits that create dull spots.
Using a clean, dry microfiber cloth or an old towel works best. Gently pat the surface rather than rubbing, which could smear or disturb the paint. Work in sections as you clean, so the water doesn’t have time to dry on its own.
This extra minute or two saves you from having to re-clean or touch up later.
Why Water Spots Happen
Water spots are basically mineral deposits left behind when water evaporates. If you have hard water, those minerals are more concentrated, making the spots more noticeable. Even with soft water, streaks can form if the water sits too long.
Drying immediately stops that process, so your walls stay uniform.
Best Tools For Drying
Microfiber cloths are the top choice because they absorb a lot of water without leaving lint. Old cotton t-shirts or towels also work, but avoid rough fabrics that might scratch the paint. Make sure the cloth is clean and dry before you start, and have a few on hand if you’re doing a large area.
How To Dry Without Smearing
Instead of wiping, use a patting motion. Press the cloth against the wall and lift, letting it soak up the water. If you slide it, you might push the water around or pick up dirt that could scratch the paint.
Work from top to bottom so drips don’t run into already-dried sections.
FAQ
Can I use vinegar on all wall types?
Vinegar is generally safe for most painted walls, but it's acidic. Test it on a small area first. Avoid using it on unsealed or natural stone walls, as it can etch the surface.
How do I clean walls without leaving streaks?
Use a damp (not wet) sponge, work in small sections, and rinse with a clean damp cloth. Dry the wall immediately with a soft towel to prevent streaks.
What's the best way to remove crayon from walls?
Try a magic eraser or a paste of baking soda and water. Gently rub the mark, then wipe clean. For stubborn marks, use a little toothpaste on a soft cloth.
Can I use a pressure washer on interior walls?
No, pressure washers are too harsh for interior walls and will damage the paint and drywall. Stick to gentle hand cleaning methods.
How often should I clean my walls?
It depends on traffic and exposure. High-traffic areas like hallways and kitchens may need cleaning every few months, while other rooms can go once or twice a year.
Conclusion
Once you know how to clean walls the right way, the whole job feels a lot less risky. Start with the gentlest method for your paint finish, then work up to stronger solutions only if needed. A soft cloth and a mild cleaner will handle most everyday marks without dulling the sheen.
Keep a routine going—quick spot checks every couple of weeks—and you’ll avoid heavy buildup altogether. That little bit of regular care keeps your walls looking fresh and your paint intact for years.