10 Backyard Turf Ideas for a Clean Low-Maintenance Look
A patchy lawn takes more work than most people expect. You mow it, water it, fight weeds, and it still looks rough by August. Artificial turf flips that equation.
Suddenly the yard looks sharp year-round, and your weekends are free again.
The catch is picking the right turf for how you actually use the space. A putting green, a dog run, and a rooftop patio all need different things. Get the base and the product right, and the install holds up for a decade or more.
Below are ten backyard turf ideas that deliver a clean, low-maintenance look.
Some take a weekend. Others need a pro. All of them cut the chores and keep the yard looking intentional.
1. Pet-Friendly Turf That Stands Up to Zoomies and Digging
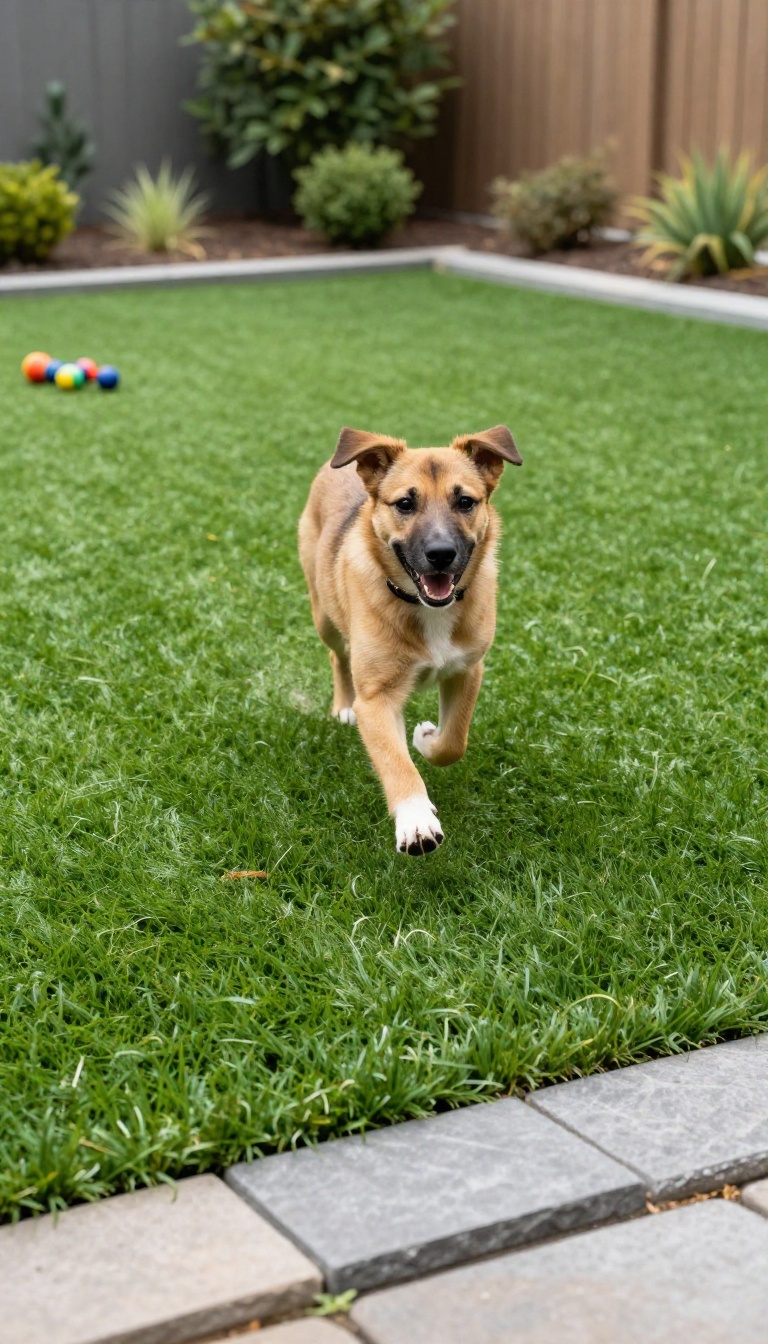
Dogs are tough on lawns. They sprint, skid, dig, and pee in the same spot until the grass gives up. Artificial turf built for pets solves most of that.
It keeps its shape through heavy play and cleans up fast. The key is choosing the right product and base for dog traffic.
Not all turf handles a determined dog. Standard landscaping grass can mat down or tear under constant running. Pet-specific products use stronger fibers and a denser backing.
That combo resists wear and keeps the surface stable. You also need drainage that moves liquid away quickly. Otherwise, odors build up and the surface stays soggy.
Pick The Right Blade And Height
Look for turf with a blade height around 1. 5 to 2 inches. That range gives dogs traction without snagging claws.
Shorter blades can feel harsh on paws. Taller ones may flatten under repeated foot traffic. A curled or w-shaped blade helps the grass spring back after a hard run.
Check the face weight too. Heavier turf lasts longer in high-traffic zones.
Choose Infill That Controls Odor
Infill sits between the blades and adds stability. For pets, silica sand alone can hold moisture and smell. Zeolite or antimicrobial infill neutralizes ammonia from urine.
That keeps the yard fresh even after repeat visits. Some products mix zeolite with sand for a balance of support and odor control. Rinse the area occasionally to flush the system.
Plan For Digging And Drainage
A determined digger can still pull up edges. Install a sturdy border or bury the turf edge under a paver. That removes the loose lip dogs love to grab.
For drainage, use a compacted base of crushed stone. Add a weed barrier before the turf goes down. Slope the base slightly so water flows away from the house.
A perforated backing helps too.
Keep Cleanup Simple
Solid waste lifts off easily with a bag and scooper. For messes, rinse the spot with water and a mild pet-safe cleaner. A hose with a spray nozzle handles most jobs.
Avoid harsh chemicals that can break down the backing. Brush the turf every few weeks to lift flattened blades. That keeps the surface looking fresh and prevents matting.
2. A Putting Green for Daily Practice Without the Country Club
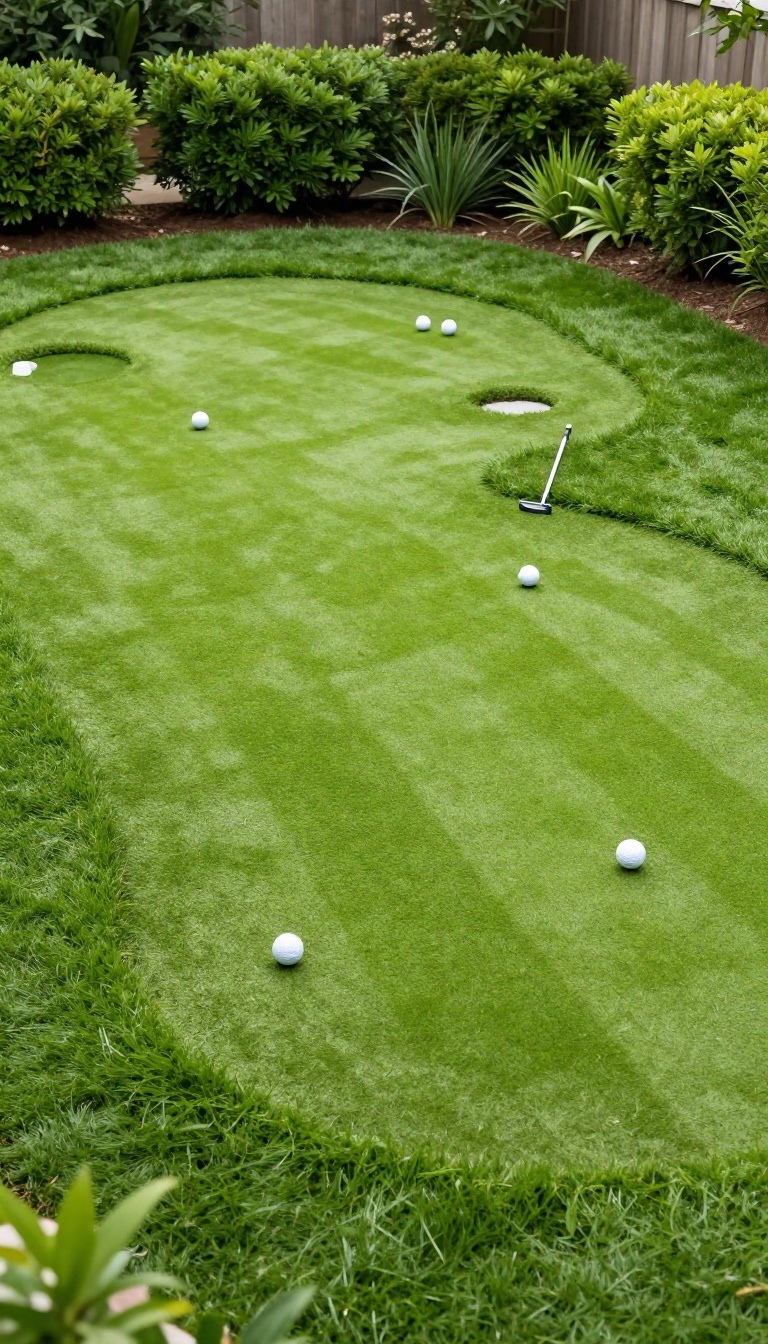
A putting green turns a dead corner of the yard into the most-used patch of turf you own. No tee times, no dress code, no driving across town just to roll a few balls. You walk out back, drop a sleeve of balls, and get in ten minutes of practice before dinner.
The trick is building it so it actually plays like a green instead of a carpet on dirt. That comes down to base prep, smart hole placement, and a little upkeep that takes less time than mowing.
You do not need a full-sized green to get real value out of this. Most backyard builds land between 200 and 600 square feet, which is plenty for chipping and putting drills. The goal is a surface that rolls true, drains fast, and still looks tidy when you are not using it.
Base Prep Makes Or Breaks The Roll
A putting green lives and dies by what is under it. Dig out the area to about 4 inches deep, then compact a layer of crushed stone or decomposed granite. This is your drainage and your foundation.
On top of that goes a layer of fine sand or a specialized green base, screeded flat and then firmed with a plate compactor. Any soft spot will show up as a dip in the roll, and you will feel it on every putt. Take your time here.
The turf goes down fast; the base is the slow part. If you want slope, build it into the base, not the turf. A gentle 1 to 2 percent grade keeps water moving and adds break to your putts.
Anything steeper and balls roll off the green instead of across it.
Hole Placement And Fringe Details
Space your cups so you can practice different looks. Three holes in a 300-square-foot green gives you plenty of variety without turning the surface into Swiss cheese. Set them at least 6 feet from the edge so you have room to work.
Use standard 4. 25-inch cups with sleeves, or go with a single adjustable cup if you want to move it around. Cut the holes after the turf is installed and the infill is brushed in, not before.
Add a fringe border using a slightly longer-cut turf or a contrasting color. It frames the green, stops balls from rolling into the shrubs, and makes the whole thing look intentional. A small chipping area off to one side is a nice bonus if you have the room.
Keeping It Sharp Year-round
A putting green stays clean with about ten minutes of care a week. Brush it with a stiff broom to lift the fibers and redistribute infill. That keeps the surface consistent and prevents matting.
Rinse it off with a hose when dust or pollen builds up. If you have trees nearby, blow off leaves and debris before they work into the turf. A leaf blower on low works fine.
Check your infill levels every few months and top off as needed. If a seam starts to lift or a cup sleeve works loose, fix it right away. Small repairs now save you from replacing a section later.
3. Playground Turf with Soft Padding for Kids
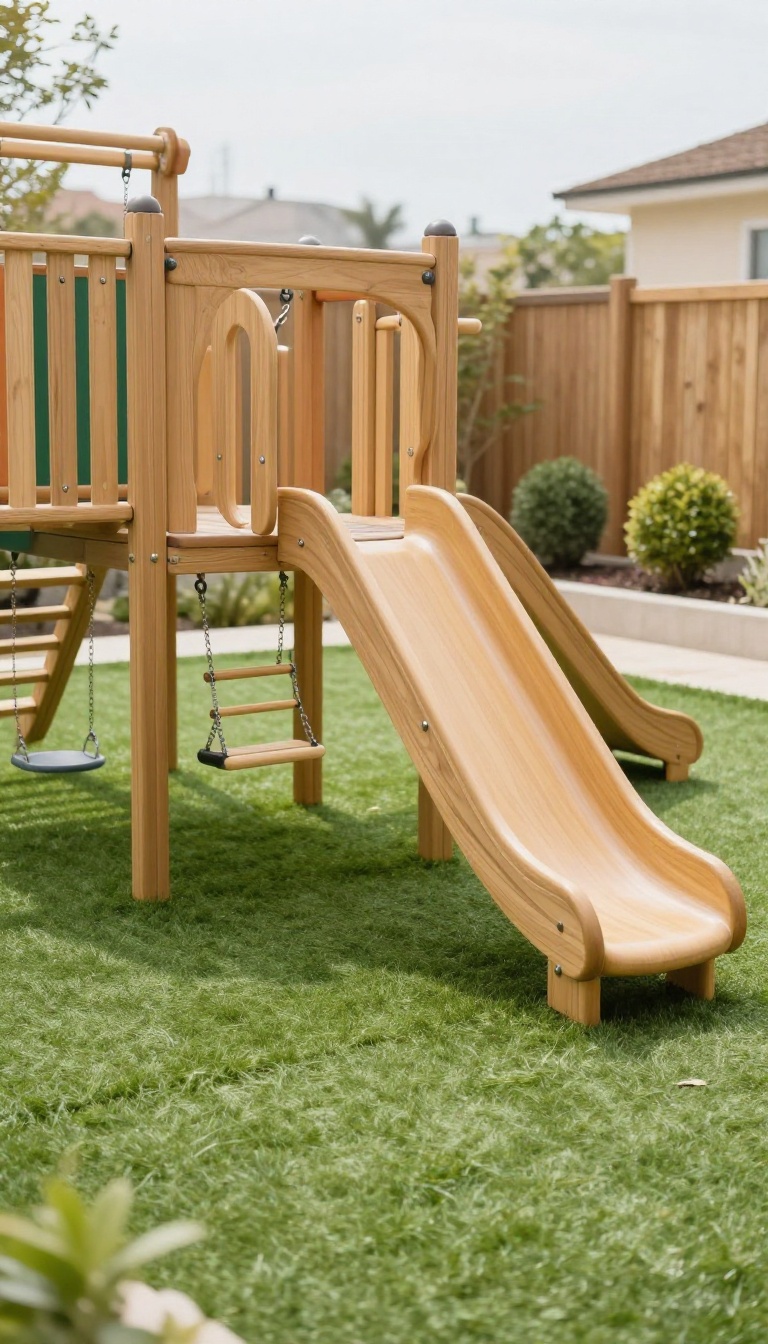
A backyard playset loses its appeal fast when the ground underneath is hard-packed dirt or gravel. Kids fall, knees get scraped, and suddenly the swing set sits unused. Playground turf with a shock-absorbing pad underneath solves that problem.
It gives kids a soft landing and gives you a surface that never turns to mud.
The key is pairing the right turf with the right padding. Turf alone won't protect a fall from a climbing structure. You need a shock pad underneath, and the thickness depends on how high kids can climb.
A 4-foot platform needs less padding than a 7-foot one. Manufacturers rate pads by fall height, so check that number against your play equipment before you buy. Most residential sets fall in the 4- to 8-foot range, and pads rated for 8 to 10 feet cover you with a safety margin.
Bright turf colors work well here. Green is standard, but blue, tan, and multi-tone options let you match the playset or just make the area feel like a real playground. Cleaning is simple.
Rinse it with a hose, spot-clean juice or chalk with mild soap, and rake up leaves. No muddy patches after rain, no bare spots where kids slide into base.
Getting The Fall Height Right
Measure the highest point a child can reach on the playset, not just the platform. That's your fall height. Then buy a pad rated at or above that number.
A 1-inch pad handles low play structures, while thicker 2- to 3-inch pads suit taller slides and climbing walls. Skipping this step is the most common mistake, and it's the one that actually matters for safety.
Choosing Turf That Plays Well
Look for turf with a shorter pile and a dense backing. Long, fluffy blades trap crumbs and get matted down under foot traffic. A 1- to 1.
5-inch pile height holds up better. If the area gets full sun, pick a turf with UV stabilizers so the color doesn't fade. Bright hues show dirt less than you'd think, and they hide the seams between turf rolls.
Keeping It Clean Without The Hassle
A leaf blower handles most debris in under a minute. For sticky messes, a spray bottle of water and dish soap does the job. If you have pets, rinse the area weekly to keep odors down.
The pad underneath stays dry because the turf drains through, so you never get that soggy carpet feeling after a storm.
4. Modern Courtyard Turf for a Clean, Minimalist Vibe
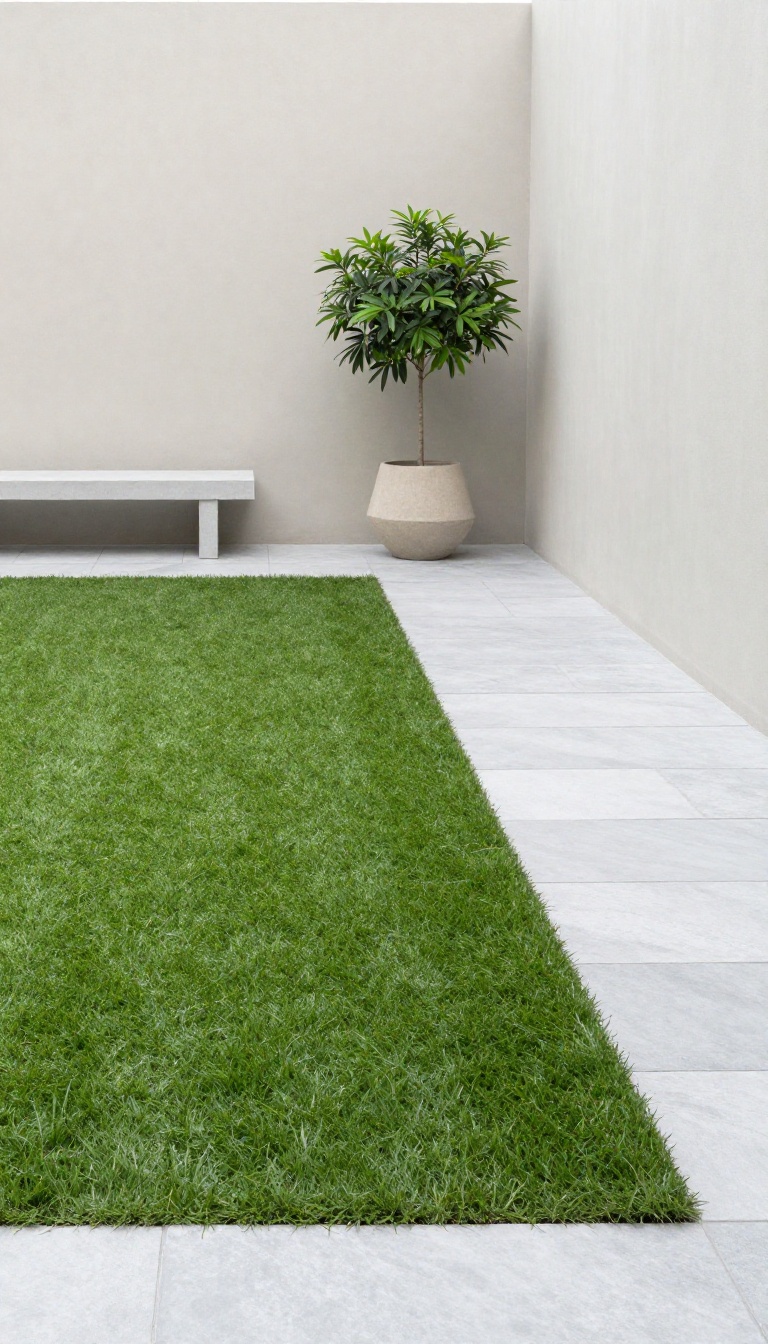
A courtyard doesn't need grass to feel alive, but turf gives it a soft, usable surface that stays crisp all year. The trick is treating turf as a design element, not a lawn replacement. Pair it with concrete or large pavers, and you get that clean, modern look that reads more like architecture than landscaping.
This style works best in smaller spaces where every square foot counts. You're not trying to mimic a meadow. You're creating a calm, geometric outdoor room that happens to have grass underfoot.
The minimalist courtyard look lives on contrast. Hard, smooth surfaces meet soft, uniform turf. Straight lines and right angles do most of the heavy lifting, so the install needs to be precise.
Any wobble in the edges or unevenness in the base will stand out immediately. That precision is also what makes it low-maintenance. No mowing stripes, no brown patches, no muddy corners after rain.
Just a surface you can sweep, rinse, and forget about.
Laying Out The Geometry
Start with a simple grid. A square or rectangular turf panel bordered by concrete or porcelain pavers is the classic move. It's easy to install and easy to keep clean.
If you want something softer, try a wide turf strip between two paver bands. The bands guide your eye and break up the green so it doesn't feel like a carpet. Keep the turf flush with the hardscape for a seamless look, or set it slightly lower so the pavers act as a natural edge.
Choosing The Right Turf Pile
Short, dense turf with a tight pile height works best here. Anything shaggy or too tall fights the clean lines you're after. Look for a pile height around 30 to 35 millimeters with a natural, matte finish.
Color matters too. A slightly muted green reads more realistic in a courtyard than a bright, almost neon shade. If your space gets a lot of shade, pick a turf that's rated for it so it doesn't fade unevenly.
Edging And Drainage Details
Low-profile edging keeps the turf contained without drawing attention. Aluminum or steel edge strips sit nearly flush with the surface and won't rot or shift like timber. Drainage is the quiet hero of any courtyard turf job.
Water needs somewhere to go, especially if the area is enclosed. A compacted base with a slight slope toward a drain or planting bed keeps the surface dry and prevents pooling. Skip this step and you'll be dealing with soggy turf and lifted seams within a year.
Keeping It Clean Without The Chores
A leaf blower handles most debris in seconds. For deeper cleaning, a quick rinse with a hose and a stiff brush brings the pile back up. No fertilizer, no watering schedule, no mower.
Once or twice a year, top-dress with a bit of kiln-dried sand to keep the fibers standing upright. That's it. The whole routine takes less time than a single mow on a traditional lawn.
5. Poolside Turf That Stays Cool and Comfortable
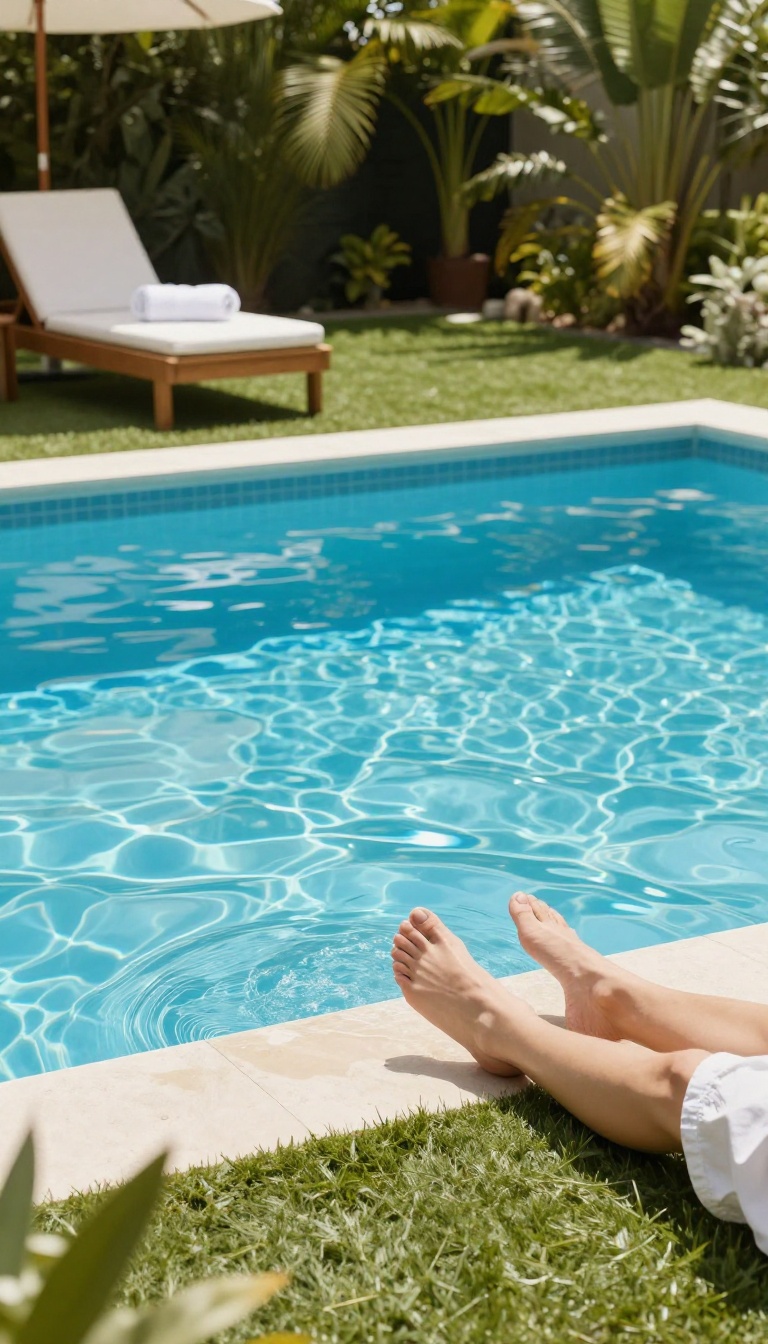
Pool decks and bare feet have a complicated relationship with most surfaces. Concrete bakes in the sun, and natural grass turns into a muddy mess near the water. Turf designed for pool areas solves both problems when you pick the right product and prep the base correctly.
The goal is simple: a surface that drains fast, stays cooler than stone, and gives you traction when you're wet. Get those three things right, and your pool area becomes the most comfortable spot in the yard.
Pick Turf That Won't Scorch Your Soles
Not all artificial grass handles heat the same way. Standard turf can get uncomfortably hot in direct sun, especially in warmer climates. Look for products with heat-reflective backing or lighter blade colors that absorb less sunlight.
Some manufacturers add infill made from silica sand or specialized cooling granules that reduce surface temperature by 10 to 15 degrees. That matters when you're walking from the pool to a lounge chair without shoes. Thicker blades with a higher face weight also hold up better against constant sun exposure.
They resist fading and stay softer underfoot season after season.
Drainage Is Non-negotiable
Water has to go somewhere, and around a pool it has plenty of chances to pool up. A proper base starts with 3 to 4 inches of compacted crushed stone, topped with a layer of decomposed granite or similar material. The turf itself needs perforated backing so water passes through instead of sitting on top.
Without that, you get soggy patches, algae, and a surface that squishes when you step on it. Slope the base away from the pool at a slight grade, about 1 to 2 percent. This keeps runoff moving toward a drain or the yard instead of collecting near the pool edge.
Traction Matters More Than You Think
Wet feet on slick turf is a recipe for a slip. Choose a product with a textured blade shape and a backing that grips. Some turf lines are specifically rated for pool surrounds and come with slip-resistance testing data.
Avoid very short, dense turf that feels like carpet when wet. A slightly taller blade with a bit of bounce gives you better footing and feels nicer to walk on. If you're installing over an existing concrete deck, use a drainage mat underneath the turf to keep water moving and add a little cushion.
It's an extra step, but it makes a real difference in comfort and safety.
Keep It Clean Without The Hassle
Pool chemicals, sunscreen, and wet towels can leave residue on the turf over time. A quick rinse with a hose once a week keeps most of it from building up. For deeper cleaning, a mild soap and water solution works fine.
Brush the turf occasionally to keep the blades standing upright, especially in high-traffic areas near the pool steps. This also helps prevent matting and keeps the surface looking fresh. If you have pets that use the pool area, pick up solid waste promptly and rinse the spot.
Turf around pools handles pet use well, but a little maintenance keeps odors away and the surface hygienic.
6. Rooftop or Balcony Turf for Small Urban Spaces
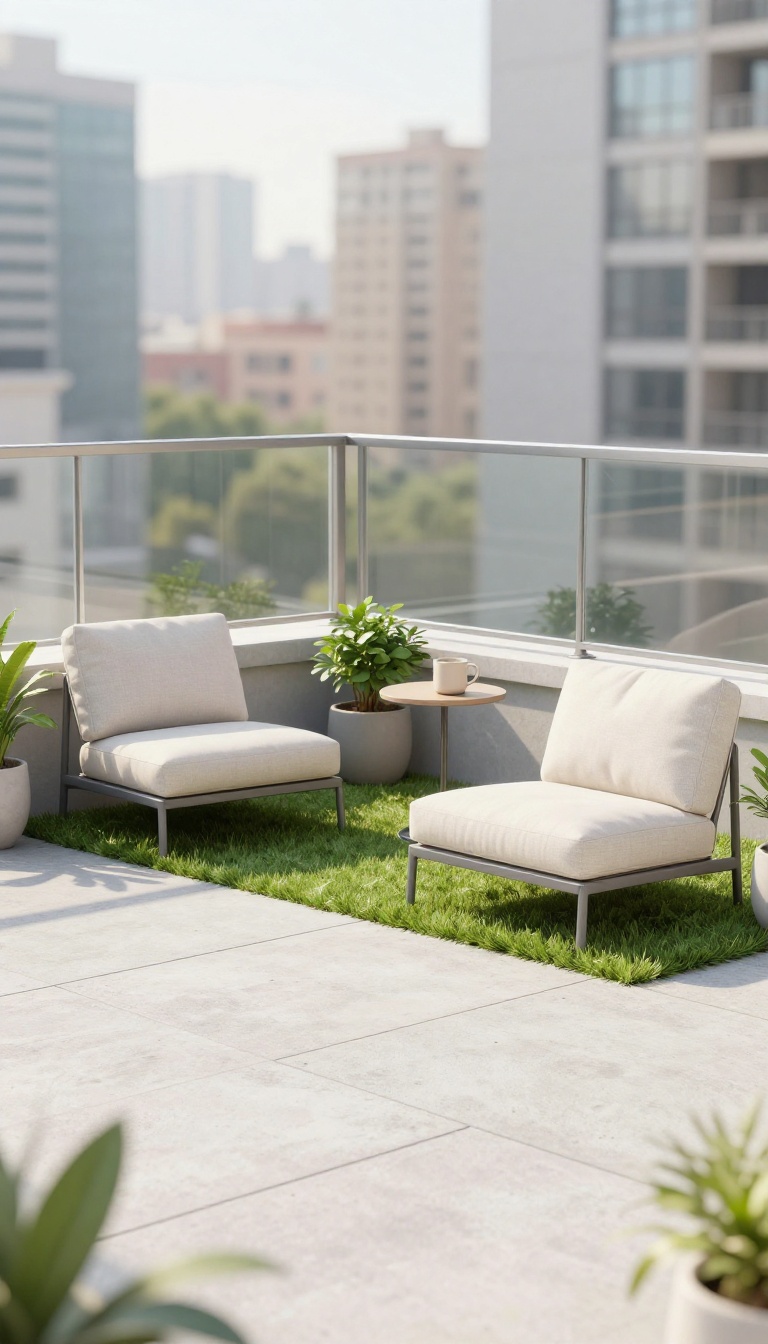
City outdoor space is precious, and a bare concrete balcony or rooftop doesn't exactly invite you to kick off your shoes. Turf changes that in a weekend. It softens the surface, adds color, and makes a small area feel like a real retreat.
The catch is that you're not working with soil and a lawn mower. You're working with weight limits, drainage, and wind. Get those three right, and a rooftop or balcony can look as good as any backyard.
Lightweight turf tiles or rolls are the usual pick here. They're easy to install, easy to remove, and they don't need a permanent base. But not every product works on every balcony, so a little planning goes a long way.
Rooftop and balcony turf is less about growing grass and more about layering a durable surface over concrete, membrane, or decking. The goal is a clean look that stays put, drains fast, and doesn't stress the structure. That means choosing the right product, prepping the surface, and thinking about how wind and water will behave up there.
Weight Limits And Product Choices
Every balcony and rooftop has a load limit, and turf adds weight. A standard roll of artificial grass can weigh 1 to 2 pounds per square foot, while tiles are often lighter. Add a base layer or infill, and the number climbs.
Check your building's rules before you buy. Some condos cap the weight you can add, and older structures may have stricter limits. If you're unsure, go with lightweight tiles or a thinner turf roll.
Tiles are also easier to carry up stairs or through a narrow door. They click together and let you cover odd shapes without waste. Rolls give a more seamless look but can be heavy and awkward to move.
Drainage That Actually Works
Water has nowhere to go on a hard surface, so drainage is non-negotiable. Most turf has a perforated backing, but that only helps if water can escape underneath. A simple solution is to lay turf over a drainage mat or a grid of rubber tiles.
That creates a gap for water to flow to the edge or a drain. If your balcony has a slope, work with it instead of fighting it. Avoid laying turf directly on a solid surface with no outlet.
Standing water will ruin the backing, grow mildew, and turn a clean look into a soggy mess. A quick test: pour a cup of water on the surface and see where it goes.
Wind Resistance And Edge Security
Up high, wind is stronger and more constant. A loose corner of turf can lift, flap, and eventually sail off the roof. That's a safety issue and a hassle.
Use weighted edges, adhesive strips, or interlocking tiles that stay put. If you're using a roll, secure the perimeter with landscape pins or heavy planters. On open rooftops, consider a wind-resistant backing or a product rated for high exposure.
Check the edges after storms. A quick walk-around can catch a lifted corner before it becomes a problem. And if you're in a hurricane or high-wind zone, removable tiles are easier to bring inside when needed.
7. Shaded Turf That Thrives Without Sun
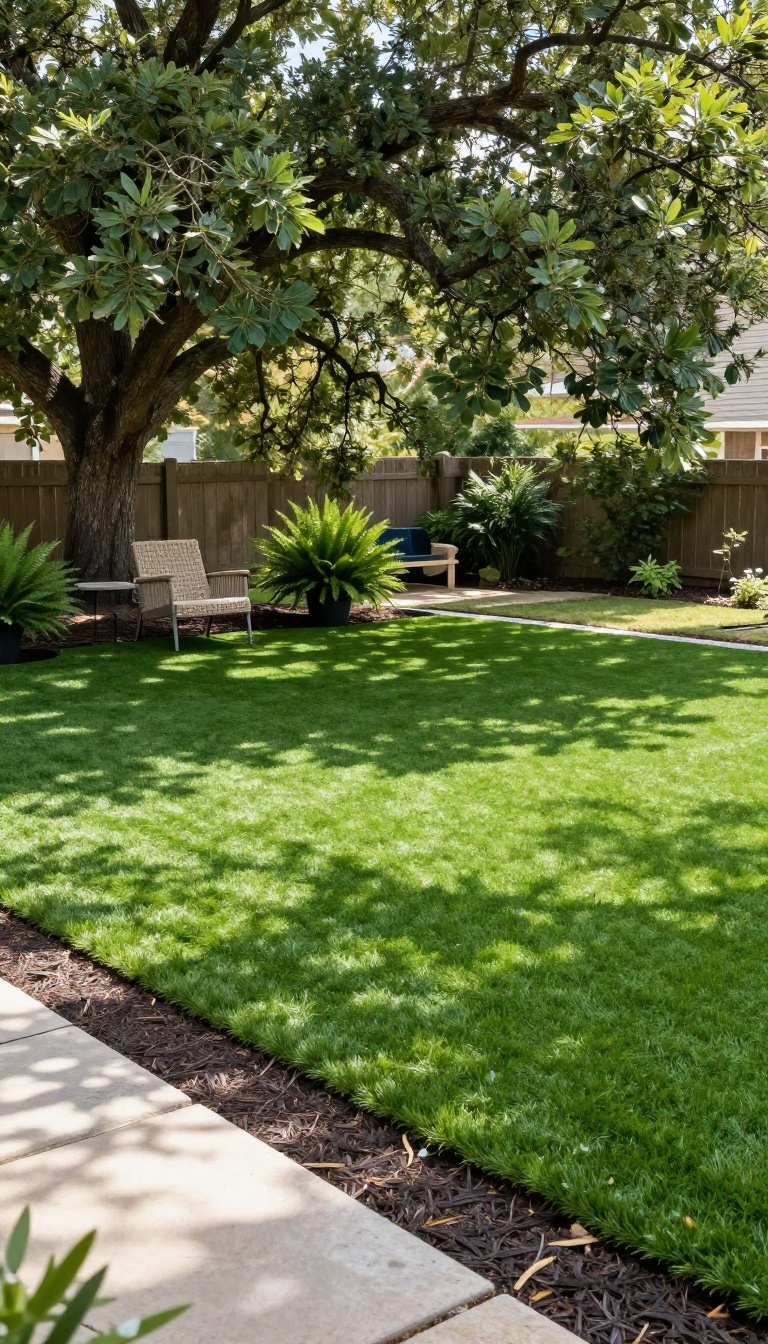
Shade is where real grass gives up. You seed, you water, you wait, and you get a thin, muddy patch that never fills in. Artificial grass doesn't need sunlight to look good, so it turns that problem area into a clean, usable surface.
That doesn't mean any turf works in shade. The wrong product can trap moisture, grow mold, and smell like a wet dog. Choose the right one and install it correctly, and a shaded yard stays fresh and green all year.
Why Turf Wins In The Shade
Real grass needs sun to photosynthesize. Without it, blades thin out, roots weaken, and bare spots take over. Artificial turf skips that whole process.
It keeps its color and shape whether it gets four hours of sun or none. That makes it a natural fit for side yards, under trees, and narrow gaps between buildings. You get a uniform surface without fighting the light conditions.
How To Keep Mold Away
Shade plus moisture equals mold, even on synthetic grass. The fix starts with drainage. A proper base of crushed stone and a permeable backing lets water pass through instead of pooling underneath.
Next, choose a turf with a perforated backing and antimicrobial treatment. Those features help air move and stop mildew before it starts. If the area stays damp, a light brushing now and then keeps the fibers from matting down and trapping water.
What To Look For
Not all turf is built for low-light spots. Look for a product labeled for shade or with a high permeability rating. A shorter pile height, around 1 to 1.
5 inches, dries faster and resists matting. Check the backing too. A dual-layer or woven backing with drainage holes beats a solid one.
And don't skip the infill. A thin layer of silica sand or Zeolite helps stabilize the fibers and absorb moisture, which keeps the surface feeling dry and clean.
8. Turf Borders and Edging for a Manicured Finish
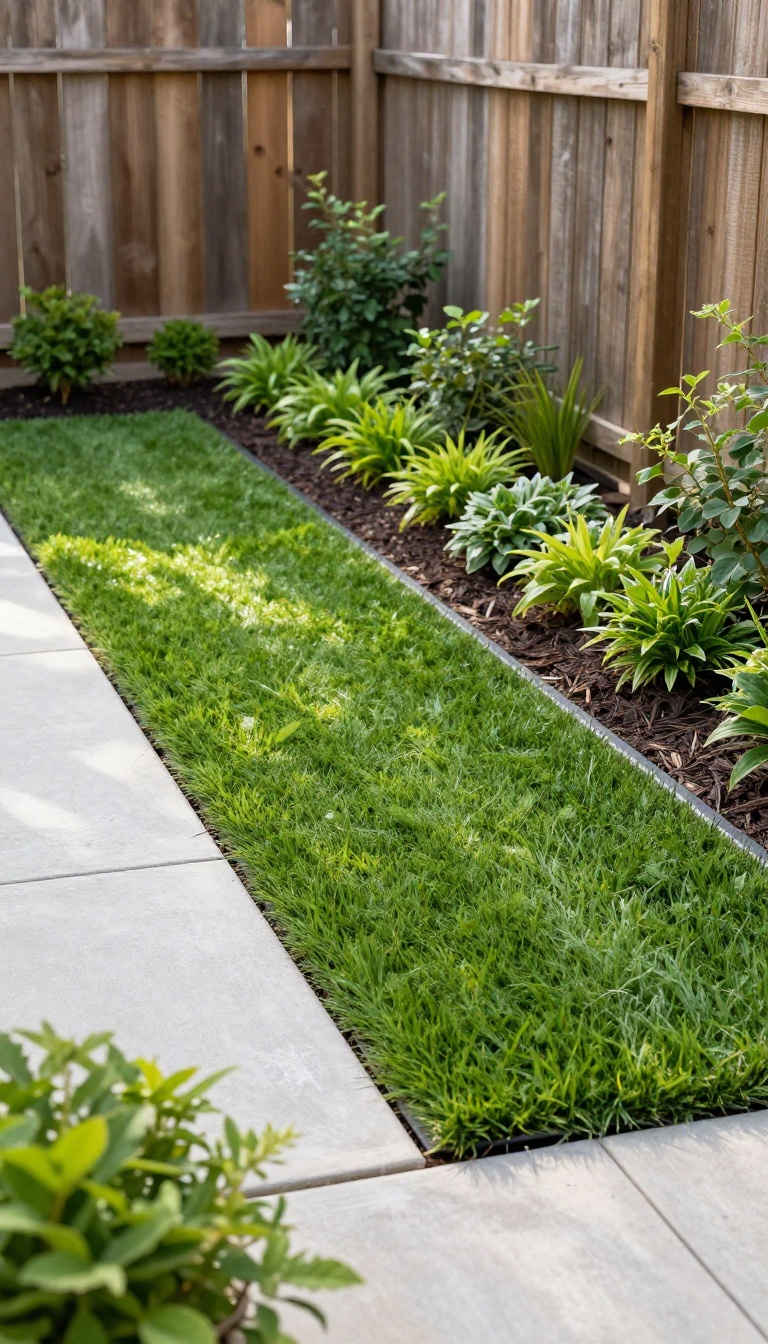
Turf borders do the quiet work that makes a whole yard look finished. Run a strip of artificial grass along a fence line, a walkway, or the edge of a garden bed, and suddenly the space reads as intentional instead of half-done. This is one of the cheapest ways to use turf because you're buying narrow cuts, not a full lawn.
It also solves the ugliest chore in the yard: trimming and edging around obstacles every single week. The trick is getting the line straight and the height right. Do that, and the border holds its shape for years with almost no attention.
Where Borders Earn Their Keep
Fence lines are the classic spot. Grass struggles there anyway, so you're replacing a dead strip with something green that never thins out. Walkways and driveways come next.
A turf ribbon between concrete and soil stops dirt from splashing onto the slab and keeps the mower from scalping the edge. Garden beds benefit too. A clean turf strip separates mulch from lawn, so you stop hand-pulling grass out of the shrubs.
Even a small patio looks sharper with a turf border framing it. The eye reads the crisp line as good design, not extra work.
Getting The Edging Right
Edging is what keeps the border from creeping. Steel, aluminum, or heavy-duty plastic edging holds the turf in place and gives you a hard line to cut against. Set the edging so the top sits just above the turf surface.
Too low and soil spills over. Too high and you'll catch it with the mower or your toe. Use a string line for long runs.
It sounds fussy, but a wavy border is the one thing people notice from the street. For curved beds, flexible edging bends without kinking. Lay it out first, step back, and adjust before you commit.
Cutting And Fitting The Turf
Order turf in the width you need so seams stay minimal. Most borders are 12 to 24 inches wide, which means one pass with a sharp utility knife. Cut from the back of the turf with a fresh blade.
Dull blades snag the fibers and leave a ragged edge that never looks clean. Leave a slight gap between the turf and the edging, then tuck the fibers down with a stiff brush. That hides the seam and locks the line.
If the border meets real grass, cut a clean trench first. A sharp spade edge beats a string trimmer for a permanent line.
The Payoff On Maintenance
Once the border is in, trimming basically disappears. You mow up to the edging and you're done, no string trimmer, no scalped fence posts. Weeds have a harder time too.
The edging blocks runners from creeping in, and any that show up pull out easily from the turf surface. A quick leaf blow keeps it looking fresh. That's the whole routine, which is the point of putting turf here in the first place.
9. Multi-Zone Turf with Pavers and Gravel for Flow
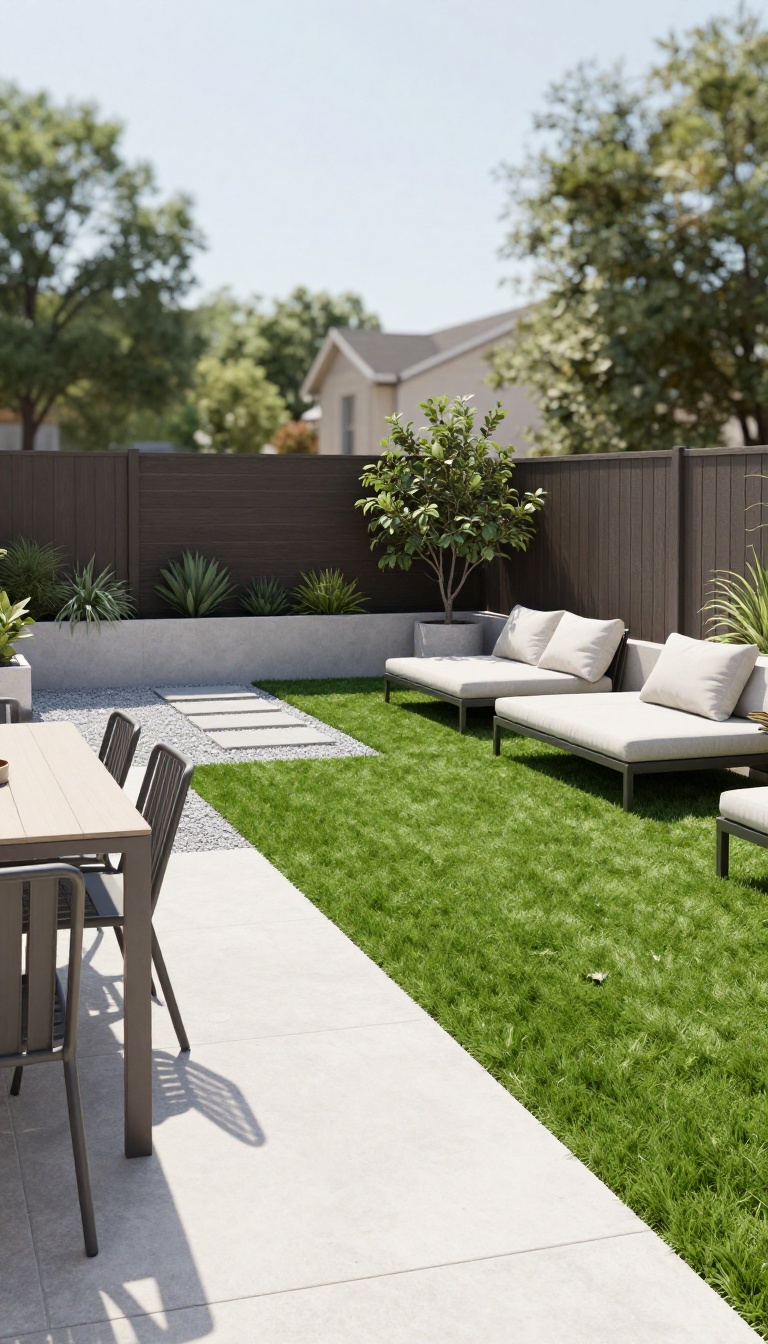
A yard that does everything at once can feel like a jumble. Turf alone won't fix that. Pair it with pavers and gravel, and suddenly each part of the yard knows its job.
You get clear zones for eating, lounging, and playing without a single blade of real grass to mow.
The trick is letting hardscape do the dividing. Pavers create solid footing where chairs and tables go. Gravel fills gaps and adds texture without demanding much upkeep.
Turf handles the soft, barefoot areas. When those three materials meet, the transitions matter as much as the zones themselves.
Lay Out Zones Before You Dig
Sketch your yard on paper and mark where people actually gather. A dining table needs a flat, stable surface. Lounge chairs want a softer edge nearby.
Kids and pets need open turf to run. Once those spots are clear, draw the paths that connect them. That rough map becomes your shopping list for turf, pavers, and gravel.
Choose Materials That Play Nice
Not every paver belongs next to turf. Thick concrete or porcelain pavers sit flush and won't shift when someone steps from grass to stone. For gravel, go with rounded pea gravel or crushed granite in a size that stays put.
Avoid sharp, jagged rock near bare feet. And pick a turf pile height that matches how the zone gets used—shorter for dining, slightly taller for play.
Handle The Transition Strips
The line where turf meets stone is where most DIY jobs go wrong. Bury a rigid edging strip or a row of border pavers to hold the turf in place. Leave a small gap for drainage, then backfill with polymeric sand or fine gravel.
This keeps edges from fraying and stops weeds from sneaking through. It also gives the whole layout a crisp, finished look.
Keep Maintenance Simple
A leaf blower handles most cleanup on gravel and turf. For pavers, a quick rinse now and then keeps them looking fresh. Rake gravel occasionally to smooth footprints or pet digging.
Turf needs a brush to lift flattened fibers, but that's about it. No mowing, no watering, no mud. The zones stay distinct and the yard stays tidy with very little effort.
10. Low-Maintenance Turf for Rental Properties and Quick Flips
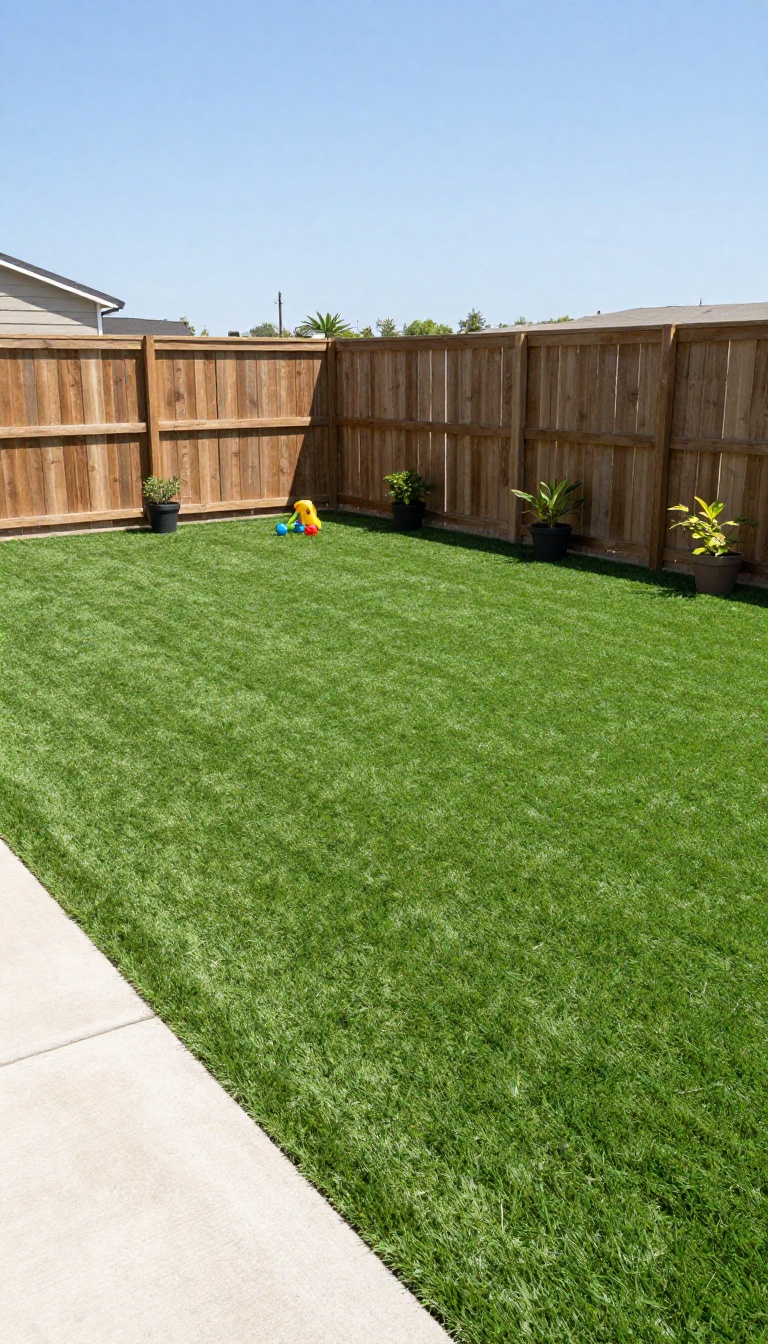
Rental properties and quick flips share one hard truth: the yard sells the place before anyone steps inside. But you're not going to babysit a lawn between tenants or during a two-week renovation. Turf solves that.
It looks sharp on day one and stays that way without a mower, sprinkler, or weekend chore list.
The math works because you're buying back time and avoiding repeat costs. No lawn service, no water bill spikes, no replacing dead sod after a dry summer. For a rental, that means fewer maintenance calls and a yard that photographs well in every listing.
For a flip, it means instant curb appeal that helps justify your asking price. Durability matters more than looks here. Tenants and buyers won't treat the yard gently, so you need turf that can handle foot traffic, pets, and the occasional forgotten toy left out in the sun.
The good news is that mid-grade turf holds up for 10 to 15 years with almost zero attention. That lifespan covers multiple tenants or the entire flip timeline with room to spare. You also get consistency.
A real lawn in a rental often turns into a mud patch by fall, which invites complaints and repair bills. Turf keeps its color and shape no matter who lives there or how little they care. That predictability is what makes it a smart line item in your budget, not just a cosmetic upgrade.
What It Costs And What You Get
Budget turf runs about $5 to $8 per square foot installed, while nicer products with better backing and realistic blades push $10 to $15. For a typical 500-square-foot rental yard, that's roughly $2, 500 to $7, 500 total. You'll spend more upfront than seeding, but you skip years of watering, mowing, and reseeding.
Add a proper base of crushed stone and compacted aggregate, and the install lasts longer. Skipping that step saves money now and costs you later when the surface ripples or drains poorly. A quality install also comes with a warranty, which matters when you're not the one living there.
Why Tenants And Buyers Respond Well
Tenants like a yard that looks good without work. No mower to store, no hose to drag around, no dead patches to explain to a landlord. That low-effort appeal can justify slightly higher rent or help you fill a vacancy faster.
Buyers see the same thing. A clean, green yard signals the property has been cared for, even if the inside still needs paint. It's a small upgrade that makes the whole listing feel more finished and move-in ready.
Durability That Survives Real Life
Look for turf with a face weight around 60 to 80 ounces and a strong backing. That range handles pets, kids, and regular foot traffic without matting down. Cheaper products flatten fast and start looking worn within a couple of years.
Drainage is the other big factor. Good turf lets water pass through so the yard doesn't turn into a swamp after a storm. That keeps the surface usable and protects your base from shifting.
If you're flipping, this is the difference between a yard that looks great at the open house and one that's a soggy mess by closing.
FAQ
How much does artificial turf cost per square foot?
Prices typically range from $5 to $20 per square foot installed, depending on turf quality, infill, and site prep. DIY rolls can cost less but require more work.
Does artificial turf get too hot in summer?
It can get warm, but newer turf lines with reflective fibers and cool infill stay cooler. A quick hose-down also helps on hot days.
How long does artificial turf last?
Most quality turf lasts 15 to 25 years with basic care. Cheaper options may wear out faster, especially in high-traffic areas.
Can I install artificial turf over dirt or concrete?
Yes, but prep matters. Over dirt, you need a compacted base. Over concrete, you can use glue-down or turf tiles with drainage.
Is artificial turf safe for pets and kids?
Yes, when installed correctly. Look for non-toxic materials, antimicrobial infill, and proper drainage to keep it clean and safe.
Conclusion
A low-maintenance yard doesn't mean a boring one. Pick the turf option that fits your space, your budget, and how you actually use the backyard, then install it and enjoy the extra free time.
Start with one section this season, see how it holds up, and expand from there. Once the grass stops demanding your weekends, you'll wonder why you waited so long to make the switch.